
Growing green beans in a small space might seem like a challenge, but trust me, it’s totally achievable! Have you ever dreamed of stepping outside your apartment door and harvesting fresh, crisp green beans for dinner? It’s a lot easier than you think, and this DIY guide is going to show you exactly how to make that dream a reality, even if all you have is a tiny balcony or a sunny windowsill.
The humble green bean has a rich history, cultivated for centuries across the globe. From ancient civilizations in South America to the kitchen gardens of Europe, this versatile vegetable has nourished families and communities. Today, with increasing urbanization, the desire to connect with nature and grow our own food is stronger than ever. But space can be a real constraint.
That’s where these clever DIY tricks come in! Growing green beans in a small space doesn’t require a sprawling garden. I’m going to share my favorite hacks for maximizing your yield, choosing the right varieties, and creating a thriving mini-bean farm, no matter how limited your area. Imagine the satisfaction of enjoying homegrown, organic green beans, knowing you nurtured them from seed to table. Plus, it’s a fantastic way to reduce your carbon footprint and add a touch of green to your urban landscape. Let’s get started!
Growing Green Beans in Small Spaces: A DIY Vertical Garden Guide
Hey there, fellow gardening enthusiasts! So, you’re itching to grow some delicious green beans but are short on space? Don’t worry, I’ve got you covered! I’m going to walk you through building your very own vertical garden specifically designed for growing green beans, even if you only have a tiny balcony or patio. This project is super rewarding, and nothing beats the taste of homegrown veggies.
Materials You’ll Need
Before we dive in, let’s gather our supplies. This list might seem a little long, but trust me, it’s all pretty straightforward and readily available at most hardware stores or garden centers.
* Wooden Pallet: Look for a sturdy, untreated pallet. Make sure it’s clean and free of any loose nails or splinters. You can often find these for free at local businesses, just ask!
* Heavy-Duty Landscape Fabric: This will line the pallet and create pockets for the soil.
* Staple Gun and Staples: Essential for securing the landscape fabric to the pallet.
* Potting Soil: Choose a high-quality potting mix that drains well. Avoid using garden soil, as it can become compacted in containers.
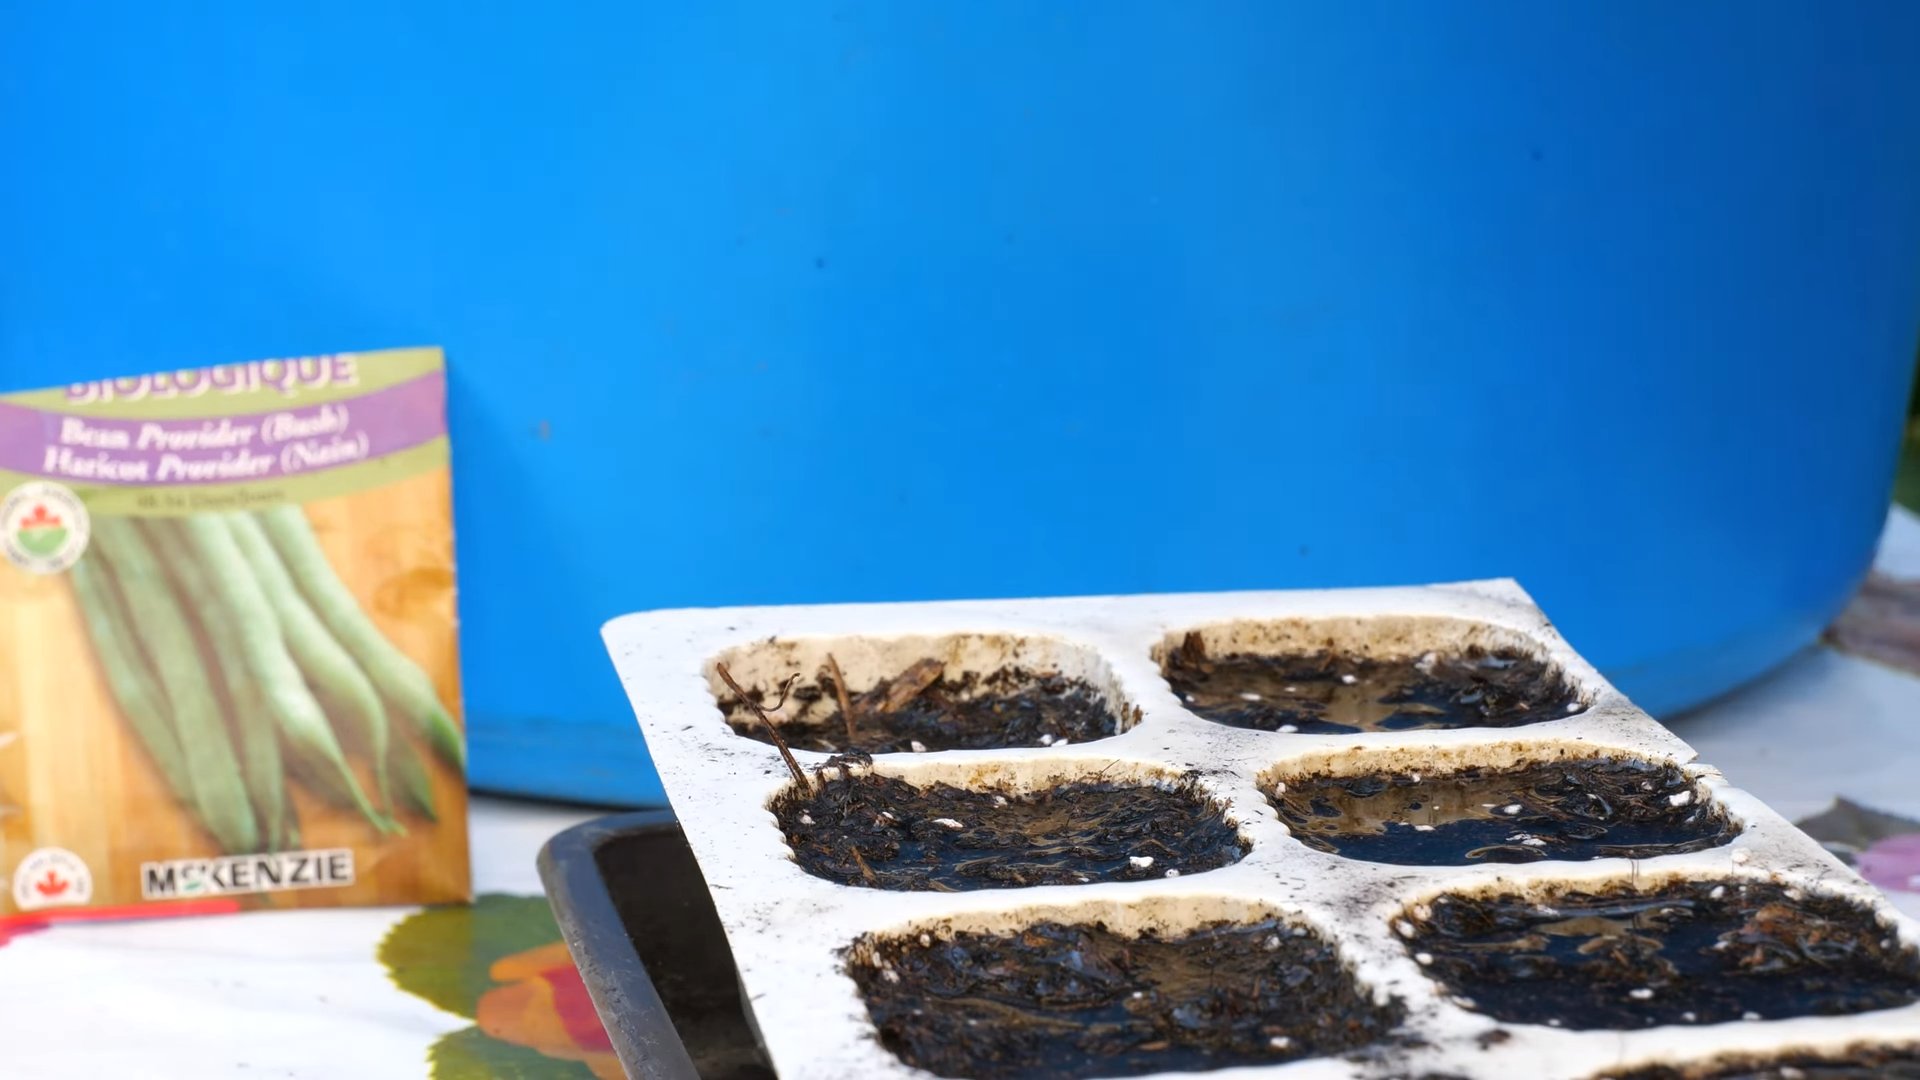
* Green Bean Seeds: Bush beans are generally better suited for container gardening than pole beans, but you can still grow pole beans if you provide adequate support. I personally love ‘Blue Lake Bush’ and ‘Contender’ varieties.
* Gloves: To protect your hands.
* Measuring Tape: For accurate fabric cutting.
* Scissors or Utility Knife: For cutting the landscape fabric.
* Optional: Sandpaper: To smooth out any rough edges on the pallet.
* Optional: Wood Stain or Paint: To give your pallet garden a more polished look.
* Optional: Watering Can or Hose with a Gentle Spray Nozzle: For watering your beans.
* Optional: Slow-Release Fertilizer: To provide your beans with a steady supply of nutrients.
Preparing the Pallet
This is a crucial step to ensure your vertical garden is safe and looks great.
1. Inspect the Pallet: Carefully examine the pallet for any loose nails, splinters, or damage. Remove any loose nails with a hammer and pliers. Sand down any rough edges with sandpaper to prevent injuries.
2. Clean the Pallet: Use a brush and soapy water to clean the pallet thoroughly. Rinse it well and allow it to dry completely before proceeding. This will help prevent the growth of mold and mildew.
3. (Optional) Stain or Paint the Pallet: If you want to give your pallet garden a more polished look, now is the time to stain or paint it. Choose a stain or paint that is suitable for outdoor use. Apply the stain or paint according to the manufacturer’s instructions and allow it to dry completely. I personally like using a natural wood stain to enhance the pallet’s rustic charm.
Creating the Planting Pockets
This is where the magic happens! We’re going to transform the pallet into a series of individual planting pockets.
1. Measure and Cut the Landscape Fabric: Measure the width and depth of each section of the pallet where you want to create a planting pocket. Add a few extra inches to each measurement to allow for overlap and secure stapling. Cut the landscape fabric into pieces according to your measurements. You’ll need enough pieces to line each section of the pallet.
2. Line the Bottom of the Pallet: Start by lining the bottom of the pallet with landscape fabric. Fold the fabric over the bottom edge of the pallet and staple it securely in place using the staple gun. Make sure the staples are close together to prevent the fabric from tearing.
3. Create the Pockets: Now, create the individual planting pockets by stapling the landscape fabric to the inside of each section of the pallet. Overlap the fabric slightly to create a secure seal. Make sure the pockets are deep enough to hold a good amount of potting soil. I usually aim for a depth of at least 6-8 inches.
4. Reinforce the Pockets: For added strength and durability, you can reinforce the pockets by adding an extra layer of landscape fabric. Simply repeat the process of measuring, cutting, and stapling the fabric to the inside of each pocket.
5. Test the Pockets: Before filling the pockets with soil, test them to make sure they are secure and can hold the weight of the soil. Gently press down on the fabric to check for any weak spots. If you find any, reinforce them with additional staples.
Planting Your Green Beans
Now for the fun part – planting your green beans!
1. Fill the Pockets with Potting Soil: Carefully fill each planting pocket with high-quality potting soil. Leave about an inch or two of space at the top of each pocket to allow for watering.
2. Sow the Green Bean Seeds: Sow the green bean seeds according to the instructions on the seed packet. Generally, you’ll want to plant the seeds about 1 inch deep and space them a few inches apart. I usually plant 2-3 seeds per pocket to increase the chances of germination.
3. Water the Seeds: Gently water the seeds with a watering can or hose with a gentle spray nozzle. Be careful not to overwater, as this can cause the seeds to rot.
4. Add Slow-Release Fertilizer (Optional): If you’re using slow-release fertilizer, add it to the soil according to the manufacturer’s instructions. This will provide your green beans with a steady supply of nutrients throughout the growing season.
5. Label Your Plants (Optional): If you’re growing multiple varieties of green beans, it’s a good idea to label each pocket so you know which variety is which. You can use plant markers or simply write the name of the variety on a piece of tape and attach it to the pallet.
Caring for Your Green Beans
Once your green beans are planted, it’s important to provide them with the proper care to ensure a bountiful harvest.
1. Watering: Water your green beans regularly, especially during hot, dry weather. Check the soil moisture by sticking your finger into the soil. If the soil feels dry to the touch, it’s time to water. Water deeply, allowing the water to soak into the soil. Avoid watering the foliage, as this can promote the growth of fungal diseases.
2. Sunlight: Green beans need at least 6 hours of sunlight per day to thrive. Place your vertical garden in a sunny location where it will receive plenty of sunlight.
3. Fertilizing: If you didn’t add slow-release fertilizer at planting time, you’ll need to fertilize your green beans regularly with a balanced fertilizer. Follow the instructions on the fertilizer label.
4. Support (for Pole Beans): If you’re growing pole beans, you’ll need to provide them with support to climb on. You can use bamboo stakes, trellises, or even string. Train the vines to climb up the support as they grow.
5. Pest Control: Keep an eye out for pests such as aphids, bean beetles, and spider mites. If you find any pests, treat them with an appropriate insecticide or insecticidal soap. I prefer using organic pest control methods whenever possible.
6. Weeding: Remove any weeds that grow in the planting pockets. Weeds can compete with your green beans for nutrients and water.
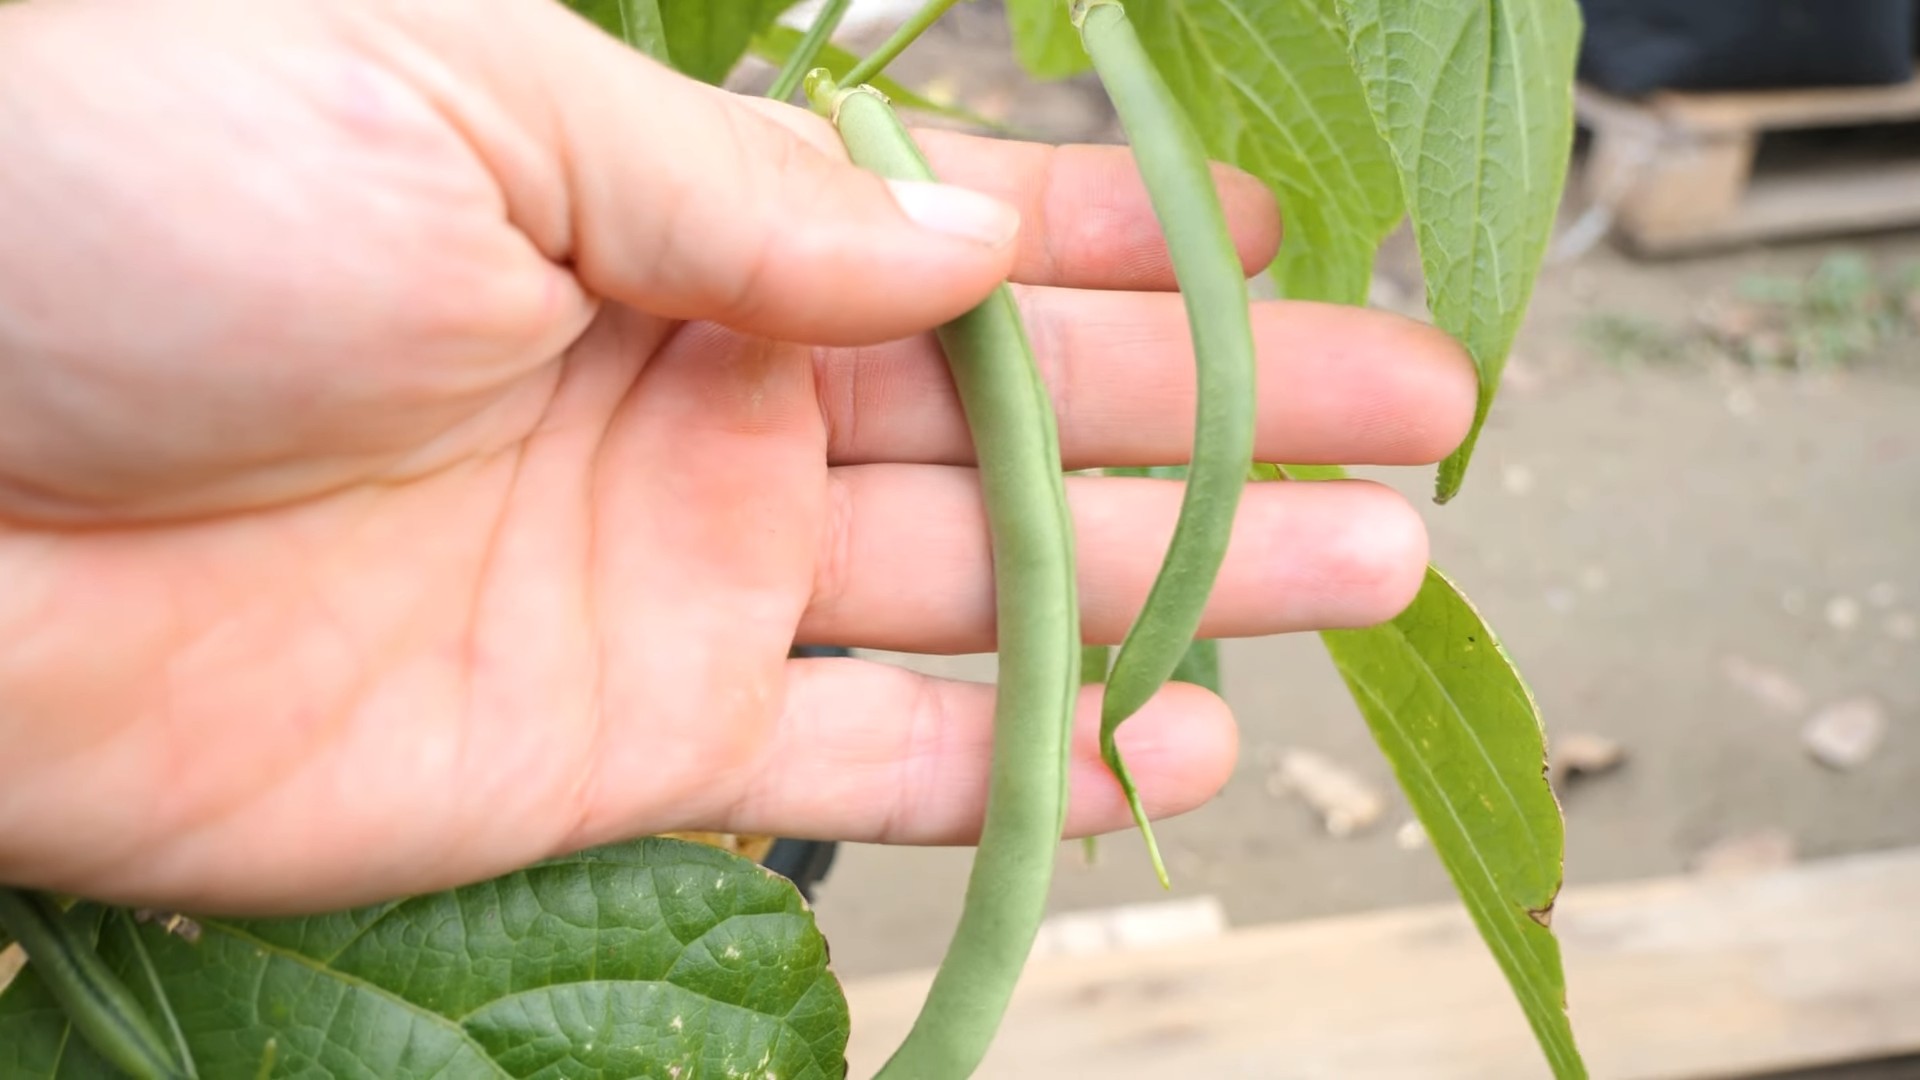
7. Harvesting: Harvest your green beans when they are young and tender. The pods should be firm and snap easily when bent. Harvest regularly to encourage continued production.
Choosing the Right Green Bean Variety
As I mentioned earlier, the type of green bean you choose can impact your success in a small space.
* Bush Beans: These are compact and don’t require staking. They’re ideal for container gardening and vertical gardens. They produce a large harvest over a shorter period.
* Pole Beans: These are vining beans that require support to climb. They take up more vertical space but produce a continuous harvest over a longer period. If you choose pole beans, make sure your vertical garden is sturdy enough to support their weight.
Troubleshooting Common Problems
Even with the best care, you might encounter some problems while growing green beans. Here are a few common issues and how to address them:
* Yellowing Leaves: This can be caused by overwatering, underwatering, nutrient deficiencies, or pests. Check the soil moisture and adjust your watering accordingly. Fertilize your beans with a balanced fertilizer. Inspect the plants for pests and treat them as needed.
* Lack of Flowers or Pods: This can be caused by insufficient sunlight, poor pollination, or nutrient deficiencies. Make sure your beans are getting at least 6 hours of sunlight per day. You can hand-pollinate the flowers by gently shaking the plants. Fertilize your beans with a fertilizer that is high in phosphorus.
* Pest Infestations: Aphids, bean beetles, and spider mites are common
Conclusion
So, there you have it! Growing green beans in a small space is not only achievable but also incredibly rewarding. We’ve explored a simple yet effective DIY trick that transforms limited areas into thriving green bean havens. This method, focusing on vertical growth and efficient resource utilization, allows even apartment dwellers or those with tiny gardens to enjoy the satisfaction of harvesting their own fresh, crisp green beans.
Why is this DIY trick a must-try? Because it democratizes gardening. It breaks down the barriers of space and perceived complexity, making fresh, homegrown produce accessible to everyone. Imagine stepping onto your balcony or into your small backyard and picking a handful of vibrant green beans for your dinner. The taste is unmatched, the satisfaction immense, and the environmental impact significantly reduced compared to buying commercially grown beans.
Beyond the basic setup, there’s plenty of room for experimentation. Consider using different types of containers – recycled buckets, repurposed crates, or even hanging baskets can all work wonders. Explore various green bean varieties; bush beans are naturally compact, while pole beans offer impressive vertical growth and a continuous harvest. You can also companion plant with herbs like basil or marigolds to deter pests and enhance the flavor of your beans. Think about adding a small trellis made from bamboo stakes or even sturdy branches to provide extra support as your plants mature.
Don’t be afraid to get creative and adapt this DIY trick to your specific space and preferences. The beauty of gardening lies in the learning process and the joy of discovery.
We are confident that this DIY approach to growing green beans will not only yield a bountiful harvest but also enrich your connection with nature and provide a sense of accomplishment. It’s a sustainable, healthy, and fulfilling activity that can transform even the smallest space into a productive garden.
Now, it’s your turn! We wholeheartedly encourage you to try this DIY trick for growing green beans in your small space. Gather your supplies, prepare your soil, and plant those seeds with anticipation. Witness the miracle of growth unfold before your eyes.
And most importantly, share your experience with us! We’d love to hear about your successes, your challenges, and any variations you’ve tried. Post photos of your green bean gardens on social media using [Your Hashtag Here] or leave a comment below. Let’s create a community of small-space gardeners, sharing tips, inspiration, and the joy of growing our own food. Let’s all enjoy the benefits of fresh, homegrown **green beans**!
Frequently Asked Questions (FAQ)
What kind of soil is best for growing green beans in containers?
Green beans thrive in well-draining, nutrient-rich soil. A good potting mix specifically formulated for vegetables is ideal. You can also create your own mix by combining equal parts compost, peat moss (or coconut coir), and perlite or vermiculite. Compost provides essential nutrients, peat moss (or coir) helps retain moisture, and perlite/vermiculite improves drainage. Avoid using garden soil directly in containers, as it can become compacted and hinder root growth.
How much sunlight do green beans need?
Green beans require at least 6-8 hours of direct sunlight per day to produce a good harvest. Choose a location for your containers that receives ample sunlight throughout the day. If you live in a particularly hot climate, some afternoon shade can be beneficial to prevent the plants from overheating. If you don’t have enough natural sunlight, you can supplement with grow lights.
How often should I water my green bean plants?
Water your green bean plants regularly, especially during hot and dry weather. The soil should be consistently moist but not waterlogged. Check the soil moisture by sticking your finger about an inch deep. If the soil feels dry, it’s time to water. Water deeply, allowing the water to drain out of the bottom of the container. Avoid overhead watering, as this can promote fungal diseases. Drip irrigation or soaker hoses are excellent options for providing consistent moisture directly to the roots.
What kind of fertilizer should I use for green beans?
Green beans are relatively light feeders, but they still benefit from regular fertilization. Use a balanced fertilizer with an N-P-K ratio of 10-10-10 or 5-10-10. Apply the fertilizer according to the package instructions, usually every 2-3 weeks. You can also use organic fertilizers like compost tea or fish emulsion. Avoid over-fertilizing, as this can lead to excessive foliage growth at the expense of bean production.
How do I support my green bean plants in a small space?
Vertical support is crucial for growing green beans in small spaces, especially for pole bean varieties. Use a trellis, stakes, or netting to provide support for the plants to climb. You can build your own trellis using bamboo stakes or branches, or purchase a pre-made trellis from a garden center. Make sure the support structure is sturdy enough to handle the weight of the mature plants and the beans.
How do I deal with pests and diseases on my green bean plants?
Inspect your green bean plants regularly for signs of pests and diseases. Common pests include aphids, bean beetles, and spider mites. You can control these pests with insecticidal soap, neem oil, or by hand-picking them off the plants. Common diseases include powdery mildew and bean rust. Prevent these diseases by providing good air circulation, avoiding overhead watering, and using disease-resistant varieties. If you notice signs of disease, remove the affected leaves and treat the plants with a fungicide.
When can I harvest my green beans?
Green beans are typically ready to harvest about 50-60 days after planting. Harvest the beans when they are young, tender, and about the size of a pencil. Pick the beans regularly to encourage continued production. Overripe beans will become tough and stringy.
Can I grow green beans indoors?
While it’s possible to grow green beans indoors, it can be challenging to provide them with the necessary sunlight and pollination. If you want to try growing green beans indoors, choose a sunny location near a south-facing window and supplement with grow lights. You may also need to hand-pollinate the flowers to ensure bean production.
What are some good companion plants for green beans?
Green beans benefit from companion planting with certain herbs and vegetables. Good companion plants include basil, marigolds, rosemary, carrots, and cucumbers. These plants can help deter pests, attract beneficial insects, and improve the flavor of the beans. Avoid planting green beans near onions or garlic, as these can inhibit their growth.
Can I save seeds from my green bean plants?
Yes, you can save seeds from your green bean plants, but only if you are growing heirloom or open-pollinated varieties. Hybrid varieties will not produce true-to-type seeds. To save seeds, allow some of the beans to mature and dry on the plant. Once the pods are completely dry and brittle, harvest them and remove the seeds. Store the seeds in a cool, dry place until next planting season.
Leave a Comment