
DIY Vinegar Cleaner: Unlock the secrets to a sparkling clean home with a simple, yet surprisingly powerful ingredient – vinegar! Have you ever wondered if you could ditch those expensive, chemical-laden cleaners and embrace a more natural, effective, and budget-friendly alternative? Well, you absolutely can! For centuries, vinegar has been a staple in households, not just for cooking, but also for its incredible cleaning properties. From ancient civilizations using it to preserve food to modern-day eco-conscious individuals seeking sustainable solutions, vinegar’s cleaning prowess has stood the test of time.
But why should you make the switch to a DIY vinegar cleaner? In today’s world, we’re increasingly aware of the impact harsh chemicals have on our health and the environment. Many commercial cleaners contain ingredients that can irritate our skin, trigger allergies, and even contribute to indoor air pollution. Plus, let’s be honest, those bottles can be pricey! This DIY guide will empower you to create your own effective cleaning solutions using vinegar, saving you money and reducing your exposure to harmful chemicals. I’m excited to share these simple yet effective recipes and tricks that will transform your cleaning routine and leave your home sparkling clean, naturally!
DIY All-Purpose Vinegar Cleaner: A Natural Cleaning Powerhouse!
Hey there, fellow DIY enthusiasts! I’m so excited to share my go-to recipe for an all-purpose vinegar cleaner. It’s incredibly simple, budget-friendly, and a fantastic alternative to harsh chemical cleaners. Plus, it’s super effective at tackling grime, grease, and everyday messes around the house. Let’s get started!
What You’ll Need
Before we dive in, let’s gather our supplies. This is a pretty minimal list, which is one of the things I love most about this project!
* White Distilled Vinegar: This is the star of the show! Its acidity is what cuts through grease and disinfects surfaces.
* Water: Dilutes the vinegar to make it safe for most surfaces and reduces the strong vinegar smell.
* Essential Oils (Optional): These add a pleasant scent and can boost the cleaning power. I personally love lemon, lavender, tea tree, or eucalyptus.
* Spray Bottle: A clean, empty spray bottle to store and dispense your cleaner.
* Measuring Cup or Spoons: For accurate measurements.
* Funnel (Optional): Makes pouring liquids into the spray bottle easier and less messy.
Step-by-Step Instructions
Here’s the breakdown of how to create your very own all-purpose vinegar cleaner. It’s so easy, you’ll be whipping up batches in no time!
1. Prepare Your Spray Bottle: Make sure your spray bottle is clean and dry. Any residue from previous cleaners could react with the vinegar. I usually rinse mine out with hot water and let it air dry completely.
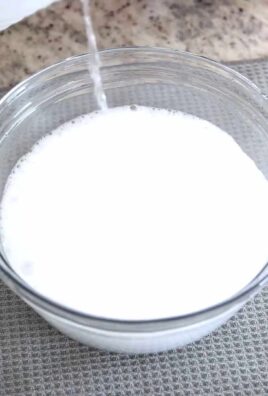
2. Combine Vinegar and Water: This is where the magic happens! The standard ratio is a 1:1 mix of vinegar and water. So, for a 16-ounce spray bottle, I would use 8 ounces of white distilled vinegar and 8 ounces of water. You can adjust the ratio slightly depending on your needs. For tougher messes, you can increase the vinegar concentration.
3. Add Essential Oils (Optional): If you’re using essential oils, now’s the time to add them. I typically add about 10-20 drops of essential oil per 16-ounce bottle. Remember, essential oils are potent, so a little goes a long way. Some of my favorite combinations are:
* Lemon and Tea Tree: Great for disinfecting and leaving a fresh, citrusy scent.
* Lavender and Eucalyptus: Perfect for a calming and refreshing clean.
* Orange and Clove: Ideal for fall and winter, creating a warm and inviting aroma.
4. Mix Well: Secure the spray bottle lid and shake well to combine all the ingredients. This ensures the essential oils are evenly distributed throughout the mixture.
5. Label Your Bottle: This is crucial! Clearly label your spray bottle as “Vinegar Cleaner” or “All-Purpose Cleaner” to avoid any confusion. You might also want to include the date you made it.
Using Your DIY Vinegar Cleaner
Now that you’ve created your amazing all-purpose cleaner, let’s talk about how to use it effectively.
* Test on an Inconspicuous Area: Before using your cleaner on a large surface, always test it on a small, hidden area first. This is especially important for delicate surfaces like wood or natural stone. You want to make sure it doesn’t cause any discoloration or damage.
* Spray and Wipe: Simply spray the cleaner onto the surface you want to clean and let it sit for a few seconds. Then, wipe it away with a clean cloth or sponge. For tougher messes, you might need to let it sit for a minute or two before wiping.
* Rinse (If Necessary): For some surfaces, like countertops or food preparation areas, you might want to rinse with clean water after wiping. This helps remove any lingering vinegar smell.
Where to Use Your Vinegar Cleaner
This cleaner is incredibly versatile and can be used on a variety of surfaces around your home. Here are some of my favorite uses:
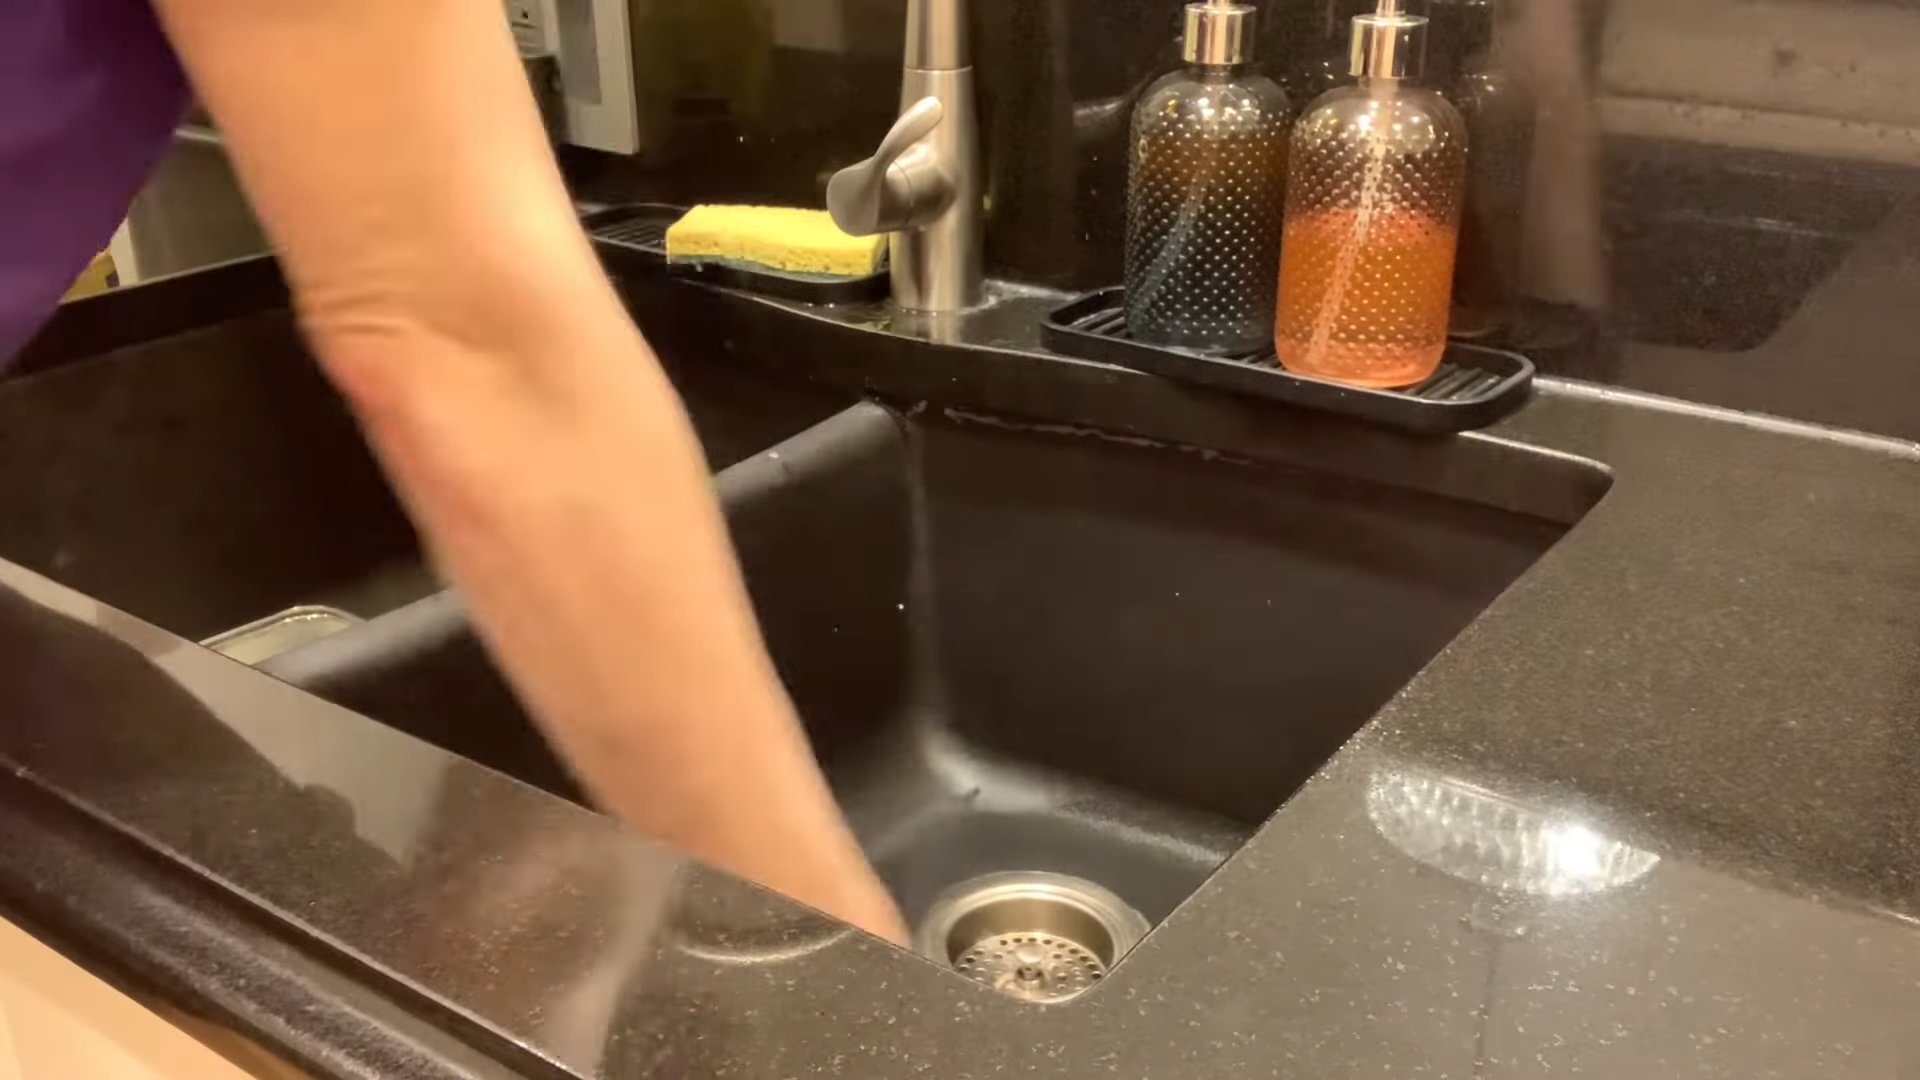
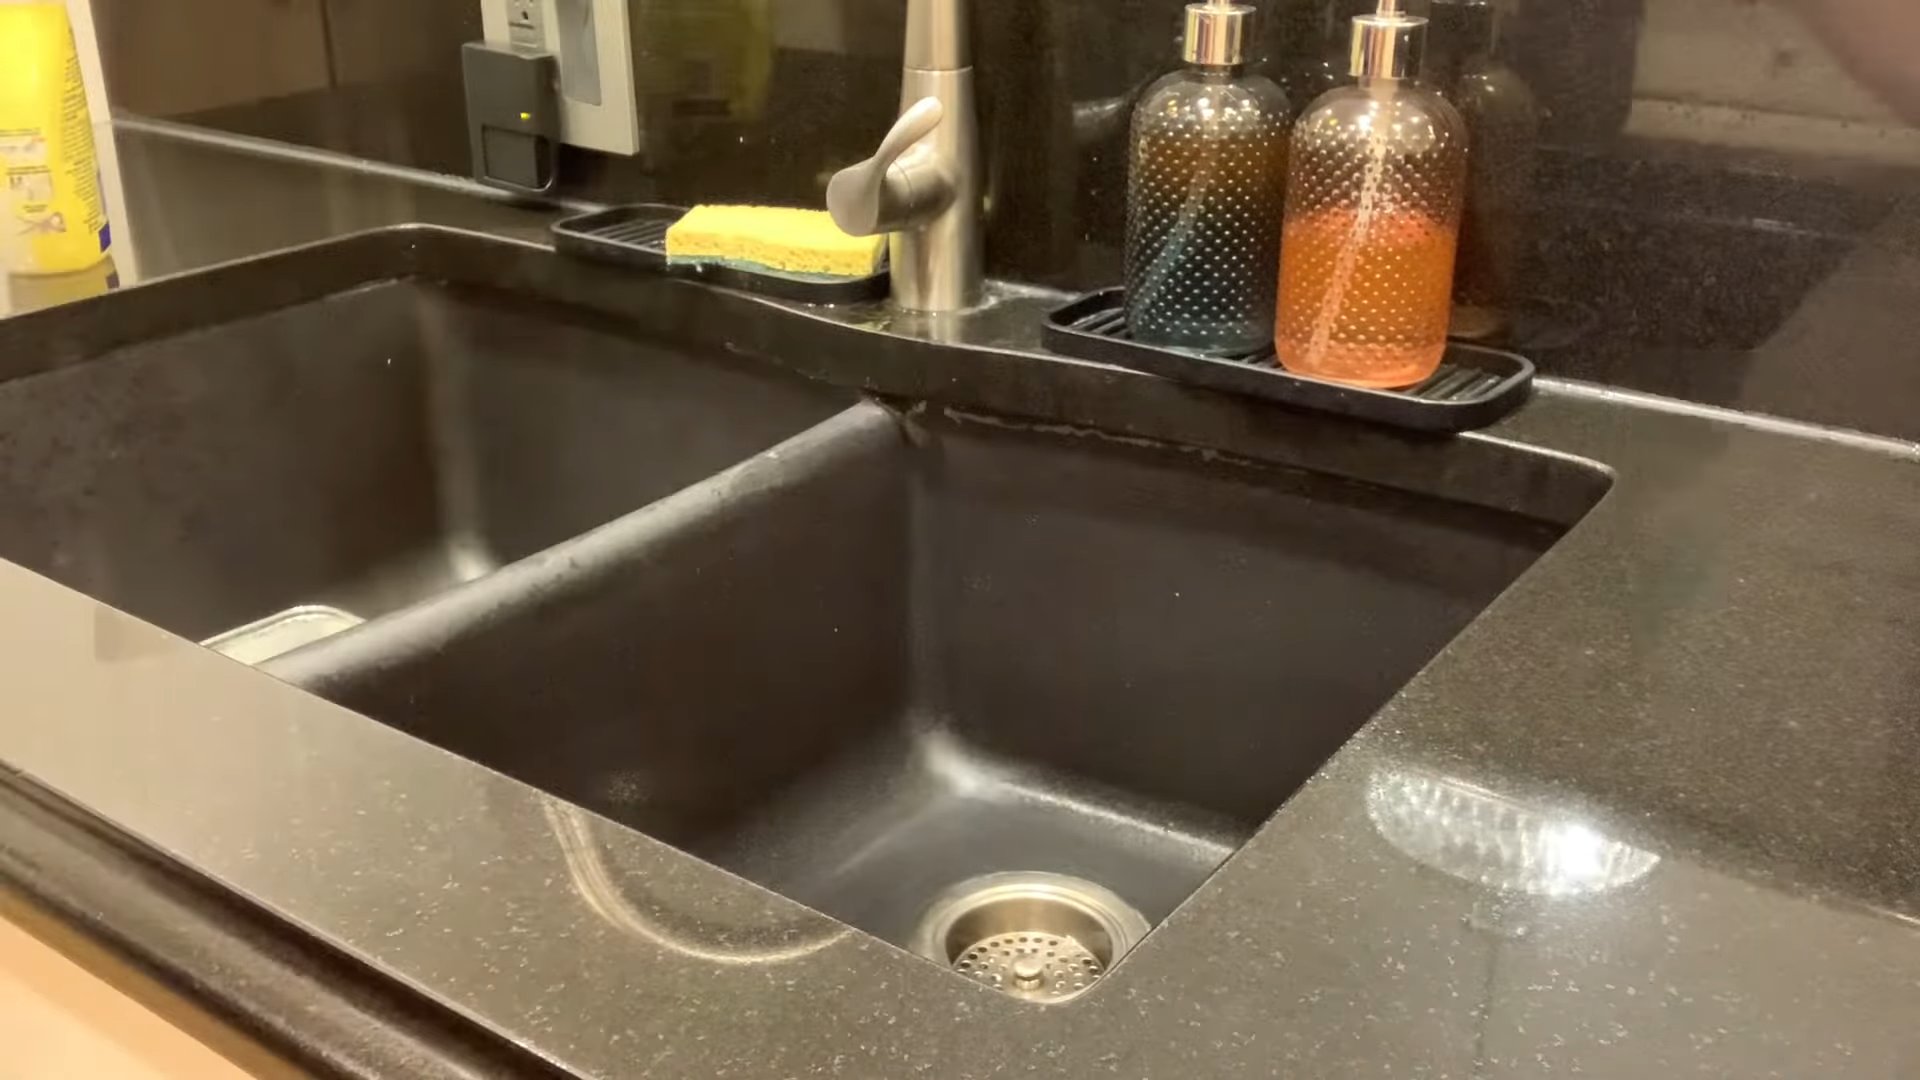
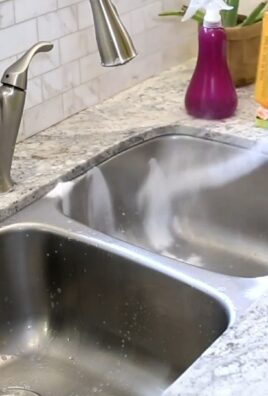
* Kitchen Countertops: Vinegar is a great disinfectant and can easily remove food spills and grease from countertops. Just be sure to avoid using it on granite or marble, as the acidity can damage these surfaces.
* Bathroom Surfaces: Clean sinks, toilets, showers, and tiles with your vinegar cleaner. It’s effective at removing soap scum, hard water stains, and mildew.
* Floors: You can use vinegar cleaner on most hard floors, including tile, linoleum, and vinyl. However, avoid using it on hardwood floors, as it can strip the finish. Always dilute the cleaner well when using it on floors.
* Windows and Mirrors: Vinegar is a fantastic window cleaner! It leaves surfaces streak-free and sparkling.
* Appliances: Clean the exterior of your appliances, such as refrigerators, ovens, and dishwashers, with your vinegar cleaner.
* Cutting Boards: Disinfect your cutting boards with vinegar after each use.
* Coffee Makers: Descale your coffee maker by running a cycle with a solution of equal parts vinegar and water. Then, run a few cycles with clean water to rinse.
Surfaces to Avoid
While vinegar is a fantastic cleaner, there are some surfaces you should avoid using it on:
* Granite and Marble: The acidity of vinegar can etch and damage these natural stone surfaces.
* Hardwood Floors: Vinegar can strip the finish from hardwood floors, leaving them dull and damaged.
* Waxed Furniture: Vinegar can dissolve the wax coating on furniture.
* Electronics: Avoid spraying vinegar cleaner directly onto electronic devices.
* Cast Iron: Vinegar can cause cast iron to rust.
Troubleshooting and Tips
* Vinegar Smell: The strong vinegar smell can be off-putting to some people. Don’t worry, it dissipates quickly! Adding essential oils can also help mask the odor.
* Cloudy Cleaner: If your cleaner looks cloudy, it’s likely due to the essential oils not fully dissolving. This is perfectly normal and doesn’t affect the cleaner’s effectiveness. Just shake the bottle well before each use.
* Adjusting the Ratio: For tougher messes, you can increase the vinegar concentration. However, be careful not to use too much vinegar, as it can damage some surfaces.
* Storage: Store your vinegar cleaner in a cool, dark place. It should last for several months.
* Experiment with Essential Oils: Don’t be afraid to experiment with different essential oil combinations to find your favorite scent.
Why I Love This DIY Cleaner
I’ve been using this DIY vinegar cleaner for years, and I absolutely love it! Here’s why:
* It’s Eco-Friendly: It’s made with natural ingredients and doesn’t contain any harsh chemicals that can harm the environment.
* It’s Budget-Friendly: Vinegar is incredibly inexpensive, making this a very affordable cleaning solution.
* It’s Effective: It cleans just as well as, if not better than, many commercial cleaners.
* It’s Customizable: You can easily customize the scent by adding your favorite essential oils.
* It’s Safe: It’s safe to use around children and pets.
I hope you enjoy making and using this DIY all-purpose vinegar cleaner as much as I do! It’s a simple, effective, and eco-friendly way to keep your home clean and fresh. Happy cleaning!
Conclusion
So, there you have it! Creating your own DIY vinegar cleaner is not just a cost-effective alternative to store-bought products; it’s a conscious choice to reduce your environmental impact and control the ingredients you bring into your home. We’ve walked you through the simple steps, highlighted the versatility of this natural cleaner, and addressed some common concerns. But why is this DIY trick a must-try?
Firstly, the sheer simplicity is undeniable. With just two readily available ingredients – vinegar and water – you can whip up a powerful cleaning solution in minutes. No need to decipher complicated ingredient lists or worry about harsh chemicals lingering in your home. This simplicity translates to time saved, money saved, and peace of mind gained.
Secondly, the effectiveness of a DIY vinegar cleaner is truly remarkable. From tackling stubborn grease and grime in the kitchen to disinfecting surfaces in the bathroom, vinegar’s natural acidity makes it a formidable opponent against dirt and bacteria. It’s a multi-purpose cleaner that can handle a wide range of household tasks, making it a true cleaning champion.
Thirdly, consider the environmental benefits. By opting for a DIY solution, you’re reducing your reliance on plastic packaging and minimizing the introduction of harmful chemicals into the ecosystem. It’s a small change that can make a big difference in the long run.
But the beauty of this DIY project lies in its adaptability. Feel free to experiment with different variations to suit your specific needs and preferences. For a more fragrant cleaner, infuse your vinegar with citrus peels (lemon, orange, or grapefruit work wonderfully) for a few weeks before diluting it with water. This will add a refreshing scent to your cleaning routine. You can also add a few drops of your favorite essential oils, such as lavender, tea tree, or eucalyptus, for their antibacterial and aromatic properties. Just be sure to use essential oils sparingly, as they can be potent.
For tougher cleaning jobs, consider increasing the concentration of vinegar in your solution. A 1:1 ratio of vinegar to water can be particularly effective for tackling stubborn stains and grime. However, always test the solution on an inconspicuous area first to ensure it doesn’t damage the surface.
Another variation involves adding a small amount of baking soda to your DIY vinegar cleaner. This creates a fizzing action that can help loosen dirt and grime, making it easier to wipe away. However, be cautious when mixing vinegar and baking soda, as the reaction can produce carbon dioxide gas. Always mix them in a well-ventilated area and avoid using a sealed container.
Don’t be afraid to get creative and personalize your DIY vinegar cleaner to make it your own. The possibilities are endless!
We truly believe that this DIY trick is a game-changer for anyone looking for a natural, effective, and affordable cleaning solution. So, we encourage you to give it a try. Experiment with different variations, find what works best for you, and experience the satisfaction of creating your own powerful cleaner.
And most importantly, we want to hear about your experience! Share your tips, tricks, and variations in the comments below. Let us know how your DIY vinegar cleaner has transformed your cleaning routine. Together, we can create a community of eco-conscious cleaners who are passionate about making a positive impact on the environment. Let’s ditch the harsh chemicals and embrace the power of nature!
FAQ
What surfaces can I safely clean with a DIY vinegar cleaner?
A DIY vinegar cleaner is generally safe for most non-porous surfaces, including glass, countertops (granite and marble should be avoided), stainless steel, tile, and sealed wood floors. However, it’s crucial to avoid using vinegar on certain materials, as its acidity can cause damage. These include:
* Natural stone surfaces (granite, marble, travertine): Vinegar can etch and dull these surfaces.
* Waxed furniture: Vinegar can dissolve the wax finish.
* Cast iron: Vinegar can cause rust.
* Electronics screens: The acidity can damage the screen coating.
* Unsealed grout: Vinegar can erode the grout over time.
Always test your DIY vinegar cleaner on an inconspicuous area before applying it to the entire surface. If you’re unsure about a particular material, consult the manufacturer’s instructions or a professional cleaner.
How do I get rid of the vinegar smell?
The distinct smell of vinegar is a common concern for many people. Fortunately, the vinegar scent dissipates quickly after cleaning. To minimize the odor, ensure proper ventilation by opening windows or using a fan. You can also add a few drops of your favorite essential oils to your DIY vinegar cleaner to mask the vinegar smell. Citrus oils, lavender, and eucalyptus are popular choices. Another effective method is to infuse your vinegar with citrus peels for a few weeks before using it. This will impart a pleasant citrus scent to your cleaner.
Can I use any type of vinegar for cleaning?
While you can technically use any type of vinegar for cleaning, white distilled vinegar is the most recommended option. It’s inexpensive, readily available, and has a higher acidity level than other types of vinegar, making it more effective at cleaning and disinfecting. Avoid using flavored vinegars, such as balsamic or apple cider vinegar, as they may contain sugars or other additives that can leave a sticky residue.
How long does a DIY vinegar cleaner last?
A DIY vinegar cleaner has a long shelf life and can last indefinitely when stored properly. However, it’s best to use it within a few months to ensure optimal effectiveness. Store your cleaner in a clean, airtight spray bottle in a cool, dark place. Avoid storing it in direct sunlight, as this can degrade the vinegar over time.
Is a DIY vinegar cleaner effective at disinfecting?
Vinegar is a natural disinfectant, but it’s not as powerful as commercial disinfectants like bleach. It can kill some bacteria and viruses, but it’s not effective against all pathogens. For general cleaning and disinfecting, a DIY vinegar cleaner is a good option. However, for situations where thorough disinfection is required, such as after handling raw meat or cleaning up after someone who is sick, it’s best to use a stronger disinfectant.
Can I mix vinegar with other cleaning products?
It’s crucial to avoid mixing vinegar with certain cleaning products, as this can create dangerous fumes. Never mix vinegar with bleach, as this combination produces chlorine gas, which is highly toxic. Mixing vinegar with ammonia can also create toxic fumes. It’s generally best to avoid mixing vinegar with any other cleaning products unless you’re absolutely sure that it’s safe to do so. When in doubt, use vinegar on its own or consult a professional cleaner.
My DIY vinegar cleaner is leaving streaks on my windows. What am I doing wrong?
Streaking is a common issue when cleaning windows with a DIY vinegar cleaner. To prevent streaks, use a clean microfiber cloth to wipe the windows. Avoid using paper towels, as they can leave lint behind. You can also try diluting your vinegar solution further or adding a small amount of dish soap to the mixture. Another tip is to clean your windows on a cloudy day, as direct sunlight can cause the cleaner to dry too quickly and leave streaks.
Can I use a DIY vinegar cleaner on my hardwood floors?
While a DIY vinegar cleaner can be used on sealed hardwood floors, it’s important to use it sparingly and with caution. Vinegar’s acidity can damage the finish of hardwood floors over time, so it’s best to use a diluted solution (1/4 cup of vinegar per gallon of water) and avoid using it too frequently. Always test the solution on an inconspicuous area first to ensure it doesn’t damage the floor. For regular cleaning of hardwood floors, consider using a cleaner specifically designed for hardwood.
What if my DIY vinegar cleaner doesn’t seem to be working?
If your DIY vinegar cleaner isn’t effectively cleaning a particular surface, there are a few things you can try. First, increase the concentration of vinegar in your solution. A 1:1 ratio of vinegar to water may be necessary for tougher cleaning jobs. You can also try adding a small amount of baking soda to the mixture to create a fizzing action that helps loosen dirt and grime. For stubborn stains, let the vinegar solution sit on the surface for a few minutes before wiping it away. If all else fails, you may need to use a stronger cleaning product specifically designed for the type of stain or surface you’re cleaning.
Leave a Comment