
Grow Chives Kitchen Garden: Imagine stepping into your kitchen, needing a fresh, flavorful herb, and simply snipping it right from your windowsill. Sounds idyllic, right? Well, it’s absolutely achievable, and easier than you might think! This article is your ultimate guide to cultivating your very own chive haven, bringing a touch of green and a burst of flavor directly into your home.
Chives, with their delicate oniony taste, have been a culinary staple for centuries. Their history stretches back to ancient Rome, where they were believed to ward off evil spirits and were used medicinally. Today, they’re prized for their versatility in the kitchen, adding a subtle zest to everything from salads and soups to dips and omelets. But beyond their culinary appeal, growing chives offers a unique connection to nature, even within the confines of your apartment.
In today’s fast-paced world, finding moments of tranquility and self-sufficiency is more important than ever. That’s where the magic of a kitchen garden comes in. Learning how to grow chives kitchen garden is not just about having fresh herbs at your fingertips; it’s about nurturing a small piece of nature, fostering a sense of calm, and adding a vibrant touch to your living space. Plus, let’s be honest, store-bought herbs can be expensive and often lack the freshness of homegrown ones. So, ditch the plastic packaging and join me as we embark on this exciting journey to create your very own thriving chive patch, right in your kitchen!
Grow Your Own Chives: A Kitchen Garden Guide
Hey there, fellow plant enthusiasts! I’m so excited to share my experience with growing chives right in my kitchen. It’s surprisingly easy, rewarding, and gives you fresh herbs at your fingertips. Forget those sad, wilted chives from the grocery store – let’s get growing!
Why Grow Chives Indoors?
Before we dive in, let’s talk about why growing chives indoors is such a fantastic idea:
* Freshness: Nothing beats the flavor of freshly snipped chives. They add a delicate oniony flavor to everything from scrambled eggs to baked potatoes.
* Convenience: Having them right in your kitchen means you can grab them whenever you need them, without a trip to the store.
* Cost-Effective: A one-time investment in seeds or a small plant can provide you with chives for months, even years!
* Space-Saving: Chives don’t need a lot of space, making them perfect for even the smallest kitchens.
* Year-Round Harvest: You can enjoy fresh chives all year round, regardless of the weather outside.
* Beautiful and Aromatic: Chives add a touch of greenery to your kitchen and have a pleasant, mild onion scent.
What You’ll Need
Here’s a list of everything you’ll need to get started:
* Chive Seeds or a Small Chive Plant: You can find these at most garden centers or online. Starting from seeds takes a bit longer, but it’s more budget-friendly. A small plant will give you a head start.
* A Pot with Drainage Holes: Choose a pot that’s at least 6 inches in diameter and 6 inches deep. Good drainage is crucial to prevent root rot.
* Potting Mix: Use a good-quality potting mix that’s well-draining. Avoid using garden soil, as it can compact and not provide adequate drainage.
* Watering Can or Spray Bottle: For gentle watering.
* A Sunny Windowsill or Grow Light: Chives need at least 6 hours of sunlight per day. If you don’t have a sunny windowsill, a grow light will do the trick.
* Scissors or Kitchen Shears: For harvesting your chives.
* Optional: Fertilizer: A balanced liquid fertilizer can help your chives thrive, but it’s not essential.
Starting from Seeds: A Step-by-Step Guide
If you’re starting from seeds, here’s how to do it:
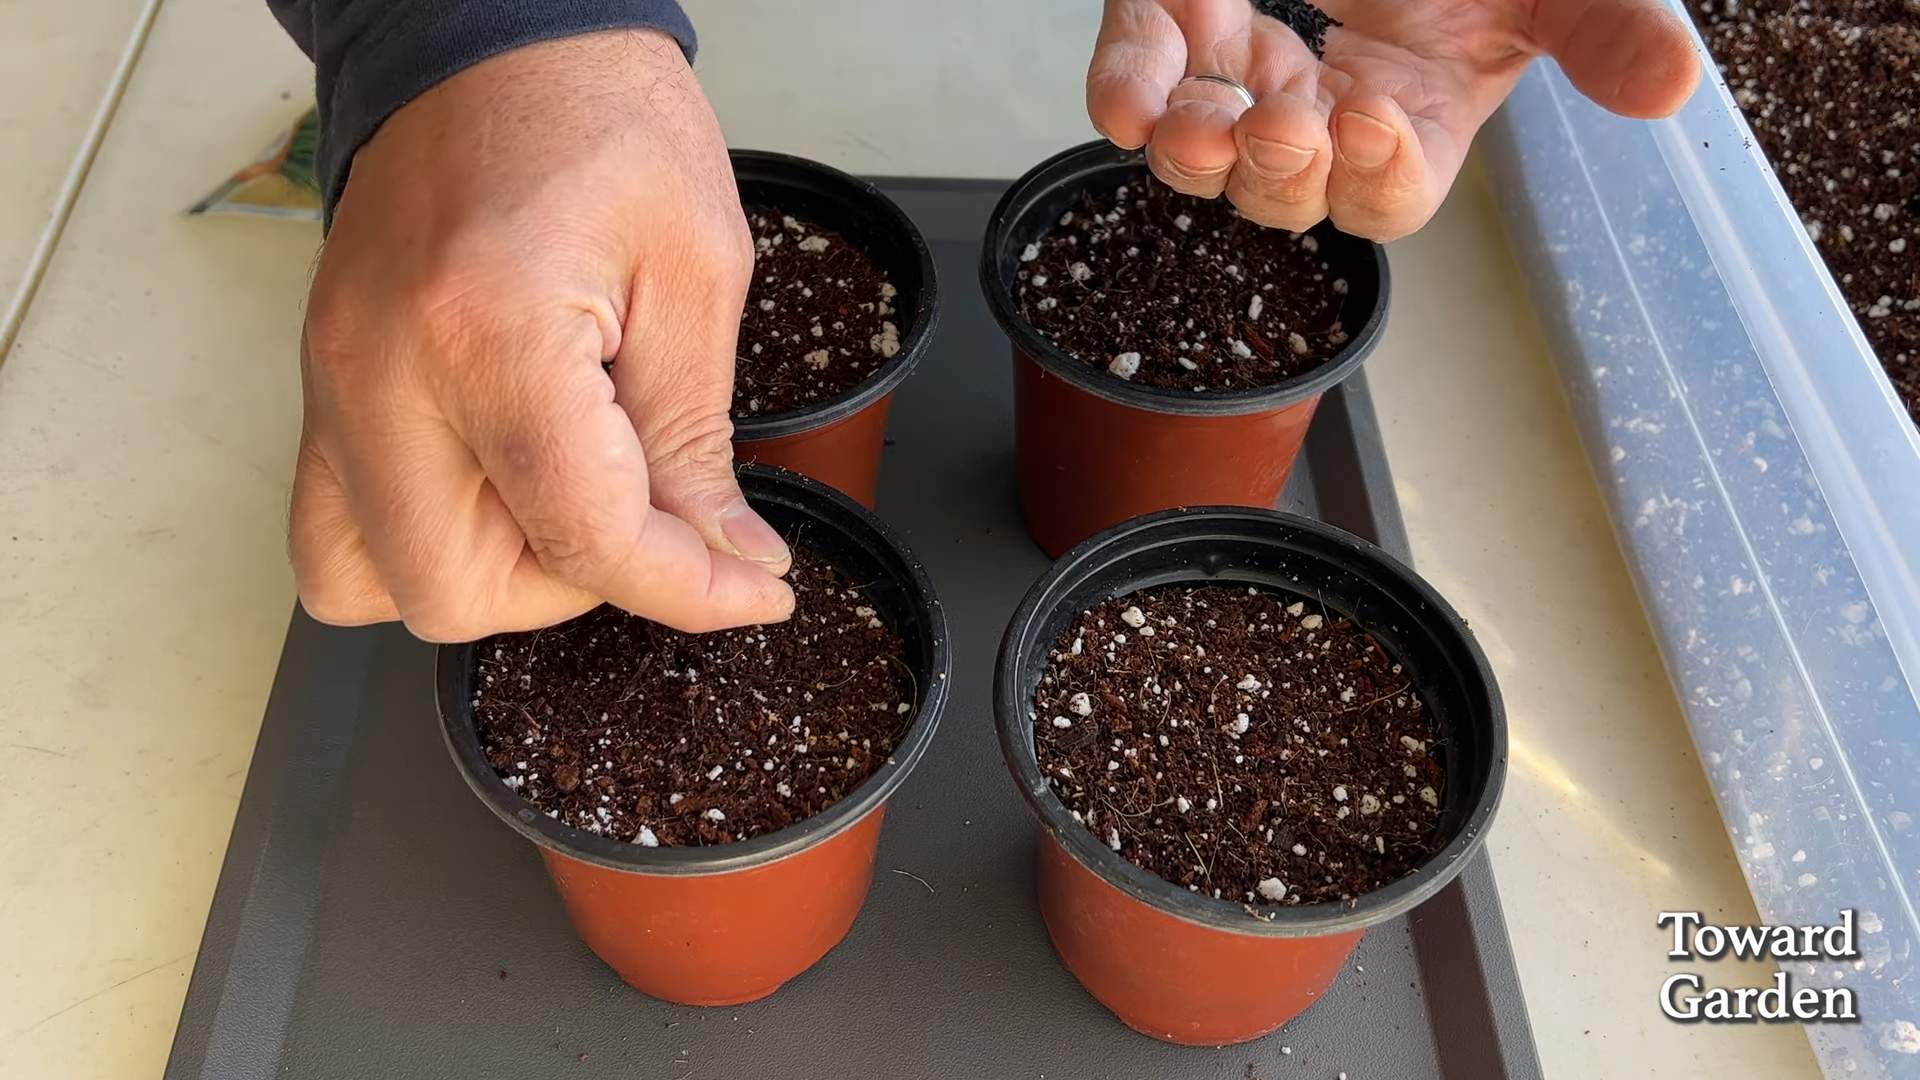
1. Prepare the Pot: Fill your pot with potting mix, leaving about an inch of space at the top. Gently pat down the soil.
2. Sow the Seeds: Sprinkle the chive seeds evenly over the surface of the soil. You don’t need to bury them too deep – just lightly press them into the soil.
3. Cover the Seeds: Sprinkle a very thin layer of potting mix over the seeds.
4. Water Gently: Use a spray bottle or watering can to gently moisten the soil. Be careful not to wash the seeds away.
5. Cover with Plastic Wrap (Optional): Covering the pot with plastic wrap can help retain moisture and speed up germination. Make sure to remove the plastic wrap once the seedlings emerge.
6. Place in a Sunny Location: Put the pot on a sunny windowsill or under a grow light.
7. Keep the Soil Moist: Water the soil regularly to keep it moist, but not soggy.
8. Wait for Germination: Chive seeds typically germinate in 10-14 days. Be patient!
9. Thin the Seedlings (Optional): Once the seedlings are a few inches tall, you can thin them out if they’re too crowded. This will give them more room to grow.
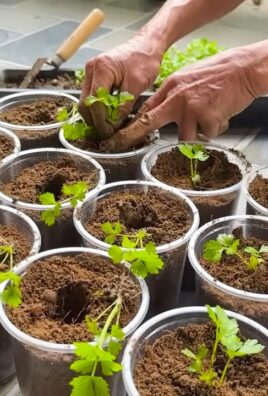
Transplanting a Chive Plant: A Simple Process
If you’re starting with a small chive plant, the process is even easier:
1. Prepare the Pot: Fill your pot with potting mix, leaving about an inch of space at the top. Gently pat down the soil.
2. Remove the Plant from its Container: Gently squeeze the sides of the container to loosen the plant. Carefully remove the plant, being careful not to damage the roots.
3. Loosen the Roots: Gently loosen the roots of the plant with your fingers. This will encourage them to spread out and establish themselves in the new pot.
4. Plant the Chives: Place the chive plant in the center of the pot. Make sure the top of the root ball is level with the surface of the soil.
5. Fill with Potting Mix: Fill in the space around the plant with potting mix. Gently pat down the soil.
6. Water Thoroughly: Water the plant thoroughly until water drains out of the drainage holes.
7. Place in a Sunny Location: Put the pot on a sunny windowsill or under a grow light.
Caring for Your Chives: Essential Tips
Now that you’ve planted your chives, here’s how to keep them happy and healthy:
* Watering: Water your chives regularly to keep the soil moist, but not soggy. Check the soil moisture by sticking your finger into the soil. If the top inch of soil feels dry, it’s time to water.
* Sunlight: Chives need at least 6 hours of sunlight per day. If you don’t have a sunny windowsill, use a grow light.
* Fertilizing (Optional): You can fertilize your chives every few weeks with a balanced liquid fertilizer. Follow the instructions on the fertilizer label.
* Pruning: Regular pruning encourages new growth. Snip off the tips of the chives with scissors or kitchen shears.
* Deadheading: If your chives start to flower, remove the flowers to encourage more leaf growth. The flowers are edible, but they can detract from the flavor of the leaves.
* Repotting (If Necessary): If your chives become root-bound (the roots are circling around the inside of the pot), you may need to repot them into a larger pot.
* Pest Control: Chives are generally pest-resistant, but they can sometimes be affected by aphids or spider mites. If you notice any pests, you can try spraying them with insecticidal soap.
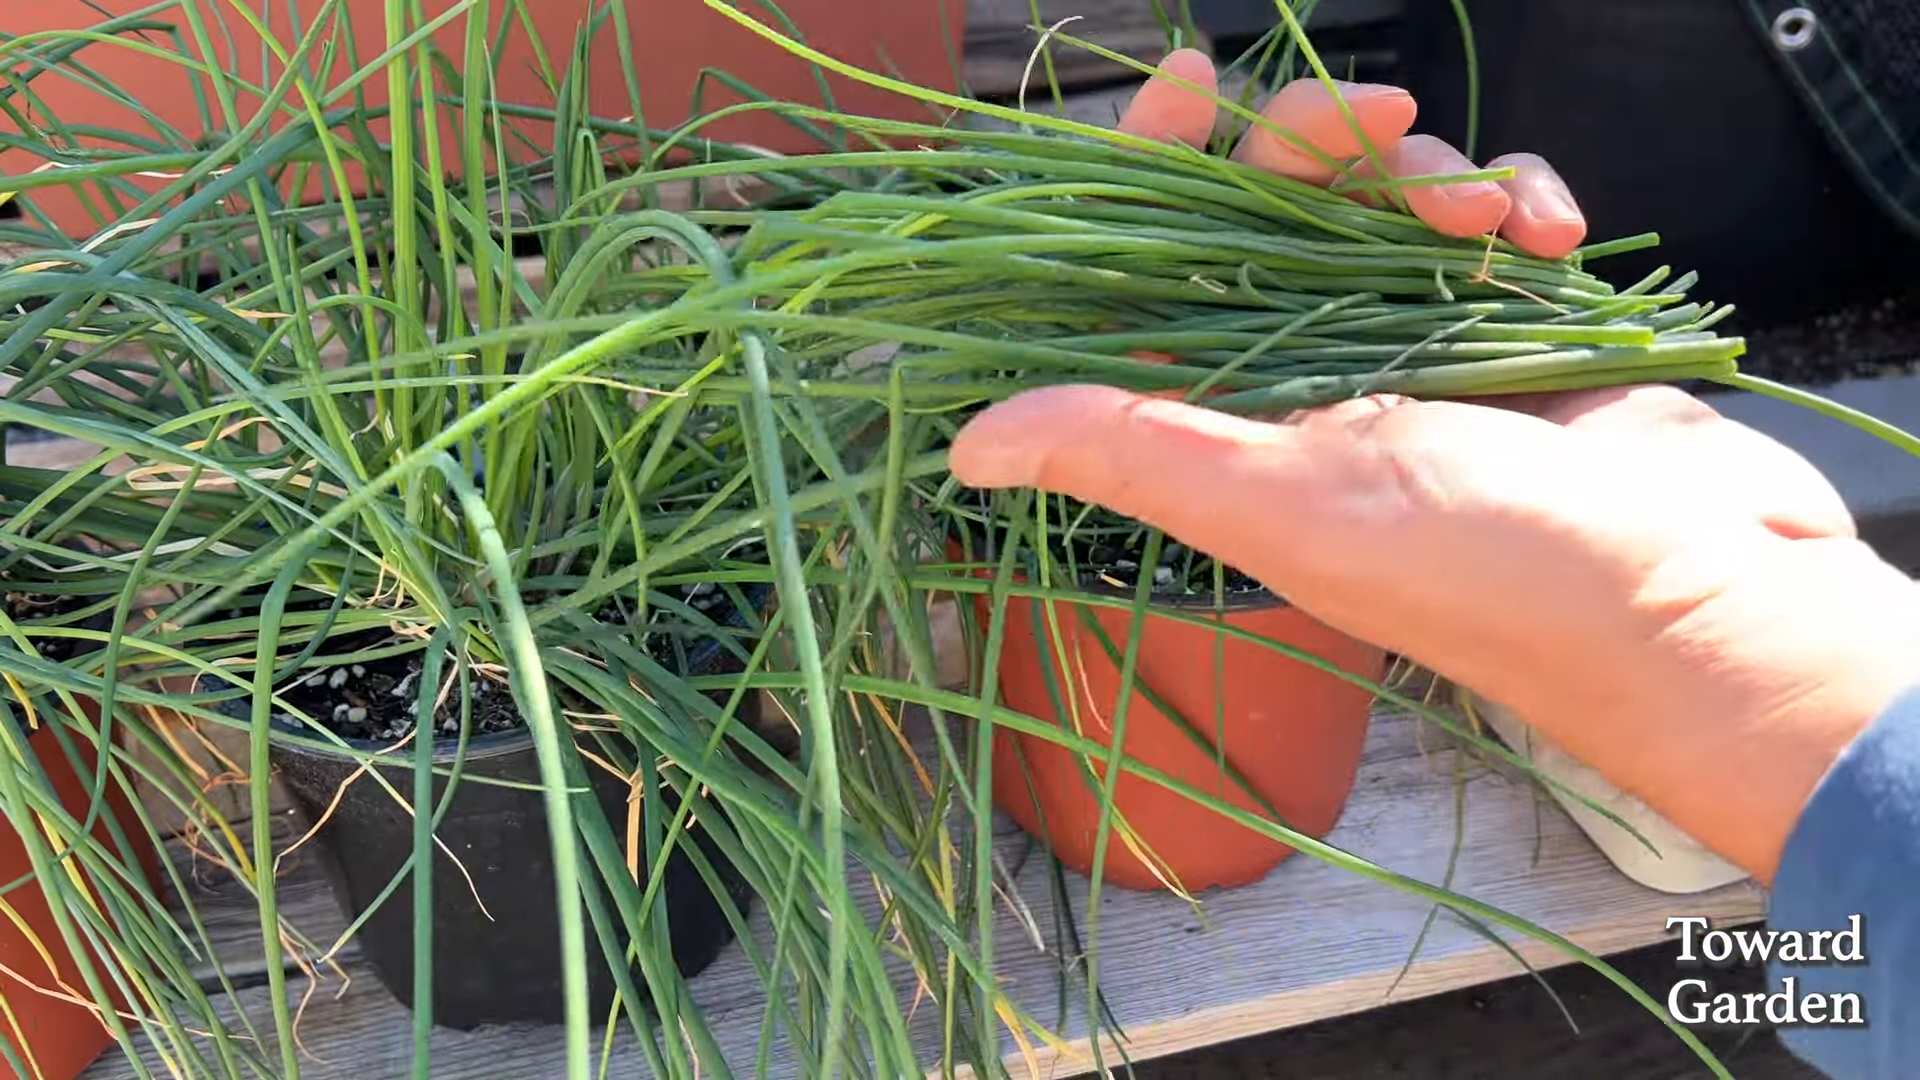
Harvesting Your Chives: The Best Part!
Harvesting your chives is the most rewarding part of the process! Here’s how to do it:
1. Wait Until the Chives are at Least 6 Inches Tall: This will give them enough time to develop a good flavor.
2. Use Scissors or Kitchen Shears: Cut the chives about an inch above the soil level.
3. Harvest Regularly: Regular harvesting encourages new growth.
4. Use Fresh or Freeze for Later: You can use your chives fresh or freeze them for later use. To freeze chives, chop them up and place them in a freezer bag.
Troubleshooting: Common Issues and Solutions
Even with the best care, you might encounter some issues. Here are a few common problems and how to solve them:
* Yellowing Leaves: This could be a sign of overwatering, underwatering, or nutrient deficiency. Adjust your watering schedule and consider fertilizing your chives.
* Leggy Growth: This is usually caused by insufficient sunlight. Move your chives to a sunnier location or use a grow light.
* Slow Growth: This could be due to a variety of factors, including poor soil, insufficient sunlight, or lack of nutrients. Make sure your chives are getting enough sunlight, water, and nutrients.
* Pests: As mentioned earlier, chives can sometimes be affected by aphids or spider mites. Treat them with insecticidal soap.
Enjoy Your Homegrown Chives!
That’s it! You’re now ready to grow your own chives right in your kitchen. With a little care and attention, you’ll have a constant supply of fresh, flavorful herbs at your fingertips. Enjoy! I love adding them to omelets, salads, soups, and so much more. Happy gardening!
Conclusion
So, there you have it! Cultivating your own chives isn’t just a fun project; it’s a gateway to fresher, more flavorful meals and a more sustainable lifestyle. This simple DIY trick for creating a thriving kitchen garden of chives is a game-changer for anyone who loves to cook. Imagine snipping fresh, vibrant chives directly from your windowsill to garnish your omelets, salads, soups, or baked potatoes. The difference in taste between store-bought and homegrown chives is truly remarkable – a burst of oniony freshness that elevates any dish.
Why is this a must-try? Because it’s incredibly easy, cost-effective, and rewarding. You don’t need a sprawling garden or any special equipment. A simple pot, some soil, and a handful of chive seeds or a transplanted clump are all you need to embark on this culinary adventure. Plus, growing your own chives reduces your reliance on store-bought herbs, saving you money and minimizing your environmental impact.
But the benefits extend beyond convenience and cost savings. Gardening, even on a small scale, is a therapeutic activity that can reduce stress and improve your overall well-being. Nurturing your chives from tiny seeds to flourishing plants is a deeply satisfying experience that connects you to nature and the food you eat.
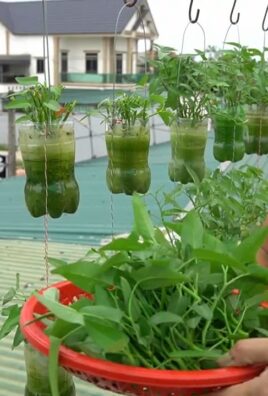
Looking for variations? Consider experimenting with different types of chives. Garlic chives, with their subtle garlic flavor, are a delicious alternative to traditional chives. You can also try growing your chives in different containers, from repurposed yogurt containers to decorative ceramic pots. Get creative and personalize your chive garden to suit your style and space. Another great variation is to companion plant your chives with other herbs like parsley or basil in the same container. This not only saves space but can also create a mutually beneficial environment for the plants.
Don’t be afraid to experiment with different growing conditions to find what works best for your chives. Some people find that their chives thrive in direct sunlight, while others prefer a more shaded location. Observe your plants closely and adjust your care routine accordingly.
We wholeheartedly encourage you to try this DIY trick for growing chives in your kitchen. It’s a simple yet transformative way to enhance your cooking, connect with nature, and add a touch of green to your home. Once you experience the joy of harvesting your own fresh chives, you’ll never want to go back to store-bought again.
And most importantly, we want to hear about your experience! Share your photos, tips, and stories in the comments below. Let us know what worked for you, what challenges you faced, and what delicious dishes you created with your homegrown chives. Together, we can build a community of passionate home gardeners and inspire others to embrace the joys of growing their own food. Let’s all start growing chives in our kitchen garden today!
Frequently Asked Questions (FAQ)
1. What kind of soil is best for growing chives?
Chives thrive in well-draining soil that is rich in organic matter. A good potting mix specifically formulated for herbs or vegetables is ideal. You can also amend regular potting soil with compost or aged manure to improve its fertility and drainage. Avoid using heavy clay soil, as it can become waterlogged and lead to root rot. The ideal pH level for chives is between 6.0 and 7.0. You can test your soil’s pH using a home testing kit available at most garden centers.
2. How much sunlight do chives need?
Chives prefer at least 6 hours of direct sunlight per day. However, they can also tolerate partial shade, especially in hotter climates. If you’re growing your chives indoors, place them near a sunny window that receives plenty of natural light. If you don’t have a sunny window, you can supplement with a grow light. Rotate the pot regularly to ensure that all sides of the plant receive equal exposure to light. This will prevent the chives from becoming leggy and growing towards the light source.
3. How often should I water my chives?
Water your chives regularly, keeping the soil consistently moist but not waterlogged. Check the soil moisture by sticking your finger about an inch into the soil. If it feels dry, it’s time to water. Water deeply, allowing the excess water to drain out of the bottom of the pot. Avoid overwatering, as this can lead to root rot. During the hotter months, you may need to water your chives more frequently. In the winter, when growth slows down, you can reduce the watering frequency.
4. How do I harvest chives?
Harvest chives by snipping the leaves near the base of the plant with scissors or kitchen shears. Avoid cutting off more than one-third of the plant at a time, as this can stress the plant and slow down its growth. Regular harvesting encourages the plant to produce more leaves. You can harvest chives throughout the growing season, from spring to fall. The best time to harvest is in the morning, after the dew has dried.
5. Do chives need fertilizer?
Chives are not heavy feeders, but they will benefit from occasional fertilization. You can fertilize your chives every few weeks with a balanced liquid fertilizer diluted to half strength. Alternatively, you can amend the soil with compost or aged manure at the beginning of the growing season. Avoid over-fertilizing, as this can lead to excessive foliage growth at the expense of flavor.
6. How do I prevent chives from flowering?
Chives produce attractive purple flowers in the spring and summer. While the flowers are edible, they can detract from the flavor of the leaves. To prevent chives from flowering, simply snip off the flower buds as soon as they appear. This will encourage the plant to focus its energy on producing more leaves. If you do allow your chives to flower, you can harvest the flowers and use them as a garnish or in salads.
7. Can I grow chives from seed?
Yes, you can easily grow chives from seed. Sow the seeds indoors 6-8 weeks before the last expected frost. Sow the seeds about ¼ inch deep in a seed-starting mix. Keep the soil moist and warm, and the seeds should germinate in about 7-14 days. Once the seedlings have developed a few sets of true leaves, you can transplant them into individual pots or directly into your garden. You can also sow chive seeds directly into your garden in the spring, after the last frost.
8. Are chives perennial?
Yes, chives are perennial, meaning they will come back year after year. In colder climates, the foliage may die back in the winter, but the plant will regrow in the spring. To protect your chives during the winter, you can mulch around the base of the plant with straw or leaves. You can also divide your chives every few years to prevent them from becoming overcrowded.
9. My chives are turning yellow. What’s wrong?
Yellowing chives can be caused by several factors, including overwatering, underwatering, nutrient deficiencies, or pests. Check the soil moisture to ensure that you are not overwatering or underwatering. If the soil is dry, water deeply. If the soil is waterlogged, allow it to dry out before watering again. If you suspect a nutrient deficiency, fertilize your chives with a balanced liquid fertilizer. Inspect the plants for pests, such as aphids or spider mites. If you find pests, treat them with an insecticidal soap or neem oil.
10. Can I freeze chives?
Yes, you can freeze chives for later use. To freeze chives, wash and dry them thoroughly. Then, chop them into small pieces and place them in a freezer-safe bag or container. Remove as much air as possible from the bag or container before sealing it. Frozen chives will retain their flavor and texture for several months. You can also freeze chives in ice cube trays. Simply fill the ice cube trays with chopped chives and water or olive oil. Once the cubes are frozen, transfer them to a freezer-safe bag or container.

Leave a Comment