
Time-Saving Cleaning Hacks: Who doesn’t dream of a sparkling clean home without spending their entire weekend scrubbing? Let’s be honest, cleaning isn’t exactly anyone’s favorite pastime, but it’s a necessary evil. But what if I told you that you could reclaim your precious time and still have a spotless living space?
For centuries, people have sought clever ways to streamline household chores. From ancient Roman bathhouses meticulously maintained by slaves to the Victorian era’s emphasis on domestic efficiency, the desire for a clean and organized home has always been present. Now, we’re armed with modern tools and a wealth of knowledge, allowing us to take cleaning efficiency to a whole new level!
In today’s fast-paced world, time is a luxury. We’re juggling work, family, hobbies, and social lives, leaving little room for hours of tedious cleaning. That’s where these time-saving cleaning hacks come in. I’m going to share some of my favorite DIY tricks that will cut your cleaning time in half, leaving you with more time to enjoy the things you love. These aren’t just quick fixes; they’re smart strategies that will transform your cleaning routine and give you back your weekends. Get ready to say goodbye to endless scrubbing and hello to a cleaner, happier you!
Time-Saving Cleaning Hacks: Reclaim Your Weekend!
Okay, let’s be honest, nobody *really* enjoys cleaning. But it’s a necessary evil, right? Well, what if I told you there were ways to make it less of a chore and more of a breeze? I’ve compiled some of my favorite time-saving cleaning hacks that will help you reclaim your weekends and spend more time doing the things you actually love. Get ready to ditch the endless scrubbing and say hello to a sparkling clean home in less time!
Hack 1: The Microwave Steam Clean
This is a game-changer, seriously. Forget scrubbing burnt-on food splatters for ages. This hack uses the power of steam to loosen everything up, making it super easy to wipe clean.
What You’ll Need:
* A microwave-safe bowl
* 1 cup of water
* 1-2 tablespoons of white vinegar or lemon juice (optional, but adds extra cleaning power)
* A clean sponge or cloth
Step-by-Step Instructions:
1. Prepare the Solution: Fill the microwave-safe bowl with 1 cup of water. Add the vinegar or lemon juice if you’re using it. I find lemon juice leaves a fresher scent.
2. Microwave It: Place the bowl in the microwave and heat on high for 5-7 minutes. You want the water to boil and create a good amount of steam.
3. Let it Sit: This is the crucial part! Leave the microwave door closed for another 2-3 minutes after the timer goes off. This allows the steam to really work its magic and loosen all the grime.
4. Wipe Clean: Carefully remove the bowl (it will be hot!). Use your sponge or cloth to wipe down the inside of the microwave. You’ll be amazed at how easily the food splatters come off. For stubborn spots, you might need a little extra elbow grease, but it’ll still be significantly easier than scrubbing from the start.
5. Dry It: Finally, dry the inside of the microwave with a clean cloth. And voila! A sparkling clean microwave in minutes.
Hack 2: The Shower Head Vinegar Soak
Hard water deposits can wreak havoc on your shower head, reducing water pressure and making it look grimy. This hack is a simple and effective way to dissolve those deposits and restore your shower head to its former glory.
What You’ll Need:
* A plastic bag (sandwich bag or larger, depending on the size of your shower head)
* White vinegar
* A rubber band or twist tie
* An old toothbrush (optional, for extra scrubbing)
Step-by-Step Instructions:
1. Fill the Bag: Pour enough white vinegar into the plastic bag to completely submerge the shower head.
2. Secure the Bag: Carefully place the bag over the shower head, ensuring the shower head is fully immersed in the vinegar. Use the rubber band or twist tie to secure the bag tightly around the shower arm. You want to make sure the vinegar doesn’t leak out.
3. Soak Overnight: Let the shower head soak in the vinegar overnight (or for at least a few hours). This gives the vinegar plenty of time to dissolve the mineral deposits.
4. Remove and Rinse: Remove the bag and discard the vinegar. Rinse the shower head thoroughly with water.
5. Scrub (Optional): If there are still some stubborn deposits, use an old toothbrush to gently scrub them away.
6. Enjoy the Pressure: Turn on the shower and enjoy the improved water pressure! You’ll be amazed at the difference.
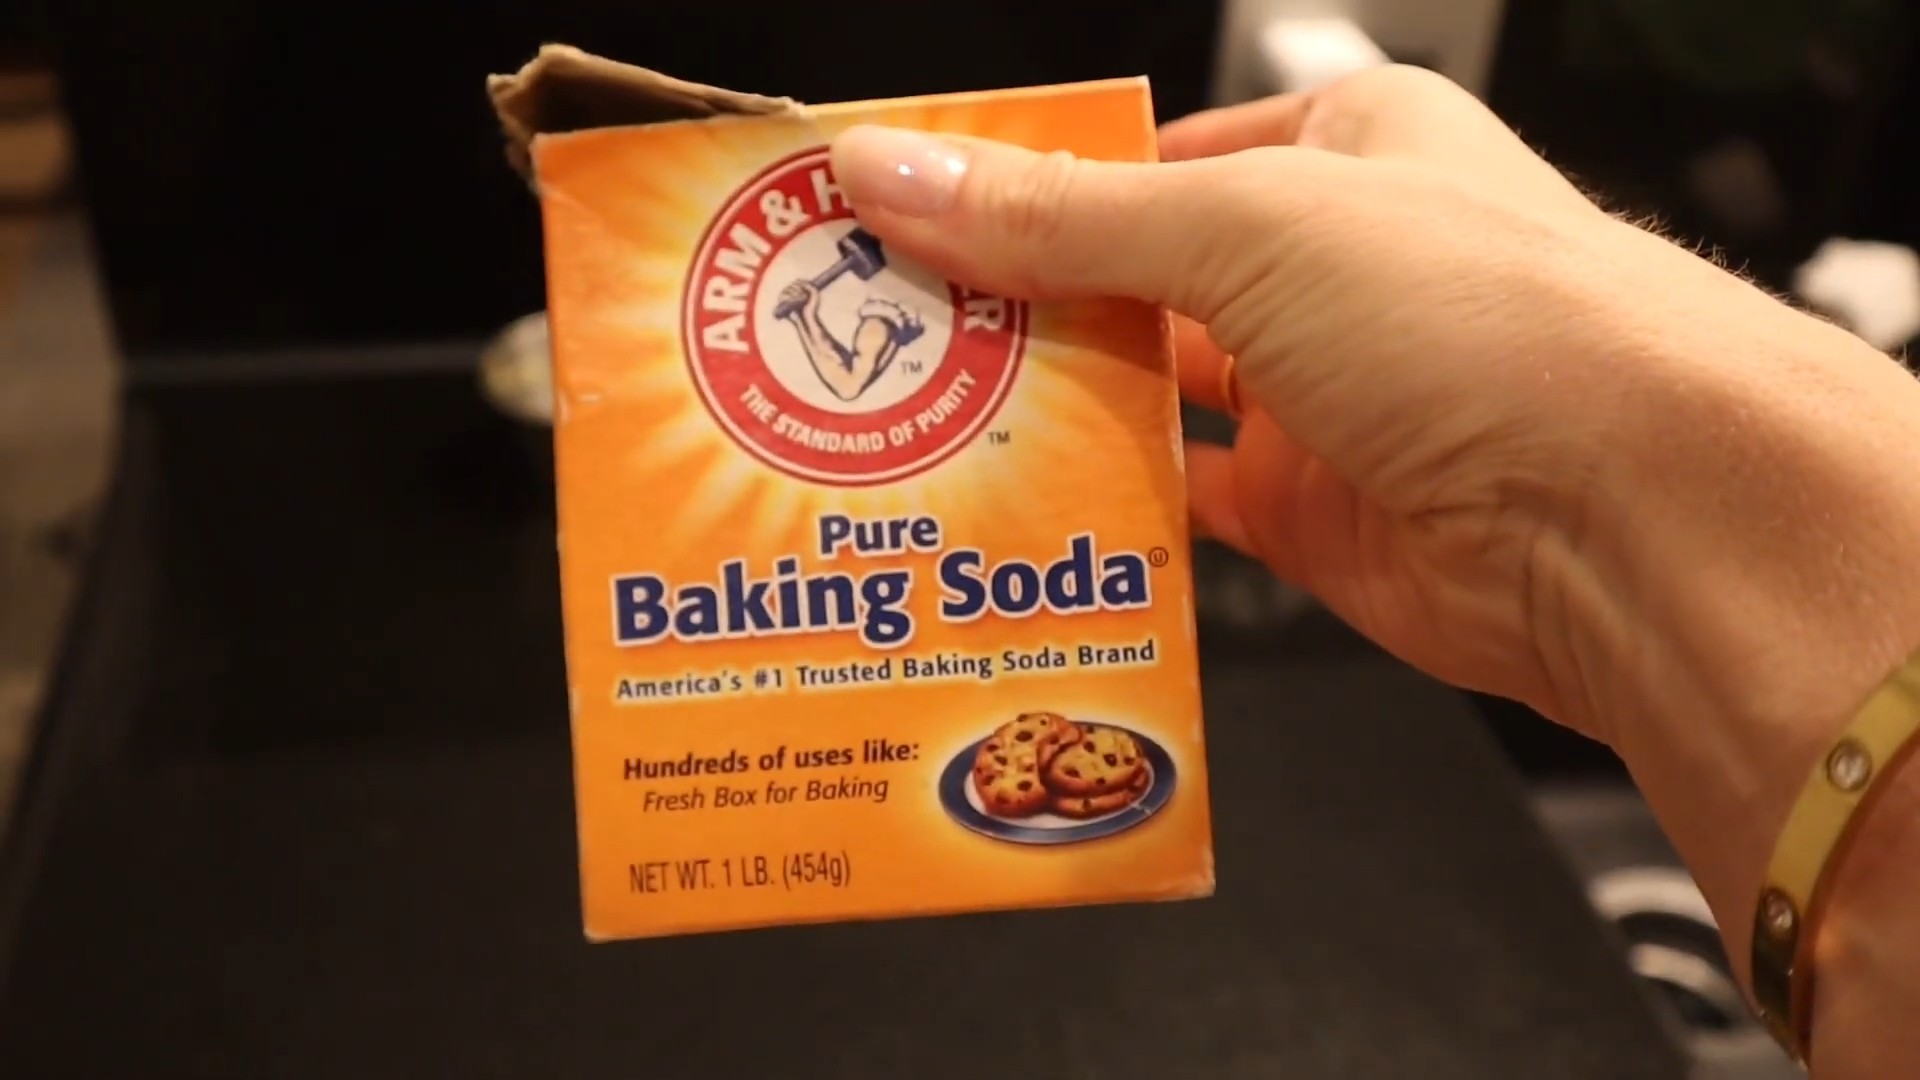
Hack 3: The Baking Soda and Vinegar Drain Cleaner
Forget harsh chemical drain cleaners! This natural alternative is just as effective and much safer for your pipes and the environment.
What You’ll Need:
* 1 cup of baking soda
* 2 cups of white vinegar
* Hot water
Step-by-Step Instructions:
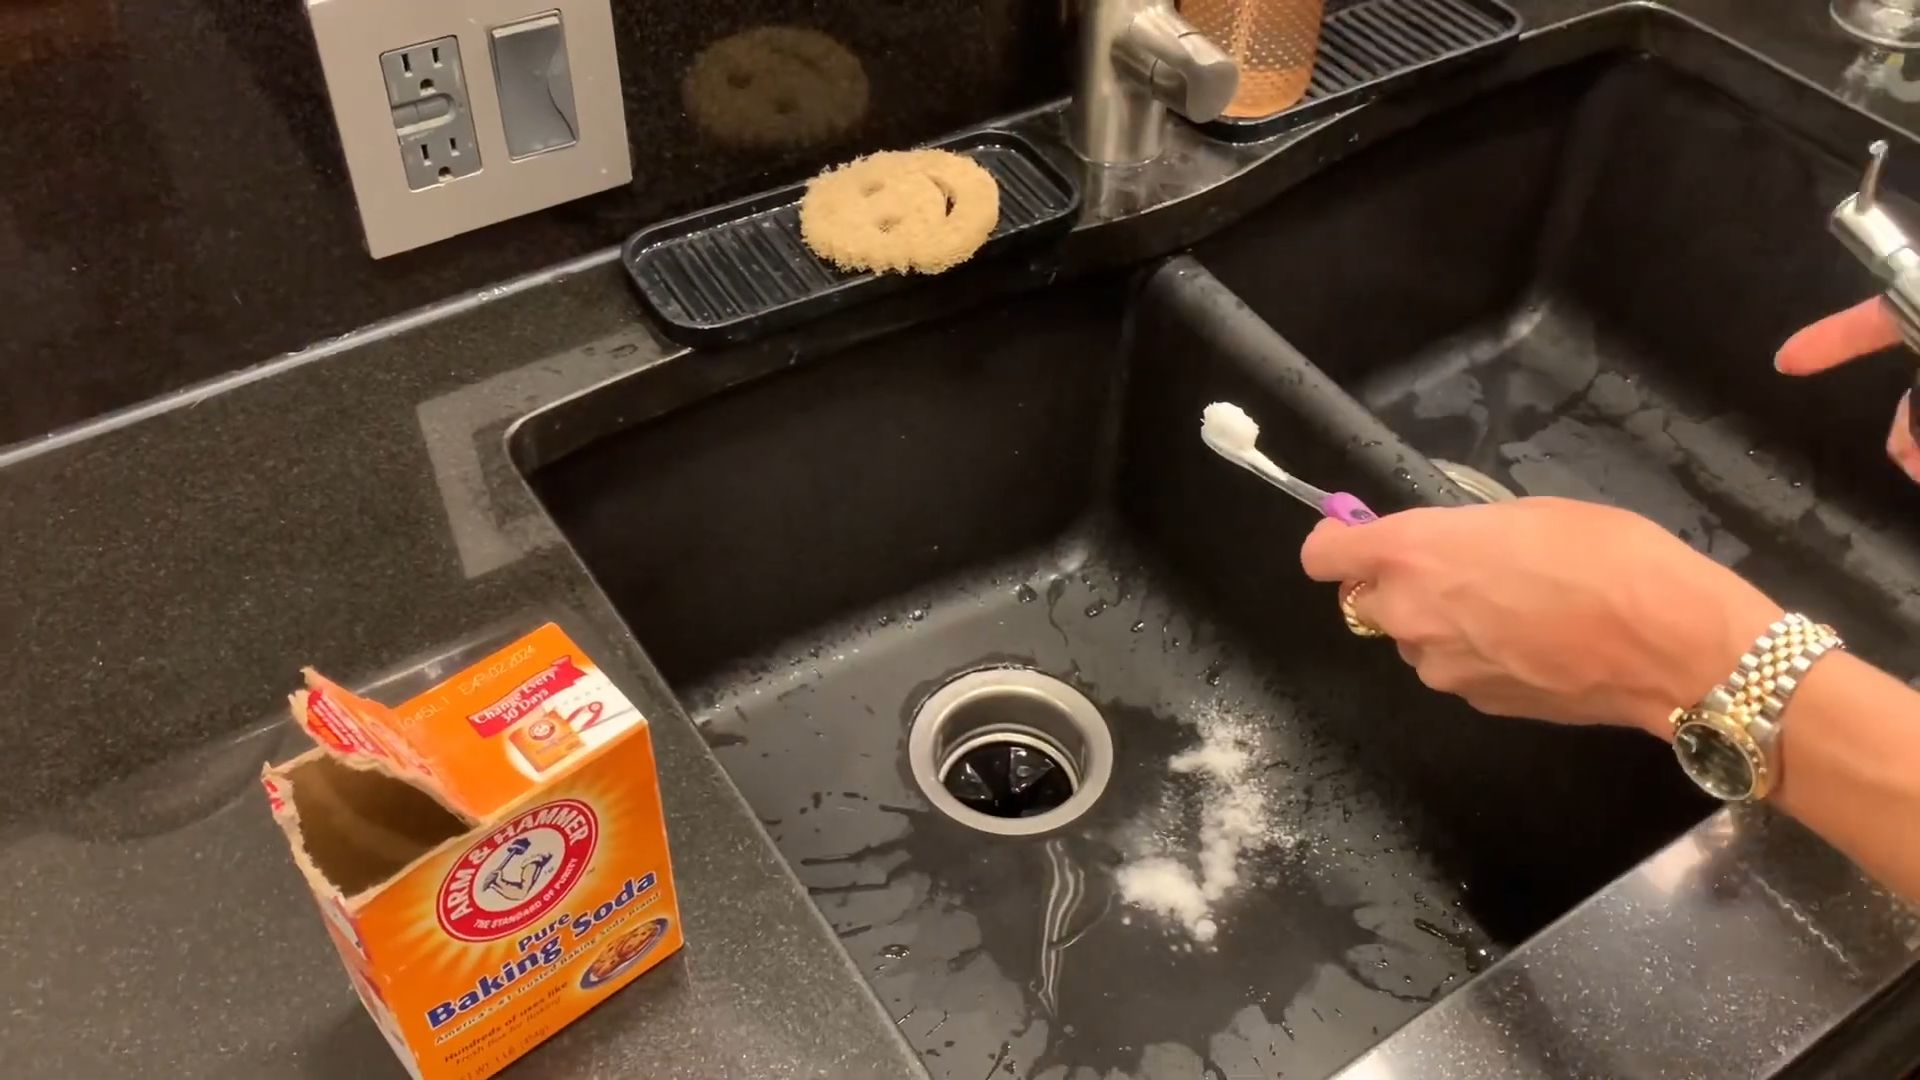
1. Pour in the Baking Soda: Pour 1 cup of baking soda down the drain. Try to get as much of it down the drain as possible.
2. Add the Vinegar: Immediately follow with 2 cups of white vinegar. You’ll see a fizzing reaction – that’s the baking soda and vinegar working together to break down the clog.
3. Let it Fizz: Let the mixture fizz and bubble for about 30 minutes. This gives it time to loosen the gunk and grime in the drain.
4. Flush with Hot Water: After 30 minutes, flush the drain with hot water for several minutes. This will help to wash away the loosened debris.
5. Repeat if Necessary: If the drain is still clogged, repeat the process. For really stubborn clogs, you might need to repeat it a few times.
Hack 4: The Magic Eraser for Stubborn Marks
Magic Erasers are aptly named! They’re fantastic for removing scuff marks, crayon marks, and other stubborn stains from walls, baseboards, and even shoes.
What You’ll Need:
* A Magic Eraser (or similar melamine sponge)
* Water
Step-by-Step Instructions:
1. Wet the Eraser: Wet the Magic Eraser with water and squeeze out the excess. You want it to be damp, not dripping wet.
2. Gently Rub: Gently rub the Magic Eraser over the stain or mark. Avoid applying too much pressure, as it can damage the surface.
3. Wipe Clean: Wipe away any residue with a clean, damp cloth.
4. Admire Your Work: That’s it! You’ll be amazed at how easily the Magic Eraser removes even the most stubborn marks.
Important Note: Always test the Magic Eraser on an inconspicuous area first to make sure it doesn’t damage the surface. It can be abrasive, so use caution on delicate materials.
Hack 5: The Lint Roller Dusting Trick
This is a quick and easy way to remove dust and pet hair from lampshades, curtains, and other hard-to-reach places.
What You’ll Need:
* A lint roller
Step-by-Step Instructions:
1. Roll Away the Dust: Simply roll the lint roller over the surface you want to clean. The sticky paper will pick up dust, pet hair, and other debris.
2. Replace the Sheet: When the lint roller sheet is full, peel it off and replace it with a fresh one.
3. Repeat as Needed: Continue rolling until the surface is clean.
This is especially great for lampshades that are difficult to wipe down.
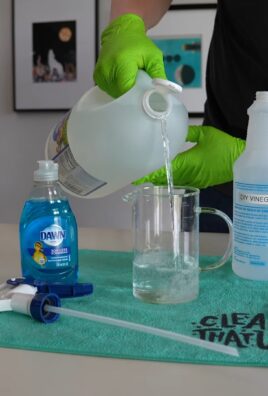
Hack 6: The Dish Soap and Vinegar All-Purpose Cleaner
This is my go-to for a quick and effective all-purpose cleaner. It’s safe for most surfaces and smells great!
What You’ll Need:
* Spray bottle
* 1/2 cup white vinegar
* 1 tablespoon dish soap
* Water
Step-by-Step Instructions:
1. Combine Ingredients: In the spray bottle, combine the white vinegar and dish soap.
2. Fill with Water: Fill the rest of the bottle with water.
3. Shake Gently: Gently shake the bottle to mix the ingredients. Avoid shaking too vigorously, as it can create excessive suds.
4. Spray and Wipe: Spray the cleaner onto the surface you want to clean and wipe with a clean cloth.
Important Note: While this cleaner is safe for most surfaces, it’s always a good idea to test it on an inconspicuous area first, especially on delicate surfaces like wood.
Hack 7: The Baking Soda Paste for Oven Cleaning
Oven cleaning is the worst, right? But this baking soda paste makes it much more manageable.
What You’ll Need:
* Baking soda
* Water
* Spatula or scraper
* Spray bottle with water
* Clean cloth or sponge
Step-by-Step Instructions:
1. Make the Paste: Mix baking soda and water in a bowl to create a thick paste. The consistency should be similar to frosting.
2. Apply the Paste: Spread the baking soda paste all over the inside of your oven, avoiding the heating elements. Focus on areas with baked-on grease and grime.
3. Let it Sit: Let the paste sit for at least 12 hours, or even overnight. This gives the baking soda time to loosen the grime.
4. Scrape and Wipe: Use a spatula or scraper to remove as much of the dried paste as possible.
5. Spray and Wipe Again: Spray the inside of the oven with water to loosen any remaining paste. Wipe clean with a damp cloth or sponge. You may need to rinse and repeat a few times to remove all the residue.
Hack 8
Conclusion
So, there you have it! These time-saving cleaning hacks aren’t just about making your life easier; they’re about reclaiming your precious time and energy. Imagine spending less time scrubbing and more time doing the things you truly enjoy. From the effortless oven cleaning solution to the streak-free window wonder, these DIY tricks are designed to be simple, effective, and budget-friendly.
The beauty of these hacks lies in their adaptability. Feel free to experiment with variations to suit your specific needs and preferences. For instance, if you’re sensitive to vinegar, you can dilute it further or substitute it with lemon juice in some applications. If you prefer a stronger scent, add a few drops of your favorite essential oil to the cleaning solutions. Lavender, tea tree, and eucalyptus are all excellent choices for their antibacterial and aromatic properties.
Why is this a must-try? Because it’s not just about cleaning; it’s about efficiency. It’s about using readily available ingredients to achieve professional-level results. It’s about reducing your reliance on harsh chemicals and embracing a more natural approach to home care. And most importantly, it’s about giving yourself the gift of time.
Consider this: instead of spending an entire Saturday deep cleaning your bathroom, you could use these hacks to maintain a consistently clean space with just a few minutes of effort each day. That’s a significant time saving, allowing you to pursue hobbies, spend time with loved ones, or simply relax and recharge.
We’ve focused on several key areas, but the principles behind these time saving cleaning hacks can be applied to countless other cleaning tasks around your home. Think about adapting the vinegar and baking soda paste for cleaning grout, or using the microfiber cloth trick for dusting furniture. The possibilities are endless!
Don’t just take our word for it. We wholeheartedly encourage you to try these DIY cleaning hacks and experience the difference for yourself. We’re confident that you’ll be amazed by the results. And once you’ve discovered the magic of these time-saving techniques, we’d love to hear about your experience. Share your tips, variations, and success stories in the comments below. Let’s create a community of clean-living enthusiasts who are passionate about saving time and simplifying their lives.
Remember, a clean home is a happy home, and with these time saving cleaning hacks, you can achieve a sparkling clean space without sacrificing your valuable time. So, grab your supplies, roll up your sleeves, and get ready to transform your cleaning routine! You’ll be amazed at how much easier and more enjoyable cleaning can be.
Frequently Asked Questions (FAQ)
Q: Are these cleaning hacks safe for all surfaces?
A: While most of these hacks are generally safe, it’s always a good idea to test them on a small, inconspicuous area first, especially on delicate surfaces like wood, marble, or granite. Vinegar, in particular, can be acidic and may damage certain materials. When in doubt, dilute the cleaning solution further or consult the manufacturer’s recommendations for your specific surfaces. Avoid using abrasive scrubbers on easily scratched surfaces.
Q: Can I use these cleaning hacks if I have allergies or sensitivities?
A: If you have allergies or sensitivities, it’s crucial to be cautious when using any cleaning product, even natural ones. Always wear gloves to protect your skin, and ensure proper ventilation when cleaning. If you’re sensitive to vinegar, consider using lemon juice as a substitute. If you’re allergic to certain essential oils, avoid using them in your cleaning solutions. If you experience any adverse reactions, discontinue use immediately and consult a doctor.
Q: How often should I use these cleaning hacks?
A: The frequency of use depends on your individual needs and lifestyle. For high-traffic areas like the kitchen and bathroom, you may want to use these hacks more frequently, perhaps once or twice a week. For less frequently used areas, such as guest rooms or storage spaces, you can clean them less often. The key is to establish a cleaning routine that works for you and helps you maintain a consistently clean and tidy home. Regular, light cleaning is often more effective than infrequent, deep cleaning.
Q: What if I don’t have all the ingredients listed?
A: The beauty of these DIY cleaning hacks is that they’re often adaptable. If you don’t have a specific ingredient, you can often substitute it with something else. For example, if you don’t have baking soda, you can try using washing soda instead. If you don’t have vinegar, you can use lemon juice. The key is to experiment and see what works best for you. However, be sure to research the properties of any substitute ingredients to ensure they are safe and effective for the intended cleaning task.
Q: Are these cleaning hacks environmentally friendly?
A: Yes, these cleaning hacks are generally more environmentally friendly than using conventional cleaning products. They rely on natural ingredients like vinegar, baking soda, and lemon juice, which are biodegradable and less harmful to the environment. By making your own cleaning solutions, you can also reduce your consumption of plastic bottles and packaging. However, it’s important to dispose of any waste properly and to use sustainable cleaning tools, such as microfiber cloths and reusable spray bottles.
Q: How do I store homemade cleaning solutions?
A: Store homemade cleaning solutions in clean, labeled spray bottles or containers. Be sure to label them clearly with the contents and date of preparation. Store them in a cool, dark place away from direct sunlight and heat. Some solutions, such as those containing essential oils, may degrade over time, so it’s best to use them within a few months. Always keep cleaning solutions out of reach of children and pets.
Q: Can I use these cleaning hacks on appliances?
A: Yes, many of these cleaning hacks are safe to use on appliances. However, it’s important to follow the manufacturer’s instructions for cleaning your specific appliances. Always unplug appliances before cleaning them, and avoid getting water or cleaning solutions inside electrical components. For stainless steel appliances, use a microfiber cloth and a gentle cleaning solution to avoid scratching the surface. For ovens, use the baking soda and vinegar paste to remove baked-on food and grease.
Q: How can I make my cleaning routine more efficient?
A: To make your cleaning routine more efficient, start by decluttering your home. A clutter-free space is easier to clean. Gather all your cleaning supplies in one place so you don’t have to waste time searching for them. Start with the highest surfaces and work your way down. Use a systematic approach, cleaning one room at a time. Set a timer to stay focused and avoid distractions. And most importantly, make cleaning a regular habit, even if it’s just for a few minutes each day. Consistent effort will prevent dirt and grime from building up, making your cleaning tasks much easier in the long run.
Leave a Comment