
Hot vinegar bathroom cleaner: sounds a little… intense, right? But trust me, this isn’t some mad scientist concoction! It’s a surprisingly effective and incredibly simple way to banish grime, soap scum, and hard water stains from your bathroom without resorting to harsh chemicals. For generations, resourceful homemakers have relied on the power of vinegar for cleaning, a practice rooted in its natural acidity and readily available nature. Think of your grandmother’s cleaning secrets – chances are, vinegar played a starring role!
But why should *you* embrace this DIY hot vinegar bathroom cleaner? Well, for starters, it’s budget-friendly. We all love saving money, and vinegar is significantly cheaper than most commercial bathroom cleaners. More importantly, it’s a fantastic alternative for those of us who are sensitive to strong chemical smells or concerned about the environmental impact of conventional cleaning products. I know I am! Plus, the satisfaction of creating your own effective cleaning solution is surprisingly rewarding. So, let’s ditch the harsh chemicals and embrace the natural cleaning power of hot vinegar – your bathroom (and your wallet) will thank you!
DIY Hot Vinegar Bathroom Cleaner: Sparkling Clean the Natural Way!
Okay, friends, let’s talk about bathroom cleaning. It’s nobody’s favorite chore, right? But what if I told you there’s a super simple, incredibly effective, and surprisingly affordable way to get your bathroom sparkling clean using something you probably already have in your pantry: vinegar! And the secret weapon? Heat! Hot vinegar is a powerhouse cleaner, and I’m going to walk you through exactly how to make and use it.
Why Hot Vinegar?
You might be wondering, “Why heat it up?” Well, heating the vinegar significantly increases its cleaning power. The heat helps to break down soap scum, hard water stains, and even mildew more effectively than cold vinegar. Plus, it helps to release the vinegar’s natural cleaning agents, making them work even harder. It’s like giving your vinegar a turbo boost!
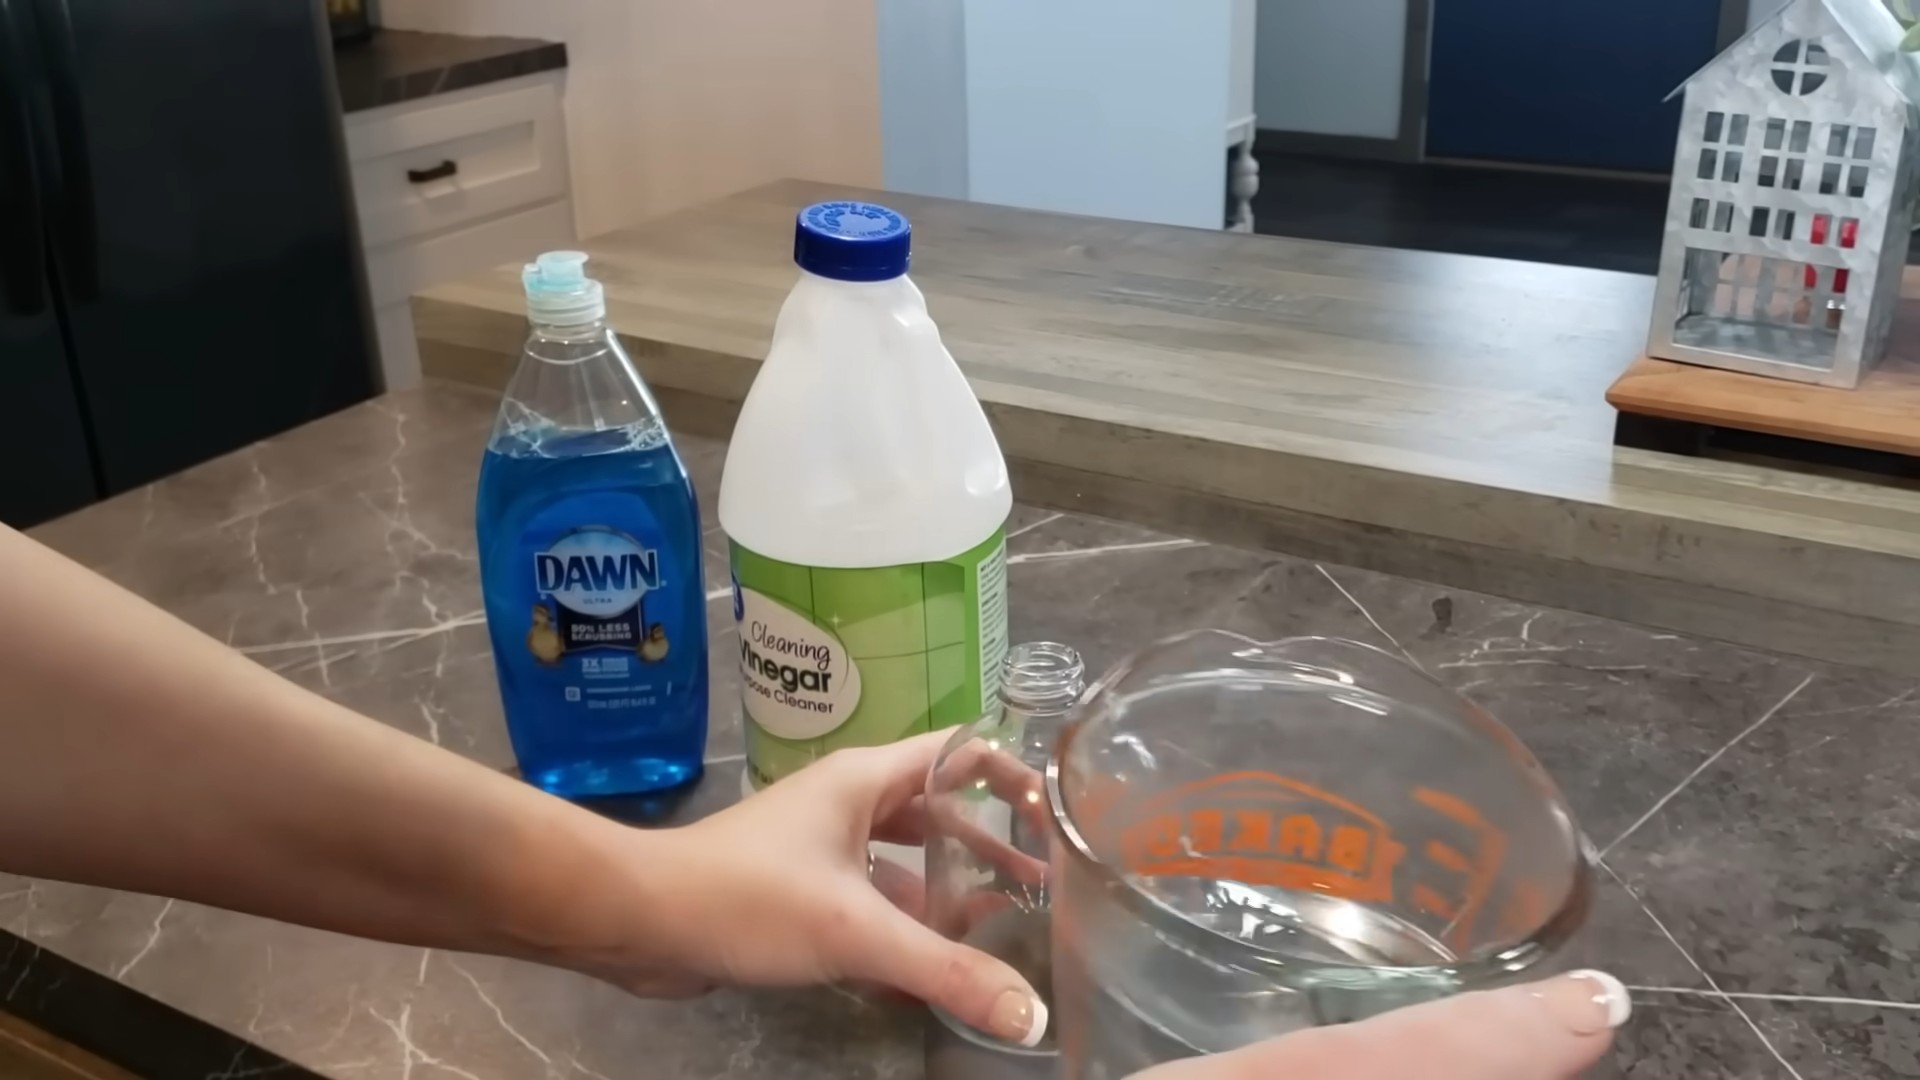
What You’ll Need:
Before we dive in, let’s gather our supplies. This is a pretty minimal list, which is one of the things I love about this DIY cleaner.
* White Vinegar (the cheaper, the better!)
* A microwave-safe bowl or container
* A spray bottle (an old, clean one is perfect!)
* Optional: Essential oils (for a pleasant scent – lemon, tea tree, and eucalyptus are great choices)
* Cleaning cloths or sponges
* Gloves (optional, but recommended, especially if you have sensitive skin)
* Safety glasses (recommended, especially when spraying)
Step-by-Step Instructions: Making Your Hot Vinegar Cleaner
Alright, let’s get down to business! Here’s how to make your own hot vinegar bathroom cleaner:
1. Heat the Vinegar: Pour about 1-2 cups of white vinegar into your microwave-safe bowl or container. The amount you use will depend on the size of your spray bottle. I usually start with 1 cup and adjust as needed.
2. Microwave it Carefully: Place the bowl of vinegar in the microwave. Heat it for about 2-3 minutes. You want it to be hot, but not boiling. Keep a close eye on it to prevent it from bubbling over. Important: Never boil vinegar in the microwave!
3. Let it Cool Slightly: Carefully remove the hot vinegar from the microwave. Let it cool for a minute or two before handling it further. This is just to prevent any accidental burns.
4. Add Essential Oils (Optional): If you want to add a pleasant scent to your cleaner, now’s the time. Add 5-10 drops of your favorite essential oil(s) to the vinegar. I personally love lemon for its fresh, clean scent, or tea tree for its antibacterial properties. Eucalyptus is also great for a bathroom.
5. Pour into Spray Bottle: Carefully pour the hot vinegar (with or without essential oils) into your spray bottle. Use a funnel if you have one to avoid spills.
6. Label Your Bottle: This is crucial! Clearly label your spray bottle as “Hot Vinegar Cleaner” to avoid any confusion. You don’t want anyone accidentally using it for something else!
Using Your Hot Vinegar Cleaner: A Room-by-Room Guide
Now that you have your hot vinegar cleaner ready, let’s put it to work! Here’s how I use it in different parts of my bathroom:
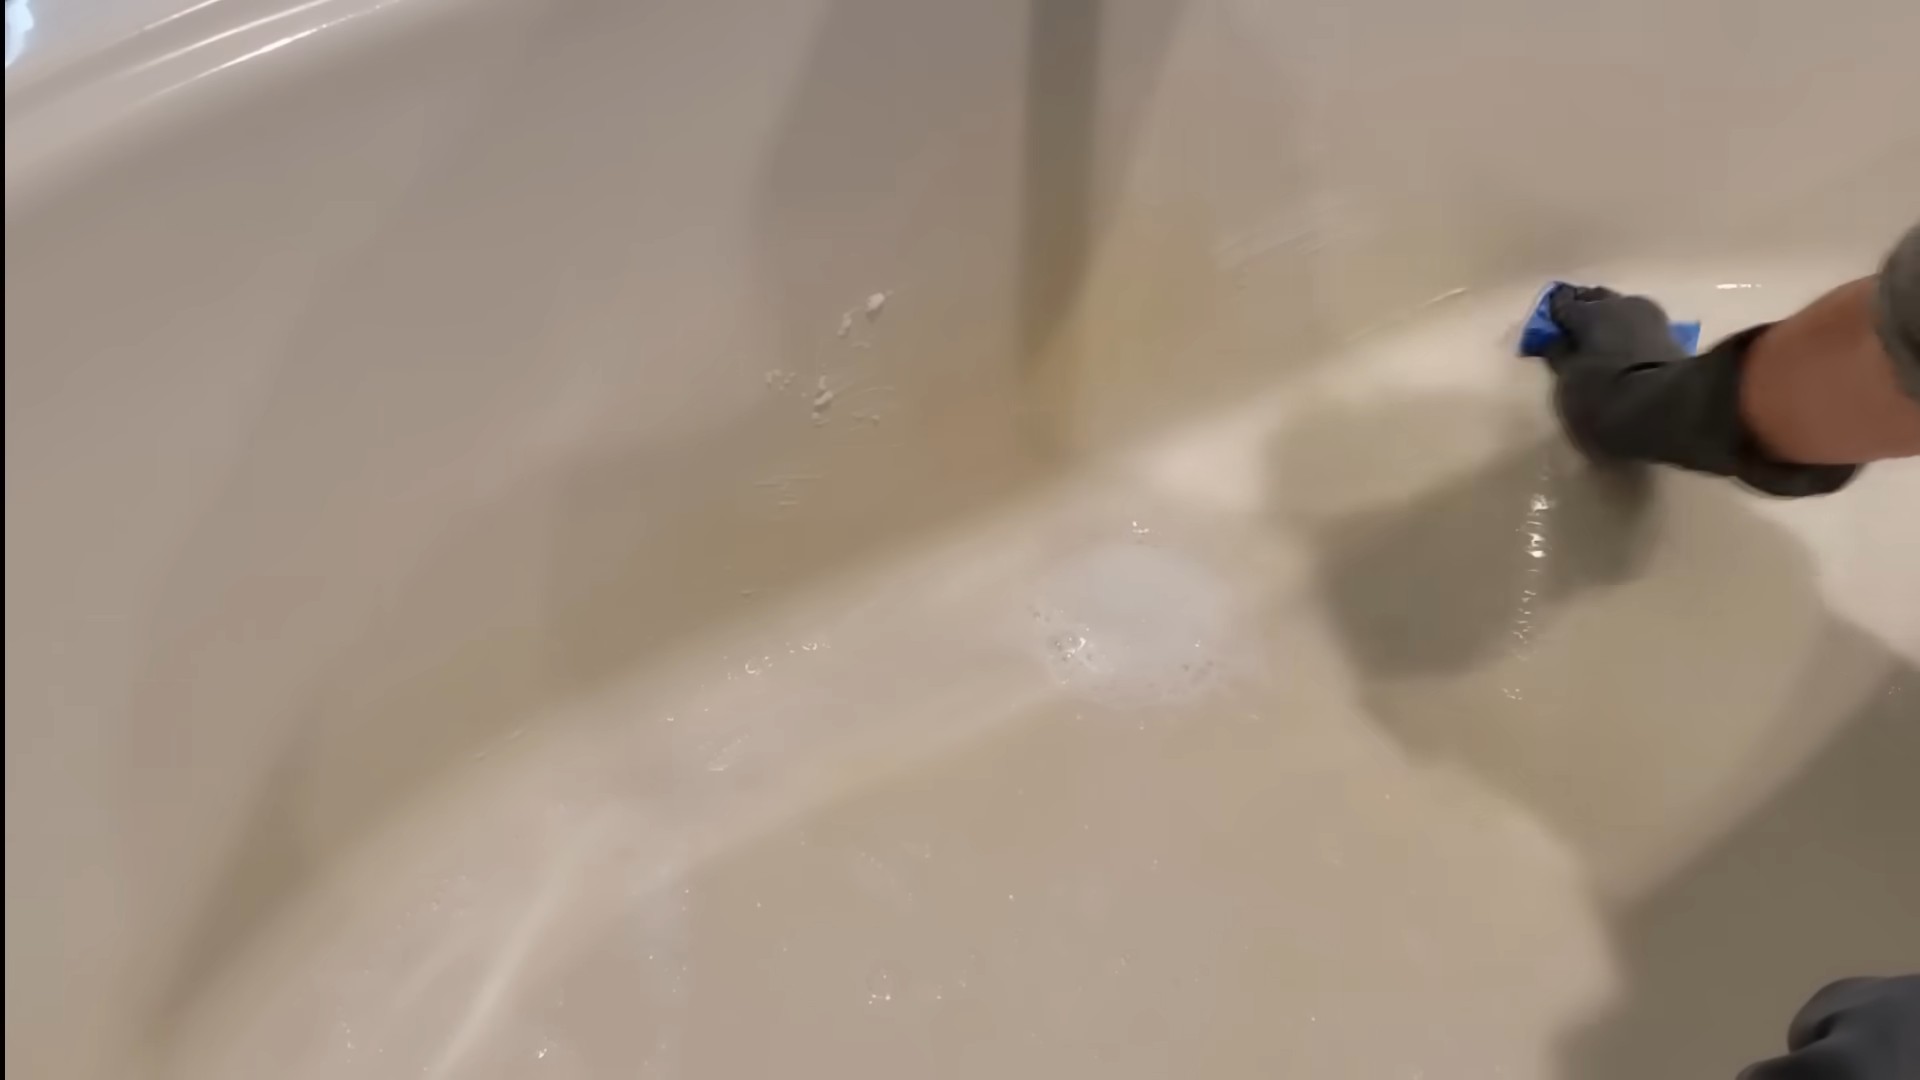
Cleaning the Shower and Tub
This is where hot vinegar really shines! Soap scum and hard water stains don’t stand a chance.
1. Spray it On: Generously spray the hot vinegar cleaner onto the shower walls, tub, and shower door. Make sure to cover all areas affected by soap scum and hard water.
2. Let it Sit: Allow the vinegar to sit for about 15-20 minutes. This gives it time to break down the grime. For really stubborn stains, you can let it sit for up to an hour.
3. Scrub and Rinse: After the vinegar has had time to work, use a sponge or scrub brush to scrub the surfaces. You’ll be amazed at how easily the soap scum and hard water come off.
4. Rinse Thoroughly: Rinse the shower and tub with clean water to remove any remaining vinegar and loosened grime.
5. Dry with a Clean Cloth: Dry the surfaces with a clean cloth to prevent water spots.
Cleaning the Toilet
Hot vinegar is also great for cleaning and disinfecting your toilet.
1. Pour into the Bowl: Pour about 1/2 cup of hot vinegar directly into the toilet bowl.
2. Spray the Exterior: Spray the exterior of the toilet (seat, lid, and base) with the hot vinegar cleaner.
3. Let it Sit: Allow the vinegar to sit for about 15-20 minutes.
4. Scrub the Bowl: Use a toilet brush to scrub the inside of the bowl, paying attention to any stains or buildup.
5. Wipe Down the Exterior: Wipe down the exterior of the toilet with a clean cloth or sponge.
6. Flush: Flush the toilet to rinse the bowl.
Cleaning the Sink and Countertop
Keep your sink and countertop sparkling with hot vinegar.
1. Spray it On: Spray the hot vinegar cleaner onto the sink and countertop.
2. Wipe Clean: Wipe the surfaces clean with a damp cloth or sponge.
3. Rinse (if needed): If you prefer, you can rinse the surfaces with clean water.
4. Dry with a Clean Cloth: Dry the surfaces with a clean cloth to prevent water spots.
Cleaning Mirrors and Glass
Yes, you can even use hot vinegar to clean your mirrors and glass shower doors!
1. Spray Lightly: Lightly spray the hot vinegar cleaner onto the mirror or glass surface. Important: Don’t over-saturate the surface, as this can cause streaks.
2. Wipe with a Microfiber Cloth: Use a clean, dry microfiber cloth to wipe the surface clean. Microfiber cloths are great for streak-free cleaning.
Important Safety Tips:
While hot vinegar is a natural and effective cleaner, it’s important to use it safely.
* Always wear gloves and safety glasses: This will protect your skin and eyes from irritation.
* Never mix vinegar with bleach: Mixing vinegar with bleach can create toxic fumes.
* Ventilate the area: Open a window or turn on the bathroom fan to ensure proper ventilation.
* Keep out of reach of children and pets: Store your hot vinegar cleaner in a safe place where children and pets cannot access it.
* Test on an inconspicuous area first: Before using hot vinegar on any surface, test it on a small, inconspicuous area to make sure it doesn’t damage the finish. Some natural stone surfaces can be damaged by vinegar.
* Be careful when handling hot liquids: Use caution when heating and pouring the hot vinegar to avoid burns.
Troubleshooting:
Sometimes, even with hot vinegar, you might encounter some stubborn cleaning challenges. Here are a few tips for dealing with them:
* For really stubborn soap scum: Make a paste of baking soda and water and apply it to the affected area. Let it sit for a few minutes, then scrub with hot vinegar.
* For hard water stains: Soak a paper towel in hot vinegar and apply it to the stain. Let it sit for an hour or two, then scrub and rinse.
* For mildew: Spray the affected area with hot vinegar and let it sit for several hours. Then, scrub and rinse. You may need to repeat this process several times to completely remove the mildew.
Why I Love This DIY Cleaner:
I’ve been using this hot vinegar bathroom cleaner for years, and I absolutely love it for several reasons:
* It’s effective: It really works! It cleans just as well as (if not better than) many commercial cleaners.
* It’s affordable: Vinegar is incredibly cheap, especially compared to expensive cleaning products.
* It’s natural: I love that I’m using a natural cleaner that doesn’t contain harsh chemicals.
* It’s easy to make: It takes just a few minutes to whip up a batch of hot vinegar cleaner.
* It’s versatile: I can use it to clean almost every surface in my bathroom.
So, there you have it! My go-to DIY hot vinegar bathroom cleaner. Give it a try, and I think you’ll be amazed at how well it works. Happy cleaning!
Conclusion
So, there you have it! Transforming your cleaning routine with this simple, yet incredibly effective, hot vinegar bathroom cleaner is a game-changer. Forget harsh chemicals and overpowering fumes; this DIY solution harnesses the natural power of vinegar to deliver sparkling results without compromising your health or the environment. We’ve shown you how easy it is to create a potent cleaner that tackles soap scum, hard water stains, and general grime with remarkable efficiency.
Why is this a must-try? Because it’s economical, eco-friendly, and effective. Store-bought cleaners often come with a hefty price tag and a long list of ingredients you can barely pronounce. This hot vinegar bathroom cleaner, on the other hand, utilizes a readily available and inexpensive ingredient – vinegar – and transforms it into a cleaning powerhouse with just a little heat. You’ll save money, reduce your exposure to harmful chemicals, and contribute to a more sustainable lifestyle, all while achieving a cleaner, fresher bathroom.
But the beauty of this DIY trick lies not only in its simplicity but also in its adaptability. Feel free to experiment with variations to suit your specific needs and preferences. For a more fragrant experience, infuse your vinegar with citrus peels (lemon, orange, or grapefruit work wonders) for a few days before heating. The citrus oils will add a pleasant scent and enhance the cleaning power. You can also add a few drops of your favorite essential oil, such as tea tree (known for its antibacterial properties) or lavender (for a calming aroma), after the vinegar has cooled slightly. Remember to always test any new additions on a small, inconspicuous area first to ensure they don’t damage the surface.
Another variation involves adding a small amount of dish soap to the hot vinegar solution. This can help to cut through grease and grime more effectively, especially in areas like the shower or around the sink. However, be mindful of the amount you use, as too much soap can leave a residue. A teaspoon or two per cup of vinegar should be sufficient.
This hot vinegar bathroom cleaner is particularly effective on shower doors, tiles, faucets, and toilets. Its acidic nature helps to dissolve mineral deposits and soap scum, leaving surfaces sparkling clean. However, it’s important to avoid using it on natural stone surfaces like marble or granite, as the vinegar can etch and damage them. Always test the cleaner on a small, hidden area before applying it to the entire surface.
We are confident that once you try this hot vinegar bathroom cleaner, you’ll be amazed by its effectiveness and simplicity. It’s a cost-effective, eco-friendly, and powerful alternative to commercial cleaners that will leave your bathroom sparkling clean and smelling fresh.
So, what are you waiting for? Gather your ingredients, follow the simple steps, and experience the magic of hot vinegar for yourself! We encourage you to try this DIY trick and share your experience with us. Let us know what variations you tried, what surfaces you cleaned, and what results you achieved. Your feedback will help us and other readers refine and improve this cleaning solution even further. Share your tips, tricks, and before-and-after photos in the comments section below. We can’t wait to hear from you! Let’s revolutionize our cleaning routines together, one sparkling bathroom at a time!
Frequently Asked Questions
Is hot vinegar bathroom cleaner safe to use on all surfaces?
No, hot vinegar bathroom cleaner is not safe to use on all surfaces. It’s crucial to understand its limitations to avoid damaging certain materials. Avoid using it on natural stone surfaces like marble, granite, travertine, and limestone. The acidity of the vinegar can etch and dull these surfaces, causing permanent damage. Also, avoid using it on waxed surfaces, as it can strip the wax. It’s generally safe for use on ceramic tile, porcelain, glass, stainless steel, and most plastics, but always test it on a small, inconspicuous area first to ensure it doesn’t cause any discoloration or damage. If you’re unsure about a particular surface, err on the side of caution and use a cleaner specifically designed for that material.
How hot should the vinegar be?
The vinegar should be heated until it’s hot to the touch but not boiling. You can heat it in the microwave or on the stovetop. If using the microwave, heat it in short intervals (30 seconds at a time) to prevent it from boiling over. If using the stovetop, heat it over medium heat, stirring occasionally, until it’s steaming but not bubbling vigorously. The goal is to increase the vinegar’s cleaning power without creating excessive fumes or a potential hazard. Never boil the vinegar, as this can release strong fumes that can be irritating to the respiratory system.
What precautions should I take when using hot vinegar bathroom cleaner?
When using hot vinegar bathroom cleaner, it’s essential to take certain precautions to protect yourself and your home. First, ensure adequate ventilation by opening windows or turning on the exhaust fan. The fumes from hot vinegar can be irritating, especially for people with respiratory sensitivities. Wear gloves to protect your skin from prolonged exposure to the vinegar. Avoid getting the cleaner in your eyes; if contact occurs, rinse thoroughly with water. Keep the cleaner out of reach of children and pets. Never mix vinegar with bleach, as this can create toxic chlorine gas. Store the cleaner in a labeled container away from other cleaning products.
Can I add anything to the hot vinegar bathroom cleaner to make it smell better?
Yes, you can definitely add ingredients to the hot vinegar bathroom cleaner to improve its scent. One popular option is to infuse the vinegar with citrus peels. Simply add lemon, orange, or grapefruit peels to the vinegar and let it sit for a few days before heating. The citrus oils will impart a pleasant fragrance and enhance the cleaning power. You can also add a few drops of your favorite essential oil after the vinegar has cooled slightly. Tea tree oil is a great choice for its antibacterial properties, while lavender oil offers a calming aroma. Start with a small amount of essential oil (5-10 drops per cup of vinegar) and adjust to your preference. Always test any new additions on a small, inconspicuous area first to ensure they don’t damage the surface.
How long does the hot vinegar bathroom cleaner last?
The hot vinegar bathroom cleaner can last for several weeks or even months if stored properly. Keep it in a sealed container in a cool, dark place. Over time, the scent may fade, but the cleaning power should remain effective. If you notice any significant changes in color or consistency, it’s best to discard the cleaner and make a fresh batch. To maximize its shelf life, avoid contaminating the cleaner with other substances. Use a clean spray bottle or container and avoid dipping dirty cloths or sponges into the solution.
Is it safe to use hot vinegar bathroom cleaner around pets?
While vinegar is generally considered safe for pets in diluted forms, it’s important to exercise caution when using hot vinegar bathroom cleaner around them. The strong fumes can be irritating to their respiratory systems, especially for birds and small animals. Keep pets out of the bathroom while you’re cleaning and ensure adequate ventilation. Once the surfaces are dry and the fumes have dissipated, it’s generally safe for pets to re-enter the room. If your pet has any respiratory issues or sensitivities, it’s best to avoid using vinegar-based cleaners altogether or consult with your veterinarian. Always store the cleaner out of reach of pets to prevent accidental ingestion.
Can I use this cleaner on mold?
While hot vinegar bathroom cleaner can help to inhibit mold growth, it’s not a substitute for professional mold remediation. Vinegar can kill some types of mold, but it’s not effective against all species. For small areas of surface mold, you can try using the hot vinegar cleaner, but be sure to thoroughly clean and dry the area afterward. For larger or more persistent mold problems, it’s best to consult with a professional mold remediation company. Mold can pose serious health risks, so it’s important to address it properly.
What if the hot vinegar bathroom cleaner doesn’t remove all the soap scum or hard water stains?
If the hot vinegar bathroom cleaner doesn’t completely remove stubborn soap scum or hard water stains, there are a few things you can try. First, allow the cleaner to sit on the affected area for a longer period of time (up to 30 minutes) before scrubbing. You can also try using a more abrasive scrubbing tool, such as a scrub brush or a non-scratch scouring pad. For particularly stubborn stains, you can make a paste of baking soda and water and apply it to the area before spraying with the hot vinegar cleaner. The baking soda will act as a gentle abrasive to help loosen the stains. If all else fails, you may need to use a stronger commercial cleaner specifically designed for removing soap scum and hard water stains.


Leave a Comment