
Natural bathroom cleaning methods are not just a trend; they’re a return to simpler, healthier ways of maintaining our homes. For generations, before the advent of harsh chemicals, people relied on the power of nature to keep their living spaces sparkling. Think about it – our grandmothers probably used vinegar and baking soda to tackle grime, and their bathrooms were likely just as clean as ours, if not cleaner!
But why should you ditch the bleach and embrace the natural side? Well, for starters, those conventional cleaners often contain ingredients that can irritate your skin, lungs, and even contribute to indoor air pollution. Plus, many of us are becoming increasingly aware of the environmental impact of these chemicals. That’s where these DIY tricks come in. I’m going to share some super easy and effective natural bathroom cleaning methods that will leave your bathroom smelling fresh, looking spotless, and feeling much healthier for you and your family.
Ready to say goodbye to harsh chemicals and hello to a sparkling, naturally clean bathroom? Let’s dive in!
DIY Natural Bathroom Cleaning: Sparkling Clean Without the Harsh Chemicals
Hey everyone! I’m so excited to share my go-to method for cleaning my bathroom using all-natural ingredients. I’ve been using this method for years, and I swear, my bathroom has never been cleaner (or smelled better!) without the harsh chemicals. Plus, it’s super budget-friendly and better for the environment. Let’s get started!
What You’ll Need: The Natural Cleaning Arsenal
Before we dive in, let’s gather our supplies. The beauty of this method is that you probably already have most of these items in your pantry!
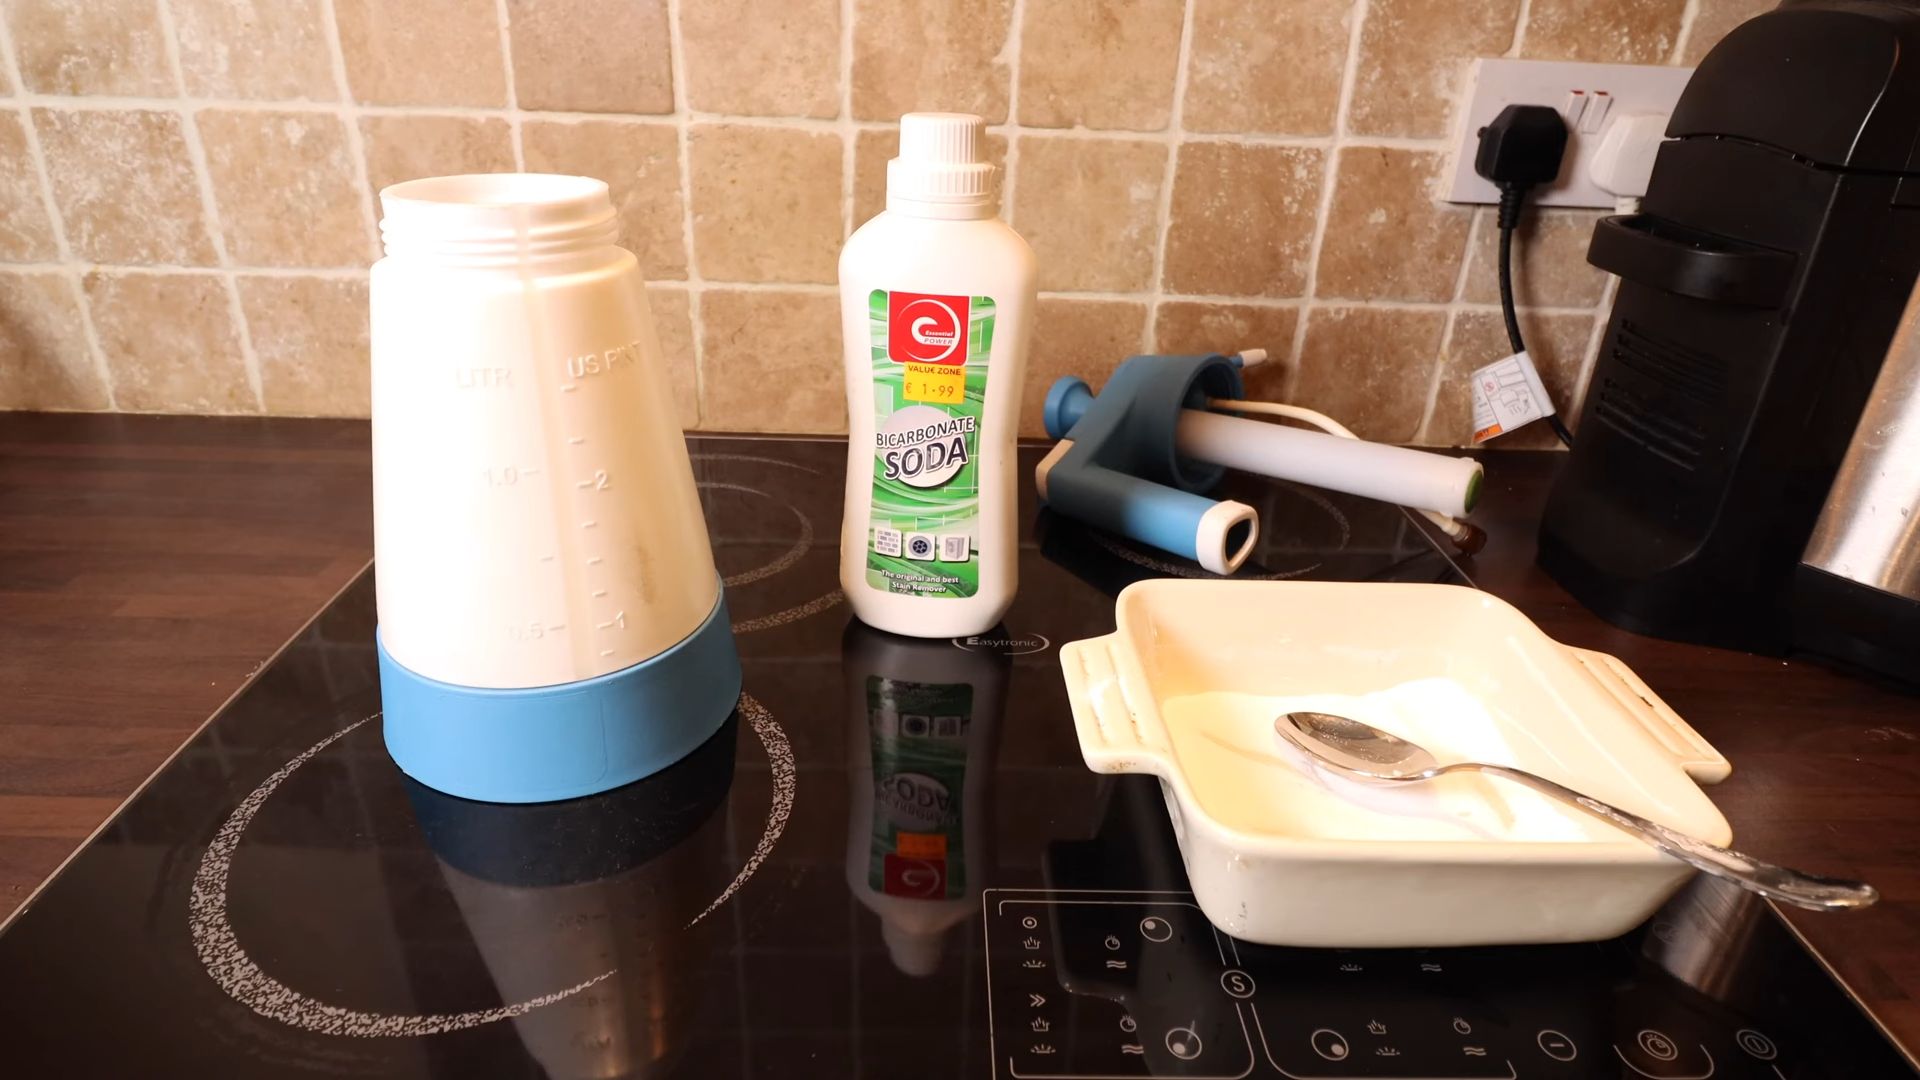
* Baking Soda: This is our gentle abrasive cleaner and deodorizer.
* White Vinegar: A fantastic disinfectant and descaler.
* Lemon Juice: Adds a fresh scent and helps cut through grime.
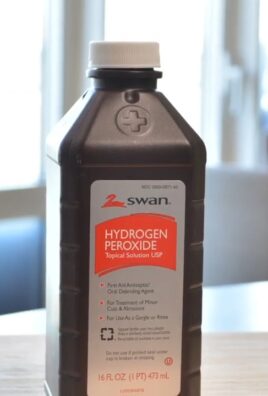
* Hydrogen Peroxide: A natural bleach alternative for whitening and disinfecting.
* Essential Oils (Optional): For added fragrance and antibacterial properties (I love tea tree, lavender, and eucalyptus).
* Spray Bottles: You’ll need at least two, one for vinegar and one for your all-purpose cleaner.
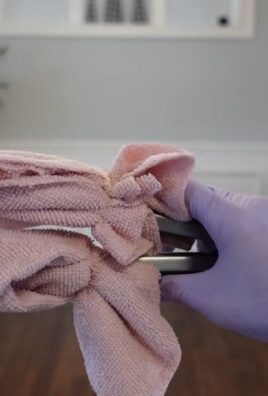
* Microfiber Cloths: These are essential for streak-free cleaning.
* Scrub Brush: For tackling tough stains and grout.
* Old Toothbrush: Perfect for cleaning tight spaces and grout lines.
* Rubber Gloves: To protect your hands.
* Squeegee: For shower doors and mirrors.
* Toilet Bowl Brush: A must-have for obvious reasons!
Making Your All-Purpose Natural Cleaner
This is the base of our cleaning routine. It’s effective on most surfaces and smells amazing!
1. Combine Ingredients: In a spray bottle, mix 1 cup of water, 1/2 cup of white vinegar, 1/4 cup of baking soda, and 10-15 drops of your favorite essential oil (I usually go for a combination of tea tree and lemon).
2. Shake Well: Make sure the baking soda is fully dissolved. It might fizz a bit at first, that’s normal!
3. Label Your Bottle: Clearly label the bottle as “All-Purpose Natural Cleaner” to avoid any confusion.
Tackling the Toilet: A Sparkling Throne
Let’s face it, cleaning the toilet isn’t anyone’s favorite chore, but it’s gotta be done!
1. Flush the Toilet: Get rid of any… you know.
2. Apply Baking Soda: Sprinkle about 1/2 cup of baking soda into the toilet bowl.
3. Add Vinegar: Pour 1 cup of white vinegar into the bowl. It will fizz – this is the cleaning action happening!
4. Let it Sit: Allow the mixture to sit for at least 30 minutes, or even better, overnight for stubborn stains.
5. Scrub and Flush: Use your toilet bowl brush to scrub the bowl thoroughly, paying attention to any stains or buildup. Flush the toilet to rinse.
6. Clean the Exterior: Spray the exterior of the toilet (including the base, seat, and lid) with your all-purpose cleaner. Wipe clean with a microfiber cloth.
Shining Showers and Tubs: Banishing Soap Scum
Soap scum can be a real pain, but with this method, it’s no match!
1. Rinse the Surfaces: Start by rinsing the shower walls, tub, and any glass doors with warm water.
2. Vinegar Power: Fill a spray bottle with undiluted white vinegar.
3. Spray and Soak: Generously spray the vinegar onto the shower walls, tub, and glass doors. Let it sit for at least 15-20 minutes to allow the vinegar to break down the soap scum. For really tough buildup, you can let it sit for up to an hour.
4. Scrub-a-dub-dub: Use a scrub brush or sponge to scrub the surfaces, focusing on areas with heavy soap scum. For grout lines, use an old toothbrush to get into those tight spaces.
5. Rinse Thoroughly: Rinse everything thoroughly with warm water.
6. Squeegee the Glass: Use a squeegee to remove excess water from the glass shower doors and walls. This will help prevent water spots and keep your shower looking sparkling clean.
7. Dry with a Cloth: For extra shine, dry the surfaces with a clean microfiber cloth.
Vanity and Sink: Spotless Surfaces
Keeping your vanity and sink clean is essential for a hygienic bathroom.
1. Clear the Clutter: Remove all items from the vanity countertop, including toiletries, makeup, and accessories.
2. Spray and Wipe: Spray the vanity countertop, sink, and faucet with your all-purpose cleaner.
3. Scrub the Sink: Use a sponge or scrub brush to scrub the sink, paying attention to any stains or buildup around the drain.
4. Clean the Faucet: Use a microfiber cloth to clean the faucet, removing any water spots or soap residue.
5. Rinse and Dry: Rinse the surfaces with water and dry with a clean microfiber cloth.
6. Clean the Mirror: Spray the mirror with a mixture of equal parts white vinegar and water. Wipe clean with a microfiber cloth for a streak-free shine.
7. Organize and Replace: Once the surfaces are clean and dry, organize your toiletries and accessories and place them back on the vanity.
Grout Cleaning: Brightening Those Lines
Dirty grout can make even the cleanest bathroom look dingy. Here’s how to brighten those lines naturally:
1. Make a Paste: Mix baking soda with a small amount of water to create a thick paste.
2. Apply the Paste: Apply the paste to the grout lines using your finger or an old toothbrush.
3. Let it Sit: Allow the paste to sit for at least 15-20 minutes.
4. Scrub: Use an old toothbrush to scrub the grout lines thoroughly.
5. Rinse: Rinse the grout lines with water.
6. Hydrogen Peroxide Boost (Optional): For stubborn stains, spray the grout lines with hydrogen peroxide after rinsing. Let it sit for a few minutes, then rinse again.
Floor Cleaning: A Sparkling Foundation
A clean floor is the finishing touch to a sparkling bathroom.
1. Sweep or Vacuum: Start by sweeping or vacuuming the floor to remove any loose dirt, dust, and debris.
2. Mop with Vinegar Solution: Mix 1/2 cup of white vinegar with 1 gallon of warm water in a bucket.
3. Mop the Floor: Dip a mop into the vinegar solution and wring out the excess water. Mop the floor thoroughly, paying attention to any areas with stains or spills.
4. Rinse (Optional): If you prefer, you can rinse the floor with clean water after mopping with the vinegar solution.
5. Dry the Floor: Allow the floor to air dry or use a clean towel to dry it.
Extra Tips and Tricks for a Naturally Clean Bathroom
* Prevent Mold and Mildew: After showering, always run the exhaust fan or open a window to ventilate the bathroom. This will help prevent the growth of mold and mildew.
* Daily Maintenance: Wipe down the shower walls and glass doors with a squeegee after each shower to prevent soap scum buildup.
* Freshen the Air: Place a small bowl of baking soda in the bathroom to absorb odors. You can also add a few drops of essential oil to the baking soda for a pleasant fragrance.
* Lemon Power: Rub a lemon half on chrome fixtures to remove water spots and leave them sparkling.
* Vinegar for Showerheads: To clean a showerhead, fill a plastic bag with white vinegar and secure it around the showerhead with a rubber band. Let it soak overnight, then remove the bag and run the shower to flush out any remaining vinegar. This will remove mineral deposits and improve water flow.
* Don’t Forget the Shower Curtain: Wash your shower curtain or liner regularly to prevent mold and mildew growth. You can toss it in the washing machine with a few towels and a cup of vinegar.
* Keep Cleaning Supplies Handy: Store your natural cleaning supplies in a convenient location so you can easily grab them when you need them. This will make it more likely that you’ll stick to your cleaning routine.
* Regular Cleaning Schedule: Establish a regular cleaning schedule to keep your bathroom looking its best. A quick wipe-down once a week can prevent dirt and grime from building up.
And there you have it! A sparkling clean bathroom, naturally! I hope you found these tips helpful. Happy cleaning!

Conclusion
So, there you have it! Ditching harsh chemicals and embracing a natural bathroom cleaning method isn’t just a trend; it’s a powerful way to create a healthier, happier home. We’ve explored a simple yet incredibly effective DIY solution that harnesses the power of readily available ingredients to tackle grime, soap scum, and odors without exposing yourself, your family, or the environment to harmful toxins.
This isn’t about sacrificing cleanliness for sustainability; it’s about achieving both. The beauty of this DIY approach lies in its versatility. Feel free to experiment with different essential oils to create a scent that invigorates your senses. Lavender, tea tree, eucalyptus, and lemon are all fantastic choices, each offering its own unique antibacterial and antifungal properties. You can also adjust the ratios of vinegar and water to suit the specific needs of your bathroom surfaces. For tougher stains, a paste of baking soda and water can work wonders as a gentle abrasive.
Why is this a must-try? Because it’s effective, affordable, eco-friendly, and customizable. It empowers you to take control of the products you use in your home and create a safer, healthier environment for everyone. Plus, the satisfaction of knowing you’re cleaning with natural ingredients is truly rewarding.
We understand that switching to a DIY cleaning routine might seem daunting at first, but we promise it’s easier than you think. The initial investment in a few basic ingredients will pay off in the long run, both financially and in terms of your well-being.
Don’t just take our word for it, though. We wholeheartedly encourage you to try this natural bathroom cleaning method for yourself. See the difference it makes in your bathroom and in your peace of mind. Once you’ve experienced the power of natural cleaning, we’re confident you’ll never go back to harsh chemicals again.
We’re eager to hear about your experiences! Share your tips, variations, and before-and-after photos in the comments below. Let’s build a community of conscious cleaners who are committed to creating healthier homes and a healthier planet. Your insights could inspire others to make the switch and discover the benefits of natural cleaning for themselves. Let’s revolutionize the way we clean, one bathroom at a time!
Frequently Asked Questions (FAQs)
Q: Is vinegar safe to use on all bathroom surfaces?
A: While vinegar is a fantastic natural cleaner, it’s important to exercise caution on certain surfaces. Avoid using vinegar on natural stone surfaces like marble, granite, and travertine, as the acidity can etch and damage them over time. It’s also best to avoid using vinegar on waxed surfaces, as it can strip the wax. For these surfaces, a mild soap and water solution is a safer alternative. Always test your cleaning solution in an inconspicuous area first to ensure it doesn’t cause any damage or discoloration. When in doubt, consult the manufacturer’s recommendations for cleaning specific surfaces.
Q: How often should I use this natural bathroom cleaning method?
A: The frequency of cleaning depends on how often your bathroom is used and how quickly it gets dirty. For general maintenance, cleaning your bathroom once a week is usually sufficient. However, if you have a busy household or notice buildup more frequently, you may need to clean it more often. Spot cleaning spills and messes as they occur will also help to prevent buildup and make your regular cleaning routine easier. Pay particular attention to areas that tend to accumulate grime, such as the shower, toilet, and sink.
Q: Can I use this natural cleaner on mold and mildew?
A: While vinegar has some antifungal properties, it may not be as effective as bleach for killing mold and mildew, especially in severe cases. For light mold and mildew growth, vinegar can be a helpful cleaning agent. Spray the affected area with vinegar, let it sit for at least an hour, and then scrub with a brush. However, for more extensive mold problems, it’s best to consult a professional mold remediation service. Tea tree oil is another natural option with stronger antifungal properties. Dilute a few drops of tea tree oil in water and spray on the affected area. Always ensure proper ventilation when dealing with mold and mildew.
Q: What essential oils are best for bathroom cleaning?
A: The best essential oils for bathroom cleaning are those with antibacterial, antifungal, and antiviral properties. Some popular choices include:
* **Tea Tree Oil:** Known for its powerful antifungal and antibacterial properties, making it effective against mold and mildew.
* **Lavender Oil:** Offers a pleasant scent and has antiseptic and antibacterial properties.
* **Eucalyptus Oil:** Has a refreshing scent and is known for its antibacterial and antiviral properties.
* **Lemon Oil:** A natural degreaser and disinfectant with a bright, uplifting scent.
* **Peppermint Oil:** Provides a refreshing scent and has antibacterial properties.
When using essential oils, always dilute them properly in water or another carrier oil. A few drops are usually sufficient for a cleaning solution.
Q: How do I get rid of hard water stains in my bathroom?
A: Hard water stains can be stubborn, but vinegar is a great natural solution. For faucets and showerheads, soak them in a bag filled with vinegar for a few hours or overnight. For toilet bowls, pour a cup of vinegar into the bowl and let it sit for several hours before scrubbing. For shower doors and walls, spray with vinegar and let it sit for 15-20 minutes before scrubbing. You can also make a paste of baking soda and water to scrub away hard water stains. Rinse thoroughly with water after cleaning.
Q: My DIY cleaner smells too strongly of vinegar. How can I fix this?
A: The vinegar smell will dissipate as it dries. However, if you find the scent too strong, you can add a few drops of your favorite essential oil to mask the vinegar smell. Lemon, lavender, and eucalyptus oils are particularly effective. You can also dilute the vinegar solution with more water. Another option is to rinse the cleaned surfaces with plain water after cleaning to remove any residual vinegar.
Q: Can I use this cleaner on my toilet?
A: Yes, this natural bathroom cleaning method is safe and effective for cleaning toilets. Pour a cup of vinegar into the toilet bowl and let it sit for at least 30 minutes, or even overnight for tougher stains. Scrub the bowl with a toilet brush and flush. You can also add a few drops of tea tree oil for extra disinfecting power. For the exterior of the toilet, spray with the vinegar solution and wipe clean.
Q: How do I store my DIY bathroom cleaner?
A: Store your DIY bathroom cleaner in a clean, labeled spray bottle. It’s best to use a dark-colored bottle to protect the essential oils from light degradation. Keep the bottle in a cool, dry place away from direct sunlight. The cleaner should last for several months. If you notice any changes in color or odor, it’s best to discard it and make a fresh batch. Always label the bottle clearly to avoid confusion with other cleaning products.
Leave a Comment