
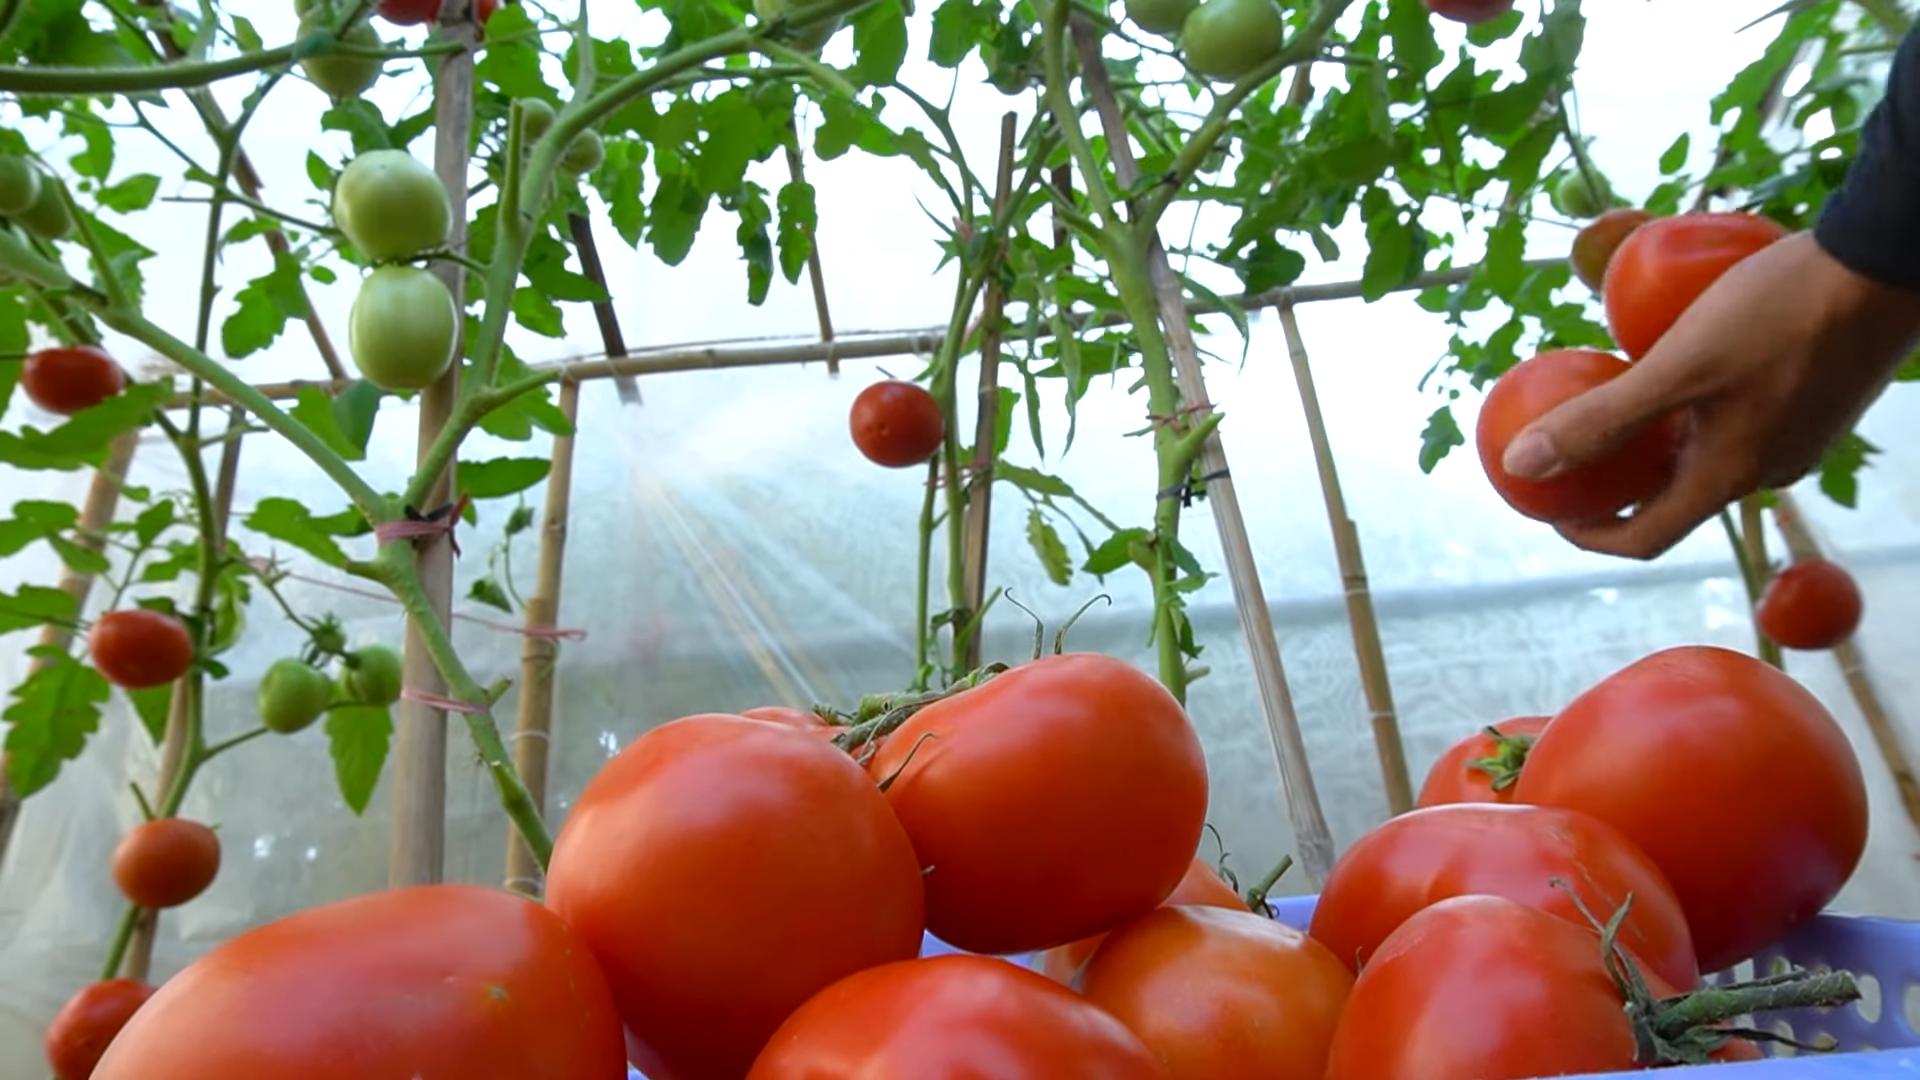
Tomato plant fertilizer: the secret weapon to unlocking a bountiful harvest right in your own backyard! Have you ever dreamt of biting into a juicy, sun-ripened tomato, bursting with flavor, that you grew yourself? I know I have! But sometimes, even with the best intentions, our tomato plants need a little extra boost to reach their full potential. That’s where understanding the right fertilizer comes in, and lucky for you, I’m about to share some amazing DIY tricks to make your tomatoes thrive.
For centuries, gardeners have sought the perfect formula to nourish their tomato plants. From ancient civilizations using natural compost to modern-day innovations, the quest for bigger, better tomatoes has been a constant. In many cultures, tomatoes symbolize prosperity and abundance, making a successful harvest even more meaningful. But let’s face it, store-bought fertilizers can be expensive and often contain harsh chemicals. That’s why I’m so excited to show you how to create your own effective and eco-friendly tomato plant fertilizer using ingredients you probably already have at home!
This DIY guide is your ticket to healthier, more productive tomato plants. We’ll explore simple yet powerful recipes that will provide your plants with the essential nutrients they need to flourish. Say goodbye to weak, struggling plants and hello to a vibrant, thriving tomato garden that will be the envy of the neighborhood. Get ready to roll up your sleeves and discover the magic of homemade fertilizer!
DIY Tomato Plant Fertilizer: Unlock a Bountiful Harvest!
Hey there, fellow gardeners! Are you dreaming of juicy, sun-ripened tomatoes bursting with flavor? I know I am! And the secret to achieving that dream often lies in providing your tomato plants with the right nutrients. While commercial fertilizers are readily available, I’m a big fan of DIY solutions – they’re often cheaper, more environmentally friendly, and you know exactly what’s going into your garden. So, let’s dive into creating some fantastic homemade tomato plant fertilizers that will have your plants thriving!
Understanding Tomato Fertilizer Needs
Before we get our hands dirty, it’s crucial to understand what tomatoes need to flourish. Tomatoes are heavy feeders, meaning they require a good amount of nutrients, especially during their fruiting stage. The three key nutrients are:
* Nitrogen (N): Promotes leafy growth and overall plant vigor. Important in the early stages.
* Phosphorus (P): Essential for root development, flowering, and fruit production. Crucial for setting those first blossoms!
* Potassium (K): Contributes to fruit quality, disease resistance, and overall plant health. Think of it as the “sweetness” booster.
Tomato fertilizers are typically labeled with an N-P-K ratio, indicating the percentage of each nutrient. For example, a 5-10-5 fertilizer contains 5% nitrogen, 10% phosphorus, and 5% potassium. While a balanced fertilizer is good, tomatoes often benefit from a slightly higher phosphorus content, especially during flowering and fruiting.
DIY Fertilizer Options: Let’s Get Mixing!
I’m going to share a few of my favorite homemade tomato fertilizer recipes. Each one utilizes readily available ingredients and is easy to prepare. Remember to adjust the amounts based on the size and needs of your plants. It’s always better to err on the side of caution and start with a weaker solution, gradually increasing the strength as needed.
1. Epsom Salt Booster: The Magnesium Miracle
Epsom salt (magnesium sulfate) is a fantastic addition to your tomato fertilizer regimen. Magnesium helps tomatoes absorb phosphorus and potassium more effectively, leading to healthier plants and sweeter fruits.
* Benefits: Improves nutrient uptake, prevents blossom-end rot (a common tomato problem caused by calcium deficiency, which magnesium can help alleviate), and enhances fruit sweetness.
* Application:
* Soil Drench: Dissolve 1 tablespoon of Epsom salt in 1 gallon of water. Apply this solution to the base of each tomato plant every 2-4 weeks.
* Foliar Spray: Dissolve 1 teaspoon of Epsom salt in 1 quart of water. Spray the leaves of your tomato plants in the early morning or late evening, avoiding the hottest part of the day. Do this every 2-4 weeks.
Step-by-Step Instructions: Epsom Salt Booster
1. Gather your supplies: You’ll need Epsom salt, a watering can or spray bottle, and water.
2. Measure the Epsom salt: For a soil drench, use 1 tablespoon per gallon of water. For a foliar spray, use 1 teaspoon per quart of water.
3. Dissolve the Epsom salt: Pour the Epsom salt into the water and stir until completely dissolved. Make sure there are no crystals remaining at the bottom.
4. Apply to your plants: For a soil drench, pour the solution around the base of each tomato plant, avoiding direct contact with the stem. For a foliar spray, gently mist the leaves of your plants, ensuring even coverage.
2. Banana Peel Fertilizer: Potassium Powerhouse
Don’t toss those banana peels! They’re a treasure trove of potassium, which is essential for tomato fruit development and disease resistance.
* Benefits: Provides a slow-release source of potassium, improves fruit quality, and helps plants resist diseases.
* Application Methods:
* Buried Peels: Bury banana peels around the base of your tomato plants. As they decompose, they’ll release potassium into the soil.
* Banana Peel Tea: Soak banana peels in water to create a potassium-rich “tea” that you can use to water your plants.
* Dried and Ground Peels: Dry banana peels in the oven or dehydrator, then grind them into a powder. Sprinkle the powder around the base of your plants and gently work it into the soil.
Step-by-Step Instructions: Banana Peel Fertilizer (Buried Peels)
1. Collect banana peels: Save your banana peels after eating the fruit.
2. Prepare the peels: You can use the peels fresh or let them dry slightly. I prefer to cut them into smaller pieces to speed up decomposition.
3. Dig a small trench: Dig a shallow trench around the base of your tomato plant, a few inches away from the stem.
4. Bury the peels: Place the banana peel pieces in the trench and cover them with soil.
5. Water the area: Water the area thoroughly to help the decomposition process.
Step-by-Step Instructions: Banana Peel Fertilizer (Banana Peel Tea)
1. Collect banana peels: Save your banana peels after eating the fruit.
2. Prepare the peels: Cut the peels into smaller pieces.
3. Soak the peels: Place the banana peel pieces in a jar or container and cover them with water.
4. Let it steep: Allow the peels to steep in the water for 1-2 weeks. The water will turn brown as the potassium is released.
5. Dilute the tea: Dilute the banana peel tea with water before using it to water your plants. A good ratio is 1 part tea to 5 parts water.
6. Water your plants: Use the diluted banana peel tea to water your tomato plants as needed.
Step-by-Step Instructions: Banana Peel Fertilizer (Dried and Ground Peels)
1. Collect banana peels: Save your banana peels after eating the fruit.
2. Dry the peels: Place the peels on a baking sheet and dry them in the oven at a low temperature (around 200°F) until they are brittle. Alternatively, you can use a dehydrator.
3. Grind the peels: Once the peels are completely dry, grind them into a powder using a coffee grinder or food processor.
4. Apply to your plants: Sprinkle the banana peel powder around the base of your tomato plants and gently work it into the soil.
3. Eggshell Fertilizer: Calcium Boost and Soil Amendment
Eggshells are a fantastic source of calcium carbonate, which helps prevent blossom-end rot and improves soil structure.
* Benefits: Provides calcium, improves soil drainage, and deters slugs and snails.
* Application Methods:
* Crushed Eggshells: Crush eggshells into small pieces and sprinkle them around the base of your tomato plants.
* Eggshell Powder: Grind eggshells into a fine powder and mix it into the soil before planting or sprinkle it around existing plants.
* Eggshell Tea: Soak crushed eggshells in water to create a calcium-rich “tea” that you can use to water your plants.
Step-by-Step Instructions: Eggshell Fertilizer (Crushed Eggshells)
1. Collect eggshells: Save your eggshells after using the eggs.
2. Clean the eggshells: Rinse the eggshells thoroughly to remove any remaining egg residue.
3. Dry the eggshells: Allow the eggshells to dry completely.
4. Crush the eggshells: Crush the eggshells into small pieces using your hands or a mortar and pestle.
5. Apply to your plants: Sprinkle the crushed eggshells around the base of your tomato plants.
Step-by-Step Instructions: Eggshell Fertilizer (Eggshell Powder)
1. Collect eggshells: Save your eggshells after using the eggs.
2. Clean the eggshells: Rinse the eggshells thoroughly to remove any remaining egg residue.
3. Dry the eggshells: Allow the eggshells to dry completely.
4. Grind the eggshells: Grind the eggshells into a fine powder using a coffee grinder or food processor.
5. Apply to your plants: Mix the eggshell powder into the soil before planting or sprinkle it around existing plants and gently work it in.
Step-by-Step Instructions: Eggshell Fertilizer (Eggshell Tea)
1. Collect eggshells: Save your eggshells after using the eggs.
2. Clean the eggshells: Rinse the eggshells thoroughly to remove any remaining egg residue.
3. Dry the eggshells: Allow the eggshells to dry completely.
4. Crush the eggshells: Crush the eggshells into small pieces.
5. Soak the eggshells
Conclusion
So, there you have it! Creating your own tomato plant fertilizer isn’t just a cost-effective alternative to store-bought options; it’s a way to connect more deeply with your garden and understand exactly what you’re feeding your precious plants. By using readily available ingredients and tailoring the nutrient mix to your specific soil conditions and plant needs, you can unlock a level of growth and fruit production you might not have thought possible.
The beauty of this DIY approach lies in its adaptability. Feel free to experiment with different ratios of ingredients. For example, if your soil is already rich in phosphorus, you might want to reduce the bone meal and focus on nitrogen-rich components like coffee grounds or composted manure. Conversely, if you’re noticing blossom end rot (a sign of calcium deficiency), consider adding crushed eggshells or a calcium supplement to your fertilizer mix. Remember to observe your plants closely and adjust your fertilizer accordingly. They’ll tell you what they need!
Beyond the basic recipe, consider these variations to further enhance your homemade tomato plant fertilizer:
* Compost Tea Boost: Brew a compost tea using your finished compost and add it to your fertilizer mix for an extra dose of beneficial microbes and nutrients. This will improve soil health and nutrient availability.
* Epsom Salt Supplement: Magnesium deficiency can be a problem for tomato plants. Dissolve a tablespoon of Epsom salts in a gallon of water and use it to water your plants every few weeks.
* Seaweed Extract Addition: Seaweed extract is a fantastic source of trace minerals and growth hormones. Add a small amount to your fertilizer mix or use it as a foliar spray.
* Molasses Magic: A tablespoon of unsulphured molasses added to your fertilizer mix can feed the beneficial microbes in your soil, further enhancing nutrient availability.
We understand that venturing into the world of DIY gardening can seem daunting at first, but trust us, the rewards are well worth the effort. Not only will you save money and reduce your reliance on synthetic fertilizers, but you’ll also gain a deeper understanding of plant nutrition and create a healthier, more vibrant garden.
We wholeheartedly encourage you to give this DIY tomato plant fertilizer a try. Start small, experiment with different variations, and most importantly, observe your plants closely. We’re confident that you’ll be amazed by the results.
Don’t forget to share your experiences with us! We’d love to hear about your successes, challenges, and any unique variations you’ve developed. Post pictures of your thriving tomato plants and share your tips in the comments section below. Let’s build a community of DIY gardeners who are passionate about growing healthy, delicious tomatoes! Happy gardening!
Frequently Asked Questions (FAQ)
What are the benefits of using homemade tomato plant fertilizer compared to store-bought options?
Homemade tomato plant fertilizer offers several advantages. Firstly, it’s often more cost-effective, utilizing readily available and sometimes free ingredients like coffee grounds, eggshells, and compost. Secondly, you have complete control over the ingredients, ensuring that your plants receive the specific nutrients they need without any unwanted additives or chemicals. This allows for a more tailored approach to plant nutrition, addressing specific deficiencies and promoting optimal growth. Finally, making your own fertilizer is a more sustainable practice, reducing your reliance on commercially produced products and minimizing your environmental impact. You’re recycling materials and reducing waste.
How often should I apply homemade tomato plant fertilizer to my tomato plants?
The frequency of application depends on several factors, including the age of your plants, the type of soil you have, and the specific recipe you’re using. As a general guideline, start fertilizing your tomato plants about two weeks after transplanting them into the garden. For young plants, apply a diluted fertilizer solution (half strength) every two to three weeks. As the plants mature and begin to produce fruit, increase the frequency to every one to two weeks. Always observe your plants closely for signs of nutrient deficiencies or excesses and adjust your fertilizing schedule accordingly. Over-fertilizing can be just as harmful as under-fertilizing.
What are the key nutrients that tomato plants need, and how can I ensure my homemade fertilizer provides them?
Tomato plants require a balanced supply of three primary macronutrients: nitrogen (N), phosphorus (P), and potassium (K). Nitrogen promotes leafy growth, phosphorus supports root development and flowering, and potassium is essential for fruit production and overall plant health. Your homemade fertilizer should ideally contain all three of these nutrients. Coffee grounds and composted manure are good sources of nitrogen. Bone meal and rock phosphate provide phosphorus. Wood ash and banana peels are rich in potassium. In addition to these macronutrients, tomato plants also need micronutrients like calcium, magnesium, and iron. These can be supplied through ingredients like eggshells (calcium), Epsom salts (magnesium), and seaweed extract (trace minerals).
Can I use this homemade fertilizer for other plants besides tomatoes?
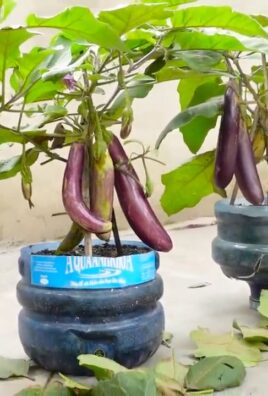
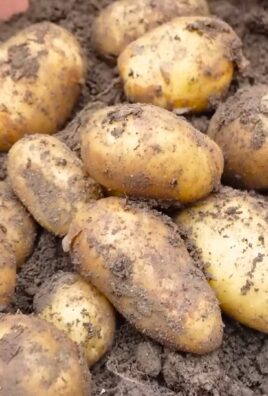
While this fertilizer is formulated with the specific needs of tomato plants in mind, it can also be beneficial for other fruiting vegetables like peppers, eggplants, and cucumbers. However, it’s important to consider the specific nutrient requirements of each plant and adjust the fertilizer recipe accordingly. For example, leafy greens may require a fertilizer with a higher nitrogen content, while root vegetables may benefit from a fertilizer with more phosphorus. Always research the specific needs of your plants before applying any fertilizer.
How do I know if my tomato plants are deficient in certain nutrients?
Nutrient deficiencies can manifest in various ways, depending on the specific nutrient that’s lacking. Nitrogen deficiency often results in yellowing of the lower leaves. Phosphorus deficiency can cause stunted growth and purplish discoloration of the leaves. Potassium deficiency may lead to yellowing or browning of the leaf edges. Calcium deficiency, commonly known as blossom end rot, causes a dark, sunken spot on the bottom of the fruit. Magnesium deficiency can result in yellowing between the veins of the leaves. Iron deficiency typically causes yellowing of the new growth. By carefully observing your plants and identifying these symptoms, you can diagnose nutrient deficiencies and adjust your fertilizer accordingly.
Is it possible to over-fertilize my tomato plants with homemade fertilizer?
Yes, it is definitely possible to over-fertilize your tomato plants, even with homemade fertilizer. Over-fertilizing can lead to a buildup of salts in the soil, which can damage the roots and inhibit nutrient uptake. Symptoms of over-fertilization include wilting, yellowing of the leaves, and stunted growth. To avoid over-fertilizing, always follow the recommended application rates and observe your plants closely for signs of nutrient excesses. If you suspect that you’ve over-fertilized, flush the soil with plenty of water to remove excess salts.
How should I store leftover homemade tomato plant fertilizer?
The best way to store leftover homemade tomato plant fertilizer depends on the type of fertilizer you’ve made. Liquid fertilizers should be stored in airtight containers in a cool, dark place. Solid fertilizers can be stored in sealed bags or containers in a dry location. Properly stored fertilizer can last for several months. However, it’s always a good idea to label your fertilizer with the date it was made so you can keep track of its age. If you notice any signs of spoilage, such as mold growth or a foul odor, discard the fertilizer.
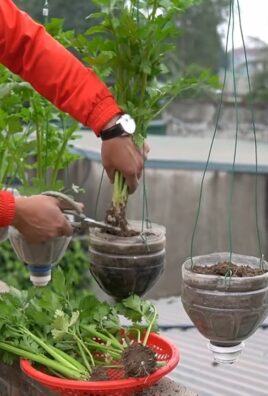
Can I use this fertilizer in container gardens as well as in-ground gardens?
Yes, this homemade tomato plant fertilizer is suitable for both container gardens and in-ground gardens. However, container gardens tend to dry out and leach nutrients more quickly than in-ground gardens, so you may need to fertilize more frequently. Be sure to use a well-draining potting mix in your containers to prevent waterlogging and root rot. Also, consider using a slow-release fertilizer in addition to your regular liquid fertilizer to provide a steady supply of nutrients.
Leave a Comment