
Grow Nutritious Plants Easily, even if you think you have a “brown thumb”! Have you ever dreamed of stepping into your backyard and harvesting fresh, vitamin-packed vegetables and fruits, knowing exactly where they came from and what went into growing them? I know I have! For centuries, cultures around the globe have cultivated their own gardens, not just for sustenance, but also for the sheer joy and connection to nature it provides. From the hanging gardens of Babylon to the meticulously planned kitchen gardens of medieval Europe, growing your own food has always been a source of pride and well-being.
But in today’s fast-paced world, the idea of starting a garden can feel overwhelming. Where do you even begin? That’s where these simple, yet effective, DIY tricks and hacks come in! We’re going to break down the process and show you how to grow nutritious plants easily, regardless of your experience level or the size of your space. Think of it as unlocking a secret code to a bountiful harvest.
Why is this so important now? With rising food costs and concerns about pesticides and environmental impact, taking control of your food source is more empowering than ever. Plus, there’s nothing quite like the taste of a homegrown tomato still warm from the sun! So, let’s ditch the overwhelm and dive into some easy-to-implement strategies that will have you enjoying fresh, healthy produce in no time. Get ready to transform your space into a thriving garden oasis!
DIY Hydroponics: Grow Nutritious Plants Easily at Home
Hey there, fellow plant enthusiasts! Ever dreamt of having a constant supply of fresh, nutritious veggies right at your fingertips, without all the fuss of traditional gardening? Well, get ready to dive into the wonderful world of hydroponics! It might sound intimidating, but trust me, with this guide, you’ll be growing your own delicious greens in no time. We’re going to build a simple, yet effective, hydroponic system that’s perfect for beginners. Let’s get started!
What You’ll Need
Before we get our hands dirty (or rather, wet!), let’s gather all the necessary materials. Here’s a comprehensive list:
* Two Plastic Storage Bins (one slightly smaller than the other): The larger bin will act as our reservoir, holding the nutrient solution. The smaller bin will sit inside the larger one and hold our plants. Make sure they are food-grade plastic.
* Net Pots: These will hold your plants and allow the roots to access the nutrient solution. I recommend 3-inch net pots for most leafy greens.
* Hydroponic Growing Medium: Rockwool cubes, coco coir, or clay pebbles are all excellent choices. I personally prefer coco coir for its water retention and aeration properties.
* Air Pump and Air Stone: This is crucial for oxygenating the nutrient solution, which is essential for healthy root growth.
* Air Tubing: To connect the air pump to the air stone.
* Hydroponic Nutrient Solution: You’ll need a balanced nutrient solution specifically formulated for hydroponics. Look for a two-part solution (A and B) for optimal results.
* pH Meter or pH Testing Kit: Maintaining the correct pH level is vital for nutrient absorption.
* pH Up and pH Down Solutions: To adjust the pH of your nutrient solution as needed.
* Drill with Hole Saw Attachment: To create holes in the smaller bin for the net pots. The hole saw should match the diameter of your net pots.
* Measuring Cups and Spoons: For accurately measuring the nutrient solution.
* Seedlings or Seeds: Choose plants that thrive in hydroponic systems, such as lettuce, spinach, herbs (basil, mint, chives), strawberries, and peppers.
* Grow Lights (Optional but Recommended): If you don’t have a sunny spot, grow lights will provide the necessary light for your plants to flourish. LED grow lights are energy-efficient and work great.
* Timer (Optional): To automate the grow lights.
* Safety Glasses: To protect your eyes while drilling.
* Gloves: To protect your hands.
Building Your Hydroponic System: Step-by-Step
Alright, let’s get to the fun part – building our hydroponic system! Follow these steps carefully, and you’ll be well on your way to a bountiful harvest.
1. Prepare the Smaller Bin: This bin will house our plants. Take the smaller plastic bin and, using your drill with the hole saw attachment, carefully drill holes in the lid. The holes should be evenly spaced and large enough to snugly fit the net pots. I usually aim for about 6-8 holes, depending on the size of the bin and the plants I’m growing. Remember to wear your safety glasses!
2. Set Up the Reservoir: Place the larger plastic bin on a level surface. This will be our reservoir, holding the nutrient solution.
3. Position the Plant Bin: Carefully place the smaller bin (with the holes) inside the larger bin. The smaller bin should sit securely on the rim of the larger bin, creating a space underneath for the nutrient solution.
4. Assemble the Air Pump System: Connect the air tubing to the air pump and the air stone. Place the air stone at the bottom of the larger bin (the reservoir). This will oxygenate the nutrient solution. Plug in the air pump to ensure it’s working properly. You should see bubbles rising from the air stone.
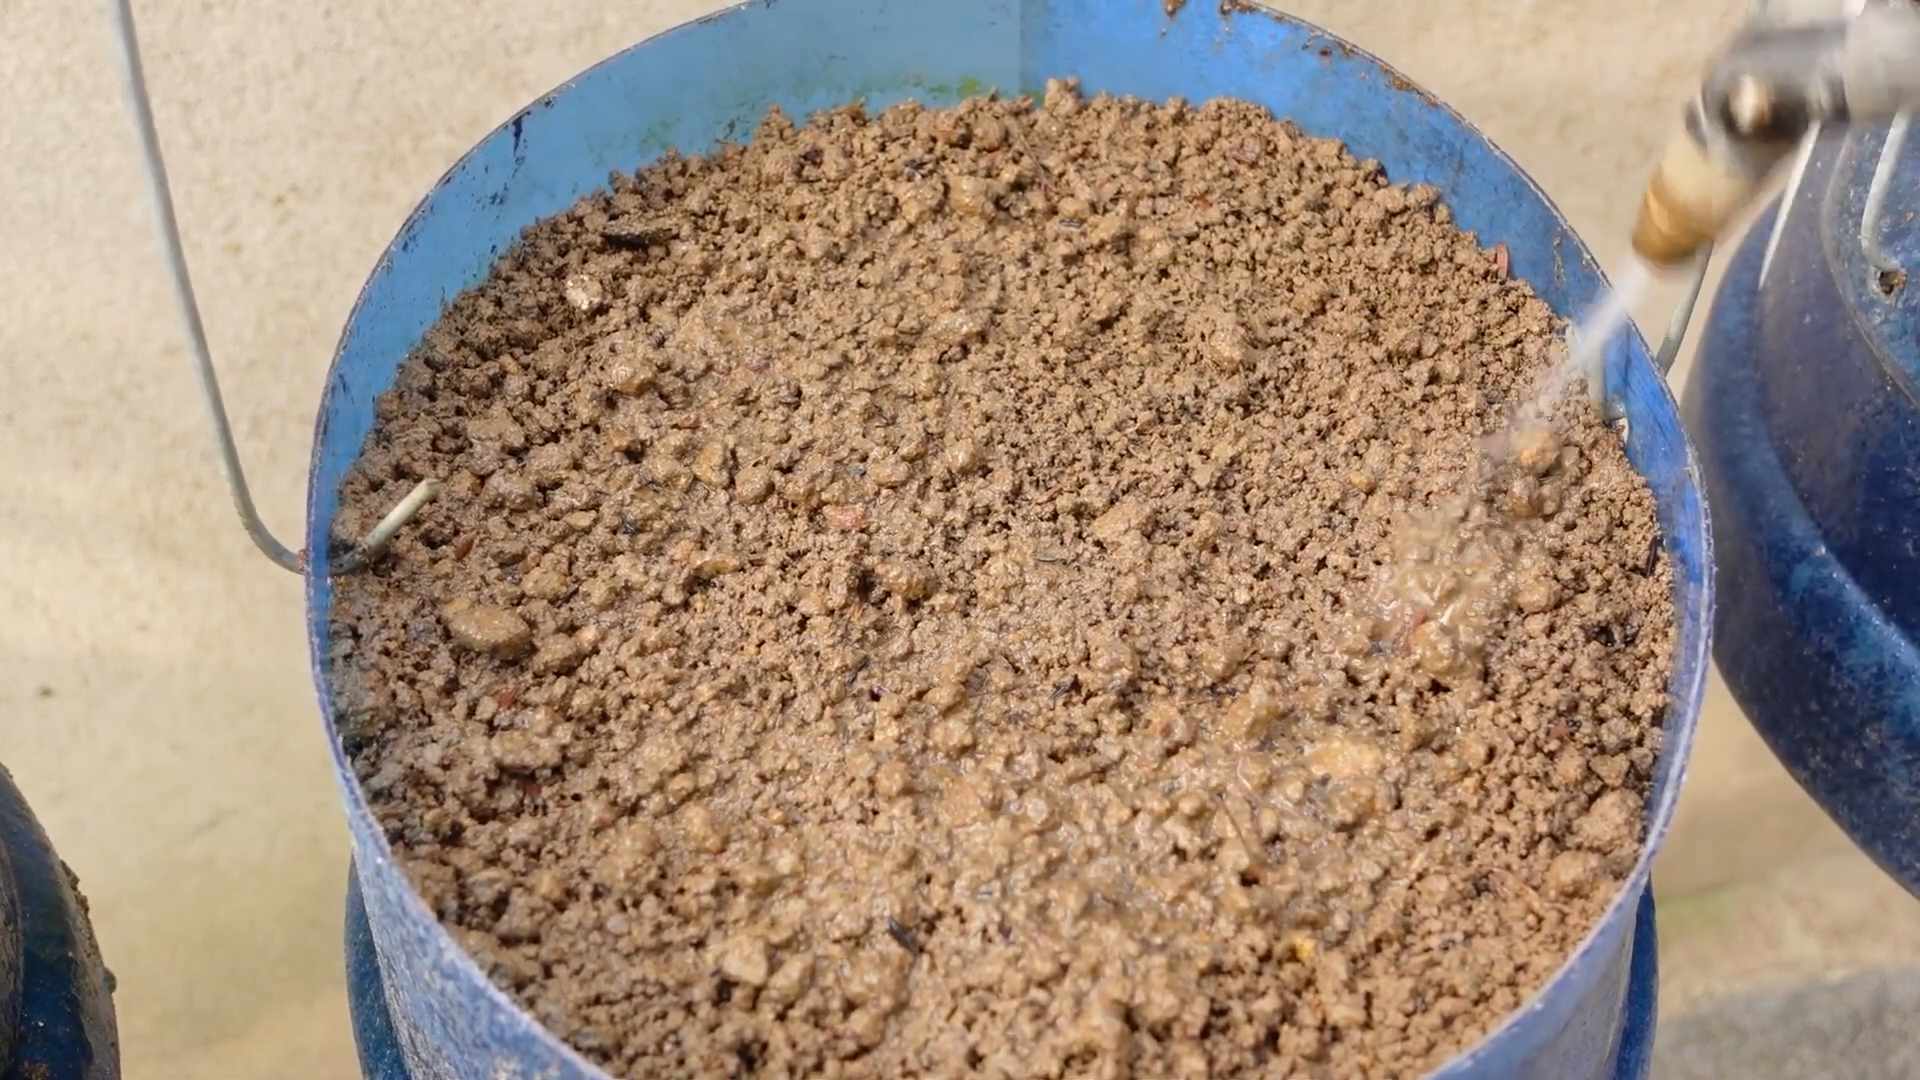
5. Prepare the Growing Medium: If you’re using rockwool cubes, soak them in water for a few hours before use. If you’re using coco coir, rinse it thoroughly to remove any excess salts. Clay pebbles should also be rinsed before use.
6. Plant Your Seedlings or Seeds: Gently place your seedlings or seeds into the net pots, surrounding them with the prepared growing medium. Make sure the roots of the seedlings are exposed and can reach the nutrient solution. If you’re starting from seeds, you might want to germinate them separately in a seed starting tray before transplanting them to the net pots.
7. Place the Net Pots in the Holes: Carefully place the net pots containing your seedlings or seeds into the holes you drilled in the smaller bin’s lid.
8. Prepare the Nutrient Solution: This is a crucial step! Follow the instructions on your hydroponic nutrient solution packaging carefully. Usually, you’ll need to mix equal parts of the A and B solutions with water. Use measuring cups and spoons to ensure accurate measurements. I always start with a slightly weaker solution than recommended and gradually increase the concentration as the plants grow.
9. Fill the Reservoir: Pour the prepared nutrient solution into the larger bin (the reservoir). The solution level should be high enough to reach the bottom of the net pots, allowing the roots to access the nutrients. Be careful not to overfill the reservoir.
10. Check and Adjust the pH: Use your pH meter or pH testing kit to check the pH of the nutrient solution. The ideal pH range for most hydroponic plants is between 5.5 and 6.5. If the pH is too high, add a small amount of pH Down solution. If the pH is too low, add a small amount of pH Up solution. Always add these solutions gradually and recheck the pH after each adjustment.
11. Position the Grow Lights (if using): If you’re using grow lights, position them above the plants, ensuring they provide adequate light coverage. The distance between the lights and the plants will depend on the type of grow lights you’re using. Refer to the manufacturer’s instructions for guidance. If you’re using a timer, set it to provide 14-16 hours of light per day for leafy greens and herbs.
Maintaining Your Hydroponic System
Now that your hydroponic system is up and running, it’s important to maintain it properly to ensure healthy plant growth. Here are some key maintenance tasks:
* Monitor the Nutrient Solution: Check the nutrient solution level regularly and add more as needed. Replace the entire solution every 1-2 weeks to prevent nutrient imbalances and the buildup of harmful bacteria.
* Check and Adjust the pH: Monitor the pH of the nutrient solution regularly (at least once a week) and adjust it as needed to maintain the ideal range of 5.5-6.5.
* Clean the System: Periodically clean the reservoir and the smaller bin to prevent algae growth and the buildup of debris. You can use a mild bleach solution (1 part bleach to 10 parts water) to sanitize the system. Rinse thoroughly after cleaning.
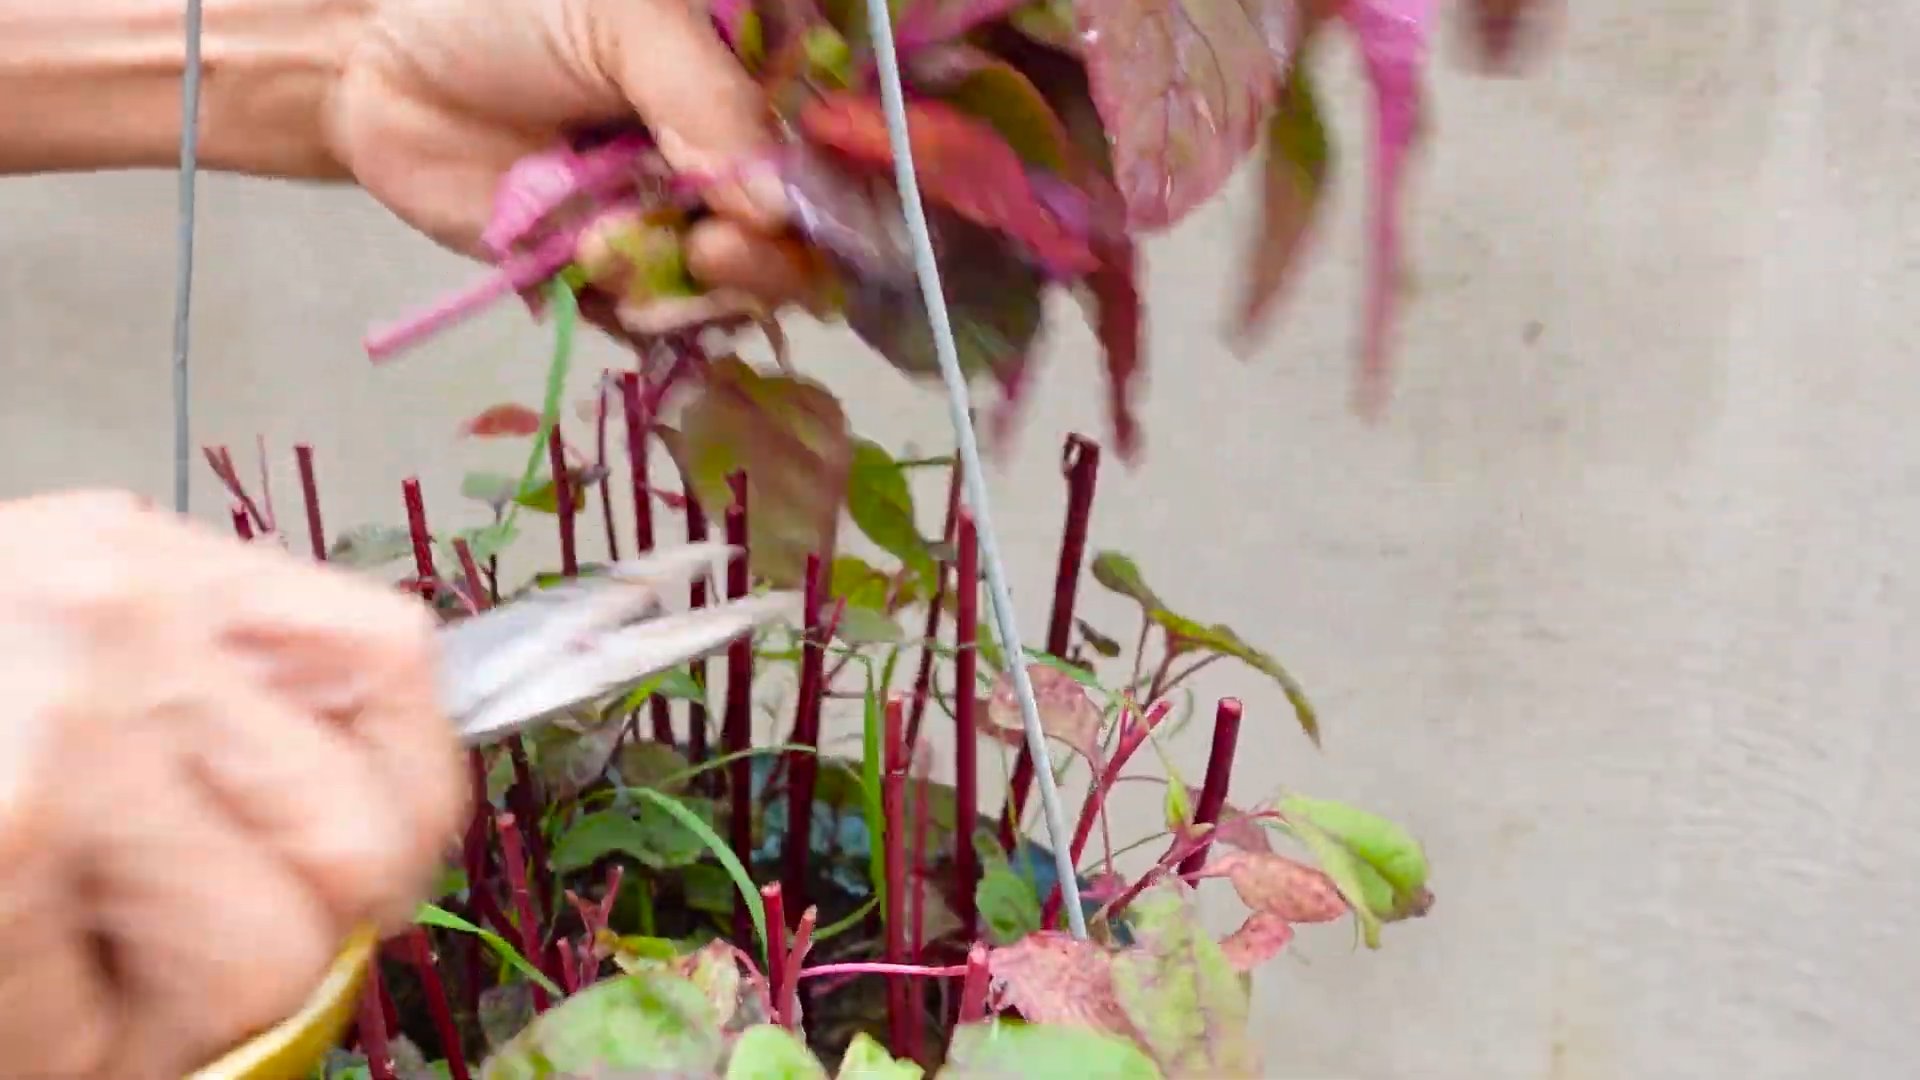
* Prune Your Plants: Prune your plants regularly to encourage bushier growth and prevent overcrowding. Remove any yellowing or dead leaves.
* Monitor for Pests and Diseases: Keep an eye out for pests and diseases. If you spot any problems, address them promptly with appropriate organic pest control methods.
* Adjust Grow Lights as Needed: As your plants grow, you may need to adjust the height of your grow lights to maintain the optimal distance between the lights and the plants.
* Ensure Proper Air Circulation: Good air circulation is important for preventing fungal diseases. You can use a small fan to improve air circulation around your plants.
Troubleshooting Common Issues
Even with the best care, you might encounter some challenges along the way. Here are some common issues and how to address them:
* Yellowing Leaves: This could be a sign of nutrient deficiency. Check the nutrient solution concentration and adjust it as needed. It could also be a sign of pH imbalance.
* Slow Growth: This could be due to insufficient light, nutrient deficiency, or pH imbalance. Make sure your plants are getting enough light and that the nutrient solution is properly balanced.
* Algae Growth: Algae growth can be a problem in hydroponic systems. To prevent algae growth, keep the reservoir covered and use opaque containers. You can also add a small amount of hydrogen peroxide to the nutrient solution to kill algae.
* Root Rot: Root rot is a fungal disease that can affect hydroponic plants. It’s often caused by poor aeration or overwatering. Make sure your air pump is working properly and that the roots are not constantly submerged in water.
Choosing the Right Plants
Not all plants are well-suited for hydroponic growing. Here are some of the best plants to grow in your DIY hydroponic system:
* Lettuce: Lettuce is one of the easiest and most rewarding plants to grow
Conclusion
So, there you have it! Growing nutritious plants easily doesn’t have to be a daunting task reserved for seasoned gardeners. With this simple DIY trick, you can unlock a world of fresh, healthy produce right in your own home, regardless of your experience level. We’ve shown you how to create a self-watering system that minimizes effort and maximizes results, ensuring your plants receive consistent hydration and thrive.
This isn’t just about convenience; it’s about taking control of your food source and nourishing your body with the best possible ingredients. Imagine the satisfaction of harvesting your own vibrant greens, juicy tomatoes, or fragrant herbs, knowing exactly where they came from and what went into growing them. This DIY approach empowers you to avoid harmful pesticides and embrace sustainable practices, contributing to a healthier planet and a healthier you.
But don’t stop there! This method is incredibly versatile. Experiment with different types of containers, from repurposed plastic bottles to stylish ceramic pots. Try various growing mediums, such as coco coir or perlite, to find what works best for your plants and your environment. Consider adding organic fertilizers or compost tea to further boost the nutrient content of your soil and promote vigorous growth. You can even adapt this system for vertical gardening, maximizing space and creating a stunning green wall.
The possibilities are endless!
We wholeheartedly encourage you to give this DIY trick a try. It’s a rewarding experience that connects you with nature, promotes healthy eating, and saves you money in the long run. Once you’ve experienced the joy of growing your own nutritious plants easily, you’ll wonder why you didn’t start sooner.
Don’t be afraid to get your hands dirty and embrace the learning process. Gardening is a journey, and every mistake is an opportunity to grow (pun intended!). Share your experiences with us in the comments below. We’d love to hear about your successes, your challenges, and any creative variations you’ve come up with. Let’s build a community of DIY gardeners who are passionate about growing their own food and sharing their knowledge with others. Together, we can cultivate a healthier, more sustainable future, one plant at a time.
Frequently Asked Questions (FAQ)
What types of plants are best suited for this DIY self-watering system?
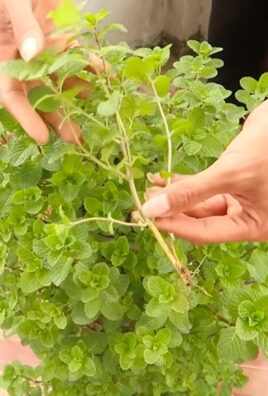
This system works well for a wide variety of plants, especially those that prefer consistent moisture. Leafy greens like lettuce, spinach, and kale thrive in these conditions. Herbs such as basil, mint, and parsley also do well. Tomatoes, peppers, and strawberries can be successfully grown using this method, but may require larger containers and additional support as they mature. Root vegetables like carrots and radishes may not be ideal, as the constant moisture could lead to rot. When selecting plants, consider their specific watering needs and choose varieties that are known to be relatively low-maintenance.
How often do I need to refill the water reservoir?
The frequency of refilling the water reservoir depends on several factors, including the size of the container, the type of plant, the weather conditions, and the stage of growth. During hot, sunny weather, plants will transpire more water and require more frequent refills. Seedlings and young plants generally need less water than mature plants. As a general guideline, check the water level in the reservoir every few days and refill it when it’s about halfway empty. Over time, you’ll develop a better understanding of your plants’ individual needs and adjust your watering schedule accordingly.
Can I use tap water in the reservoir, or do I need to use filtered water?
Tap water is generally safe to use in the reservoir, but it’s a good idea to let it sit out for 24 hours before using it to allow chlorine and other chemicals to dissipate. If your tap water is particularly hard or contains high levels of minerals, you may want to consider using filtered water or rainwater to prevent mineral buildup in the soil. You can also add a small amount of vinegar or lemon juice to the water to help lower the pH and improve nutrient absorption.
What type of growing medium should I use?
A well-draining potting mix is essential for this system. Avoid using garden soil, as it can become compacted and prevent proper drainage. A good potting mix will typically contain a blend of peat moss, perlite, and vermiculite. You can also add coco coir to improve water retention and aeration. Experiment with different mixes to find what works best for your plants and your local climate. Organic potting mixes are a great option for those who want to avoid synthetic fertilizers and pesticides.
How do I prevent algae growth in the water reservoir?
Algae growth in the water reservoir is a common problem, especially in sunny locations. To prevent algae growth, use an opaque container for the reservoir to block out sunlight. You can also add a small amount of hydrogen peroxide to the water to kill algae spores. Regularly clean the reservoir to remove any algae buildup. Another option is to add a copper penny to the reservoir, as copper has natural anti-algal properties.
What if my plants start to show signs of overwatering or underwatering?
If your plants show signs of overwatering, such as yellowing leaves or root rot, reduce the frequency of refilling the water reservoir and ensure that the potting mix is well-draining. You may also need to improve air circulation around the plants. If your plants show signs of underwatering, such as wilting leaves or dry soil, increase the frequency of refilling the water reservoir and consider adding a layer of mulch to the soil to help retain moisture.
Can I use this system for indoor or outdoor gardening?
This system is suitable for both indoor and outdoor gardening. For indoor gardening, make sure your plants receive adequate light, either from a sunny window or a grow light. For outdoor gardening, choose a location that provides the appropriate amount of sunlight for your plants. Protect your plants from extreme weather conditions, such as frost or excessive heat.
How do I fertilize my plants when using this self-watering system?
You can fertilize your plants by adding liquid fertilizer to the water reservoir. Use a balanced fertilizer that is specifically formulated for the type of plants you are growing. Follow the instructions on the fertilizer label carefully to avoid over-fertilizing. You can also add slow-release fertilizer granules to the potting mix at the time of planting.
Is this DIY trick really that much easier than traditional watering methods?
Absolutely! The beauty of this DIY self-watering system lies in its simplicity and efficiency. Traditional watering methods often require daily monitoring and can be inconsistent, leading to either overwatering or underwatering. This system provides a consistent supply of water to your plants, reducing the risk of these common problems. It also saves you time and effort, allowing you to focus on other aspects of gardening. Plus, it’s a great way to conserve water, as the system minimizes water loss through evaporation.
Leave a Comment