
Easiest Radishes to Grow? Absolutely! And I’m here to tell you that even if you think you have a “brown thumb,” you can absolutely cultivate these peppery little gems in your own backyard (or even on your balcony!). Forget complicated gardening techniques and endless hours of weeding. This guide is all about simple, effective DIY tricks to get you harvesting radishes in just a few weeks.
Radishes have been a staple in gardens for centuries, dating back to ancient Egypt and Greece. They were prized not only for their flavor but also for their medicinal properties. Imagine, generations ago, people were already enjoying the crisp bite of a freshly picked radish! Today, we often overlook these humble vegetables, but they offer a fantastic entry point into the world of home gardening.
Why do you need these DIY tricks? Because let’s face it, life is busy! Who has time for complicated gardening routines? These hacks are designed to save you time, money, and frustration. You’ll learn how to choose the right radish varieties, prepare your soil for optimal growth, and even deter pests using natural methods. Plus, growing your own food is incredibly rewarding, and there’s nothing quite like the taste of a radish you’ve nurtured from seed to table. So, let’s dive in and discover the easiest radishes to grow, even if you’re a complete beginner!
Easiest Radishes to Grow: A Beginner’s Guide
Okay, so you want to grow radishes? Awesome! You’ve picked a fantastic vegetable to start with. Radishes are seriously the speed demons of the garden – you can go from seed to salad in just a few weeks. Plus, they’re super forgiving, making them perfect for beginner gardeners like you (and me, when I first started!). I’m going to walk you through everything you need to know to get a bumper crop of these peppery little gems.
Choosing Your Radish Variety
First things first, let’s talk about radish varieties. There are tons of different kinds, and while they’re all relatively easy to grow, some are better suited for certain climates or preferences.
* **Cherry Belle:** This is your classic, round, bright red radish. It’s quick to mature (around 22 days) and has a mild, slightly sweet flavor. This is a great one to start with.
* **French Breakfast:** These are elongated, red radishes with a white tip. They have a milder, more delicate flavor than Cherry Belles and mature in about 25 days. I love these sliced thinly on buttered bread with a sprinkle of sea salt.
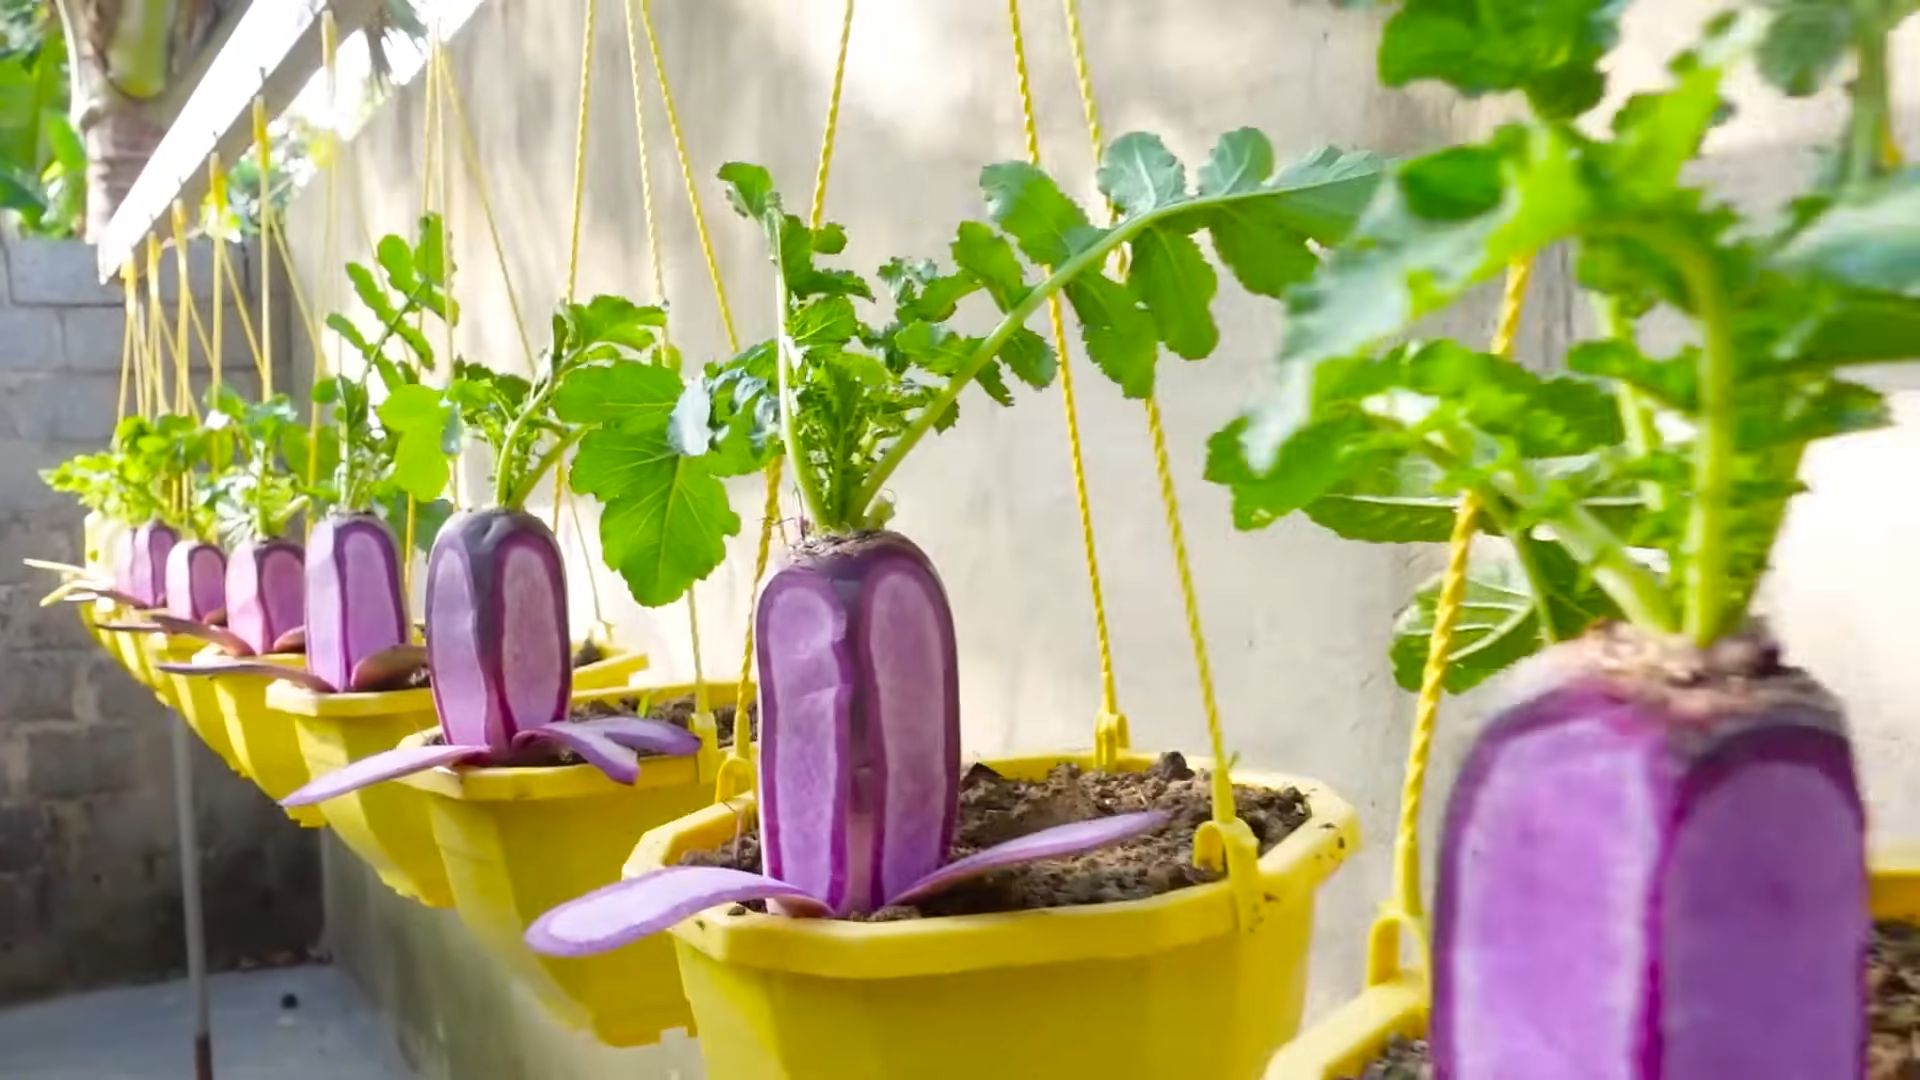
* **Easter Egg:** This is a mix of different colored radishes – red, pink, purple, and white. It’s a fun option if you want a little variety in your harvest. They mature in about 28 days.
* **Black Spanish:** This is a larger, round radish with black skin and white flesh. It has a much stronger, more pungent flavor than the other varieties and takes longer to mature (around 55 days). I’d recommend starting with one of the milder varieties first.
* **Daikon:** While technically a radish, daikon radishes are much larger and milder than the smaller varieties. They’re often used in Asian cuisine. They take longer to mature (around 60 days).
For beginners, I highly recommend starting with Cherry Belle or French Breakfast. They’re quick, easy, and delicious!
Preparing Your Radish Bed
Radishes aren’t picky, but they do need a few things to thrive.
* **Sunlight:** Radishes need at least 6 hours of sunlight per day. More is even better!
* **Soil:** They prefer loose, well-drained soil. If your soil is heavy clay, amend it with compost or other organic matter to improve drainage. Radishes don’t like compacted soil because it can cause them to become misshapen.
* **pH:** The ideal soil pH for radishes is between 6.0 and 7.0. You can test your soil pH with a simple soil testing kit.
Now, let’s get down to the nitty-gritty.
1. **Choose your location:** Pick a spot in your garden that gets plenty of sunlight and has well-drained soil.
2. **Clear the area:** Remove any weeds, rocks, or debris from the area where you’ll be planting your radishes.
3. **Amend the soil:** If your soil is heavy or compacted, amend it with compost or other organic matter. Dig in a generous amount of compost to a depth of about 6-8 inches. This will help improve drainage and provide nutrients for your radishes.
4. **Rake the soil:** Rake the soil smooth to create a level planting surface.
Planting Your Radish Seeds
This is the fun part! Radishes are direct-sown, meaning you plant the seeds directly into the ground. No need to start them indoors.
* **Timing:** Radishes are a cool-season crop, so you can plant them in early spring or late summer/early fall. In the spring, plant them as soon as the soil can be worked. In the fall, plant them about 4-6 weeks before the first expected frost. I usually plant a new batch every two weeks for a continuous harvest.
* **Spacing:** Radish seeds are tiny, so it’s easy to sow them too thickly. Aim for about 1 inch apart.
* **Depth:** Plant the seeds about ½ inch deep.
Here’s the step-by-step:
1. **Make furrows:** Use your finger or a small tool to create shallow furrows in the soil, about ½ inch deep and 1 inch apart.
2. **Sow the seeds:** Sprinkle the radish seeds into the furrows, spacing them about 1 inch apart. Don’t worry if you get them a little closer together – you can always thin them later.
3. **Cover the seeds:** Gently cover the seeds with soil.
4. **Water gently:** Water the area gently with a watering can or hose with a gentle spray nozzle. You want to moisten the soil without washing away the seeds.
Caring for Your Radishes
Radishes are pretty low-maintenance, but there are a few things you need to do to keep them happy and healthy.
* **Watering:** Radishes need consistent moisture to grow quickly and develop a good flavor. Water them regularly, especially during dry spells. Aim for about 1 inch of water per week.
* **Thinning:** If your radishes are planted too close together, they won’t have enough room to grow. Thin them out when they’re about 1 inch tall, leaving about 2 inches between plants. You can eat the thinnings! They’re delicious in salads.
* **Weeding:** Keep the area around your radishes free of weeds. Weeds compete with radishes for water and nutrients.
* **Fertilizing:** Radishes don’t need a lot of fertilizer, but you can give them a boost with a side dressing of compost or a balanced fertilizer a few weeks after planting. I usually just use compost tea.
Let’s break down the care process:
1. **Water regularly:** Check the soil moisture regularly. If the top inch of soil feels dry, it’s time to water. Water deeply and evenly, making sure to soak the soil around the radishes.
2. **Thin seedlings:** Once the seedlings emerge and have a few true leaves, thin them out so that they are about 2 inches apart. Gently pull out the extra seedlings, being careful not to disturb the roots of the remaining plants.
3. **Weed regularly:** Keep an eye out for weeds and remove them promptly. Hand-pulling is usually the best method for weeding around radishes.
4. **Monitor for pests:** Radishes are generally pest-resistant, but they can sometimes be attacked by flea beetles or root maggots. If you notice any pests, take action to control them. Flea beetles can be controlled with insecticidal soap or diatomaceous earth. Root maggots can be prevented by covering the radish bed with row covers.
Harvesting Your Radishes
This is the most rewarding part! Radishes are ready to harvest when they reach the size specified for their variety. Cherry Belles are usually ready in about 22 days, while French Breakfast radishes take about 25 days.
* **Size:** Check the seed packet for the expected size of your radish variety.
* **Timing:** Don’t let your radishes get too big, or they’ll become woody and bitter. Harvest them as soon as they’re ready.
* **Pulling:** Gently pull the radishes from the soil. If the soil is dry, you may need to loosen it with a trowel first.
Here’s how to harvest like a pro:
1. **Check for readiness:** Gently brush away the soil around the base of the radish to check its size. If it’s the size you’re looking for, it’s ready to harvest.
2. **Pull gently:** Grasp the radish leaves near the base of the plant and gently pull upwards. If the radish doesn’t come out easily, loosen the soil around it with a trowel.
3. **Wash and store:** Wash the radishes thoroughly to remove any dirt. Trim off the leaves, leaving about ½ inch of stem. Store the radishes in a plastic bag in the refrigerator. They should keep for about a week.
Troubleshooting Common Radish Problems
Even with the easiest vegetables, sometimes things go wrong. Here are a few common radish problems and how to fix them:
* **Radishes are too small:** This is usually caused by overcrowding or lack of water. Thin your radishes and make sure they’re getting enough water.
* **Radishes are woody or bitter:** This is usually caused by letting them get too big or by growing them in hot weather. Harvest your radishes as soon as they’re ready and plant them in the spring or fall when the weather is cooler.
* **Radishes are cracked:** This is usually caused by inconsistent watering. Water your radishes regularly and evenly.
* **Radishes have holes in them:** This is usually caused by flea beetles. Control flea beetles with insecticidal soap or diatomaceous earth.
Enjoying Your Radishes
Now that you’ve harvested your radishes, it’s time to enjoy them! Radishes are delicious raw in salads, on sandwiches, or
Conclusion
So, there you have it! Growing your own radishes doesn’t have to be a daunting task reserved for seasoned gardeners. This simple, straightforward method for achieving the easiest radishes to grow is a game-changer, even if you’re a complete beginner. Forget complicated soil amendments, finicky watering schedules, and constant pest control worries. This approach focuses on the essentials: good soil preparation, consistent moisture, and strategic planting.
Why is this a must-try? Because it delivers results. Imagine crisp, peppery radishes ready to harvest in just a few weeks, adding a vibrant crunch to your salads, sandwiches, and snacks. Think of the satisfaction of knowing you grew them yourself, from seed to table, with minimal effort. This method is not only easy but also incredibly rewarding, offering a tangible connection to the food you eat.
But don’t just take our word for it. We encourage you to experiment and adapt this technique to your specific environment and preferences. For instance, if you live in a particularly hot climate, consider providing some afternoon shade to your radish patch. You could also try succession planting, sowing a new batch of seeds every week or two, to ensure a continuous harvest throughout the growing season. Another variation is to interplant radishes with slower-growing crops like carrots or lettuce. The radishes will mature quickly, loosening the soil and making way for their companions.
And speaking of companions, consider planting radishes near cucumbers or nasturtiums. These plants are known to deter common radish pests, further simplifying your gardening experience. You can also experiment with different radish varieties. While the classic red globe radishes are always a reliable choice, there are also white icicle radishes, black Spanish radishes, and even watermelon radishes, each with its unique flavor and texture.
The beauty of this method lies in its adaptability. It’s a foundation upon which you can build your own radish-growing success story. So, grab a packet of seeds, prepare your soil, and get ready to enjoy the freshest, most flavorful radishes you’ve ever tasted.
We’re confident that you’ll be amazed by how easy it is to grow your own radishes using this method. But the real fun begins when you share your experience with others. We’d love to hear about your successes, your challenges, and any variations you’ve tried. Share your photos, your tips, and your stories in the comments below. Let’s create a community of radish enthusiasts, all learning and growing together!
Don’t delay, start your radish adventure today! You’ll be surprised at how quickly you can enjoy the fruits (or rather, the roots) of your labor. Happy gardening!
Frequently Asked Questions (FAQ)
What kind of soil is best for growing radishes?
Radishes thrive in loose, well-drained soil that is rich in organic matter. Amend heavy clay soils with compost or other organic materials to improve drainage and aeration. Avoid soils that are compacted or rocky, as these can hinder root development and result in misshapen radishes. A slightly acidic to neutral soil pH (around 6.0 to 7.0) is ideal. Before planting, work the soil to a depth of at least 6 inches to ensure that the radishes have plenty of room to grow. Adding some well-rotted manure or compost to the soil before planting can also provide essential nutrients.
How often should I water my radishes?
Consistent moisture is crucial for growing plump, juicy radishes. Water deeply and regularly, especially during dry spells. Aim to keep the soil consistently moist but not waterlogged. Irregular watering can lead to cracked or woody radishes. A good rule of thumb is to water when the top inch of soil feels dry to the touch. Consider using a soaker hose or drip irrigation to deliver water directly to the roots, minimizing water loss through evaporation. Mulching around the plants can also help retain moisture in the soil.
How much sunlight do radishes need?
Radishes prefer full sun, which means at least 6 hours of direct sunlight per day. However, they can also tolerate partial shade, especially in hot climates. If you live in a region with intense summer heat, providing some afternoon shade can prevent the radishes from bolting (going to seed prematurely). When planting radishes indoors, use grow lights to supplement natural sunlight and ensure adequate light exposure.
How long does it take for radishes to mature?
One of the great things about radishes is their quick growth rate. Most varieties mature in just 3 to 4 weeks. However, the exact time to maturity can vary depending on the variety, the growing conditions, and the time of year. Check the seed packet for specific information on the maturity time for the variety you are growing. To ensure a continuous harvest, consider succession planting, sowing a new batch of seeds every week or two.
What are some common radish pests and diseases?
Radishes are generally relatively pest-free, but they can be susceptible to certain pests and diseases. Common pests include flea beetles, root maggots, and aphids. Flea beetles can chew small holes in the leaves, while root maggots can damage the roots. Aphids can suck sap from the plants, weakening them. To control these pests, consider using row covers, insecticidal soap, or diatomaceous earth. Common diseases include damping-off and white rust. Damping-off is a fungal disease that can kill seedlings, while white rust can cause white pustules on the leaves. To prevent these diseases, ensure good air circulation, avoid overwatering, and use disease-resistant varieties.
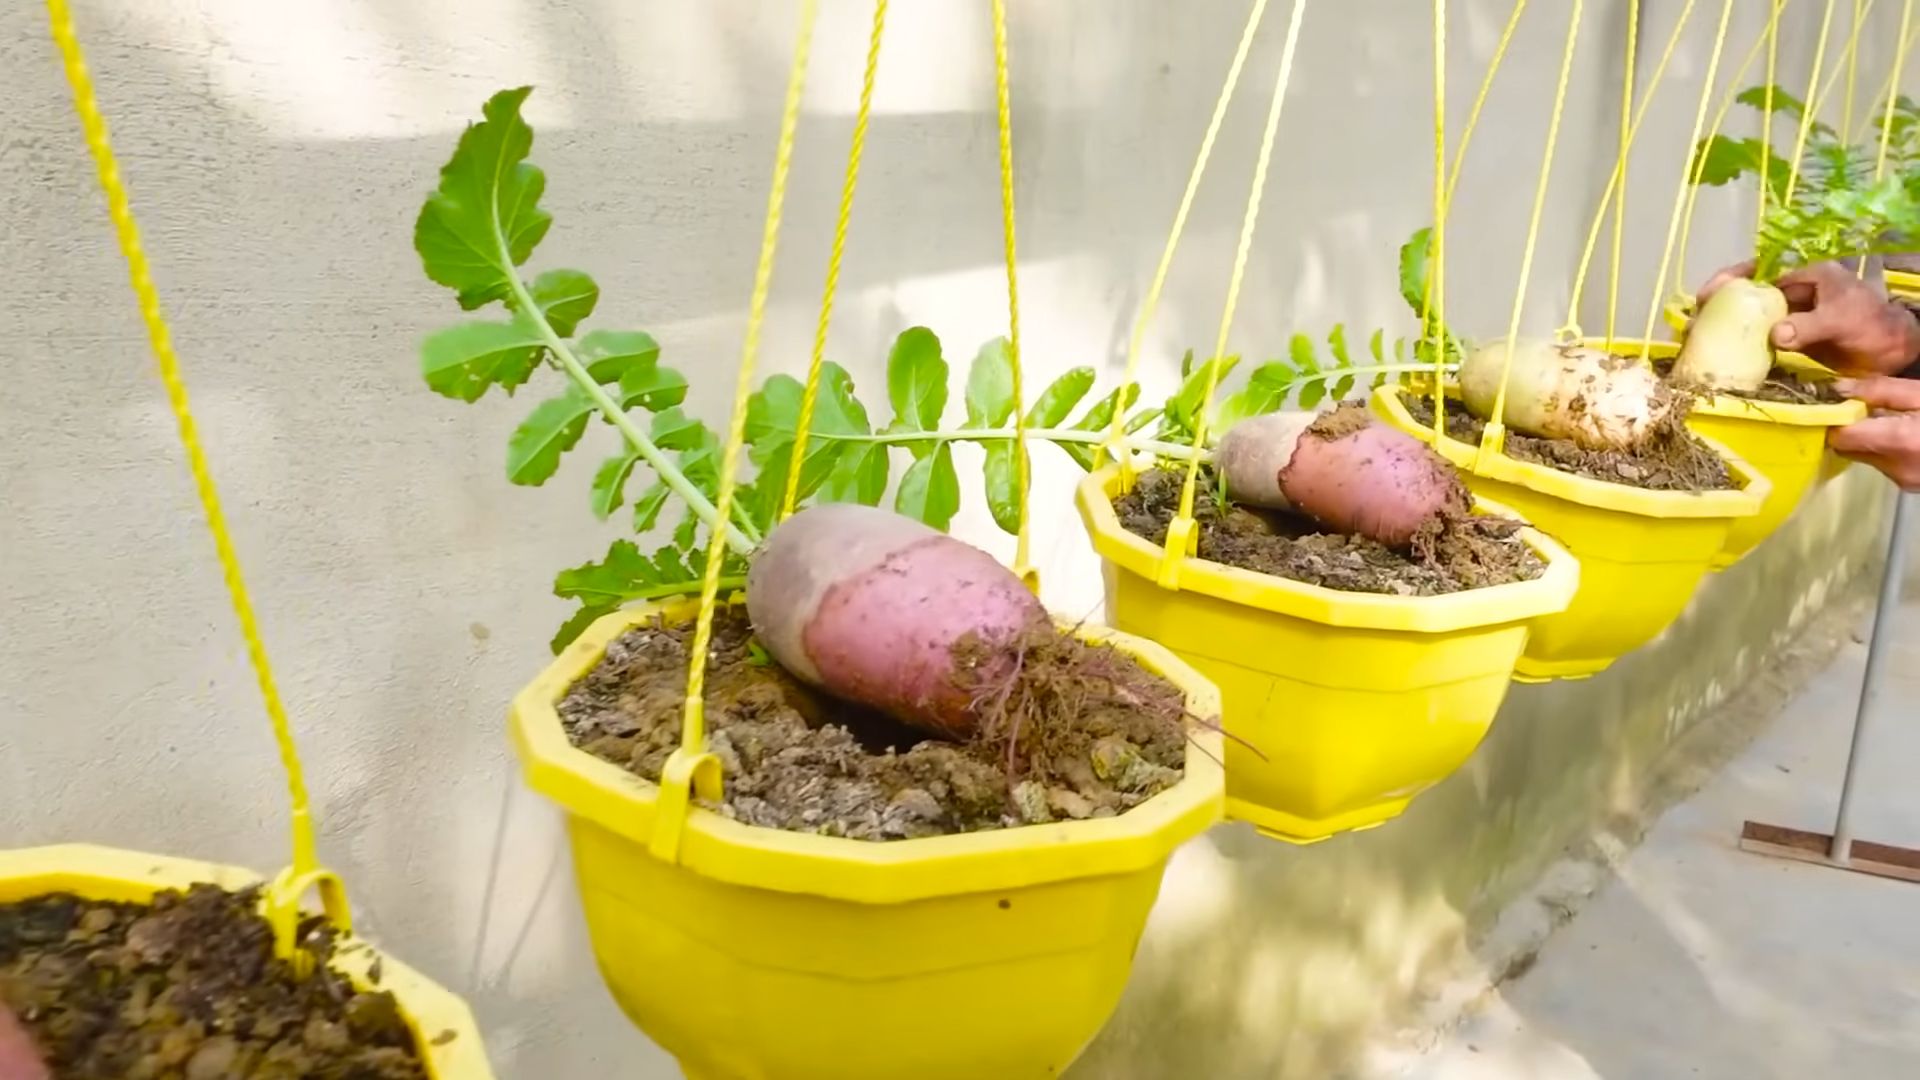
Can I grow radishes in containers?
Yes, radishes are well-suited for container gardening. Choose a container that is at least 6 inches deep and has drainage holes. Use a good-quality potting mix and water regularly. Place the container in a sunny location. Container-grown radishes may require more frequent watering and fertilization than those grown in the ground.
Why are my radishes cracking?
Cracking is often caused by inconsistent watering. When the soil dries out and then is suddenly saturated, the radishes can absorb water too quickly, causing them to crack. To prevent cracking, water regularly and consistently, especially during dry spells. Mulching around the plants can also help retain moisture in the soil.
Why are my radishes woody or too spicy?
Woody or overly spicy radishes are often the result of being left in the ground too long. Radishes are best harvested when they are young and tender. Check the seed packet for the recommended harvest size and time. Overcrowding can also contribute to woody radishes, so be sure to thin the seedlings properly. Hot weather can also make radishes spicier.
Can I eat radish greens?
Yes, radish greens are edible and nutritious. They have a peppery flavor similar to the roots. You can use them in salads, soups, or stir-fries. Choose young, tender greens for the best flavor and texture. Be sure to wash them thoroughly before eating.
What are some good companion plants for radishes?
Radishes are good companion plants for many other vegetables. They can help deter pests and improve soil conditions. Some good companion plants for radishes include carrots, lettuce, spinach, cucumbers, and nasturtiums. Avoid planting radishes near hyssop, as it can inhibit their growth.
Leave a Comment