
DIY Dish Soap Cleaner: Tired of spending a fortune on dish soap that’s full of harsh chemicals? I know I was! For generations, resourceful homemakers have sought natural and effective cleaning solutions, and the quest continues today. From our grandmothers’ lye soaps to modern-day eco-conscious concoctions, the desire to keep our homes sparkling without harming ourselves or the environment is deeply ingrained.
That’s why I’m so excited to share this incredible DIY dish soap cleaner recipe with you! It’s not just about saving money (though that’s a definite perk!). It’s about taking control of what goes into your home and reducing your exposure to potentially harmful ingredients. Many commercial dish soaps contain sulfates, phosphates, and artificial fragrances that can irritate skin and contribute to environmental pollution.
This simple, effective, and budget-friendly DIY Dish Soap Cleaner will leave your dishes sparkling clean without any of the nasty stuff. Plus, it’s so easy to make, you’ll wonder why you didn’t try it sooner! Get ready to ditch the store-bought stuff and embrace a healthier, more sustainable way to wash your dishes. Let’s get started!
DIY Dish Soap Cleaner: A Powerful and Natural Cleaning Solution
Hey there, fellow DIY enthusiasts! I’m so excited to share one of my favorite homemade cleaning recipes with you: a super effective dish soap cleaner. Not only is it incredibly easy to make, but it’s also much gentler on the environment and your skin compared to many store-bought options. Plus, you probably already have most of the ingredients in your pantry! This cleaner is fantastic for tackling greasy dishes, wiping down countertops, and even spot-cleaning carpets. Let’s get started!
What Makes This Dish Soap Cleaner So Great?
Before we dive into the recipe, let’s talk about why I love this DIY cleaner so much:
* Natural Ingredients: We’re using ingredients like castile soap, washing soda, and essential oils, which are all biodegradable and less likely to cause skin irritation.
* Cost-Effective: Making your own cleaner is significantly cheaper than buying commercial brands, especially if you buy your ingredients in bulk.
* Customizable: You can adjust the scent and strength of the cleaner to suit your preferences. Want a stronger degreaser? Add more washing soda! Prefer a specific fragrance? Choose your favorite essential oils!
* Effective Cleaning Power: Don’t let the natural ingredients fool you – this cleaner is a powerhouse when it comes to cutting through grease and grime.
Ingredients You’ll Need
Here’s a list of everything you’ll need to whip up your own batch of dish soap cleaner:
* Castile Soap (1 cup): This is the base of our cleaner. Castile soap is a vegetable-based soap that’s gentle yet effective. I prefer using unscented castile soap so I can customize the scent with essential oils.
* Washing Soda (1/2 cup): Washing soda (sodium carbonate) is a powerful cleaning agent and degreaser. It helps to boost the cleaning power of the castile soap. Important: Do not confuse washing soda with baking soda (sodium bicarbonate). They are different!
* Vegetable Glycerin (1 tablespoon): This is optional, but I highly recommend adding it. Vegetable glycerin helps to moisturize your hands and prevent the cleaner from drying them out. It also adds a bit of viscosity to the cleaner.
* Distilled Water (3 cups): Distilled water is best because it doesn’t contain any minerals or impurities that could affect the cleaner’s performance or shelf life. However, you can use tap water if that’s all you have.
* Essential Oils (20-30 drops): This is where you can get creative! I love using lemon, grapefruit, orange, tea tree, or lavender essential oils. Lemon and grapefruit are great for cutting through grease, while tea tree has antibacterial properties. Lavender adds a lovely, calming scent.
* Spray Bottle or Dispenser: You’ll need a container to store your finished cleaner. A spray bottle is great for countertops and general cleaning, while a pump dispenser is perfect for dishwashing.
Equipment You’ll Need
* Measuring Cups and Spoons
* Mixing Bowl
* Whisk or Spoon
* Funnel (optional, but helpful for pouring into your container)
Step-by-Step Instructions: Making Your Dish Soap Cleaner
Alright, let’s get down to business! Here’s how to make your own amazing dish soap cleaner:
1. Heat the Water: In a saucepan, heat the distilled water over medium heat until it’s warm, but not boiling. You just want it warm enough to help the washing soda dissolve. Don’t let it boil!
2. Dissolve the Washing Soda: Pour the warm water into your mixing bowl. Gradually add the washing soda, stirring constantly until it’s completely dissolved. This might take a few minutes, so be patient. Make sure there are no clumps of washing soda left at the bottom of the bowl.
3. Add the Castile Soap: Slowly pour in the castile soap, stirring gently to combine. Be careful not to stir too vigorously, as this can create excessive bubbles.
4. Incorporate the Vegetable Glycerin: If you’re using vegetable glycerin, add it to the mixture and stir until it’s fully incorporated.
5. Add Essential Oils: Now for the fun part! Add your chosen essential oils, one drop at a time, stirring after each addition. Start with 20 drops and then add more until you reach your desired scent strength. Remember, a little goes a long way!
6. Mix Thoroughly: Give the entire mixture a final gentle stir to ensure that all the ingredients are well combined.
7. Transfer to Your Container: Using a funnel (if desired), carefully pour the dish soap cleaner into your spray bottle or dispenser.
Using Your DIY Dish Soap Cleaner
Now that you’ve made your cleaner, let’s talk about how to use it:
* For Dishes: Squirt a small amount of the cleaner onto a sponge or directly into your sink filled with warm water. Wash your dishes as usual. Rinse thoroughly with clean water.
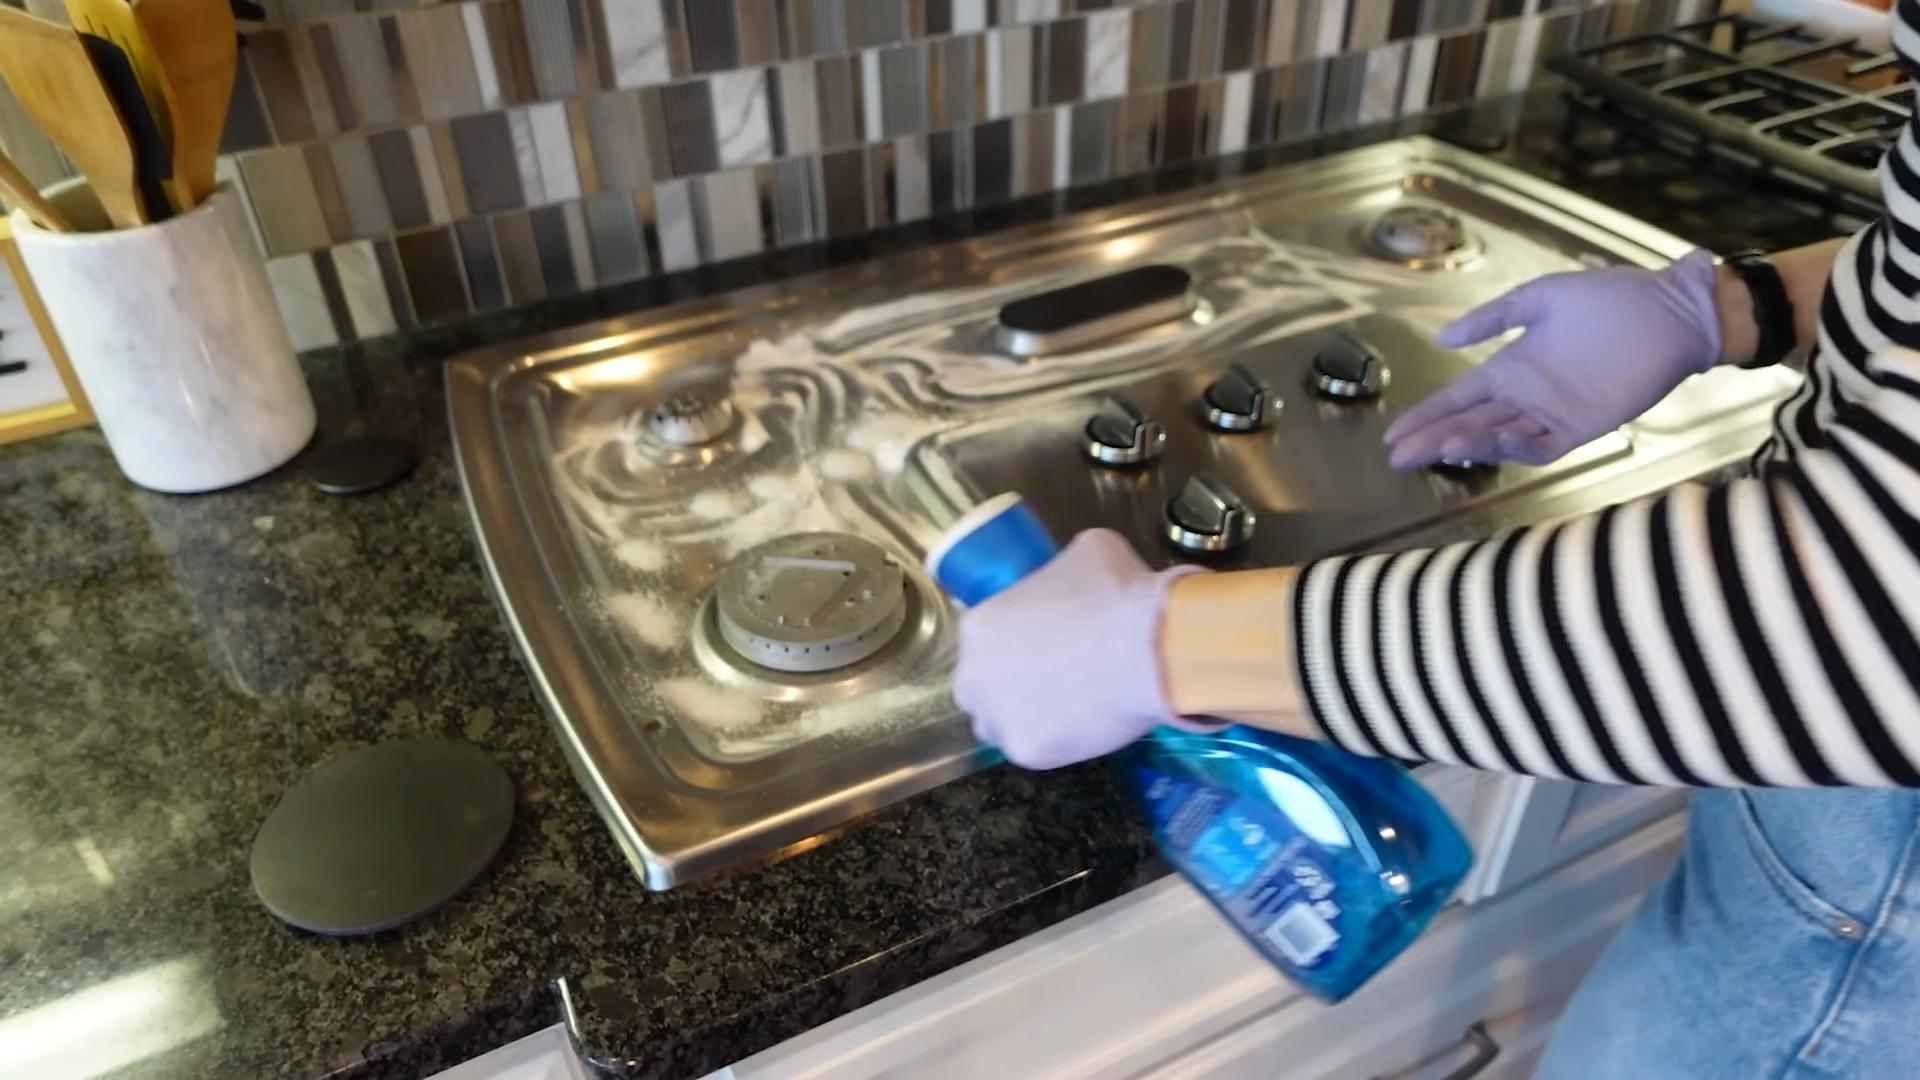
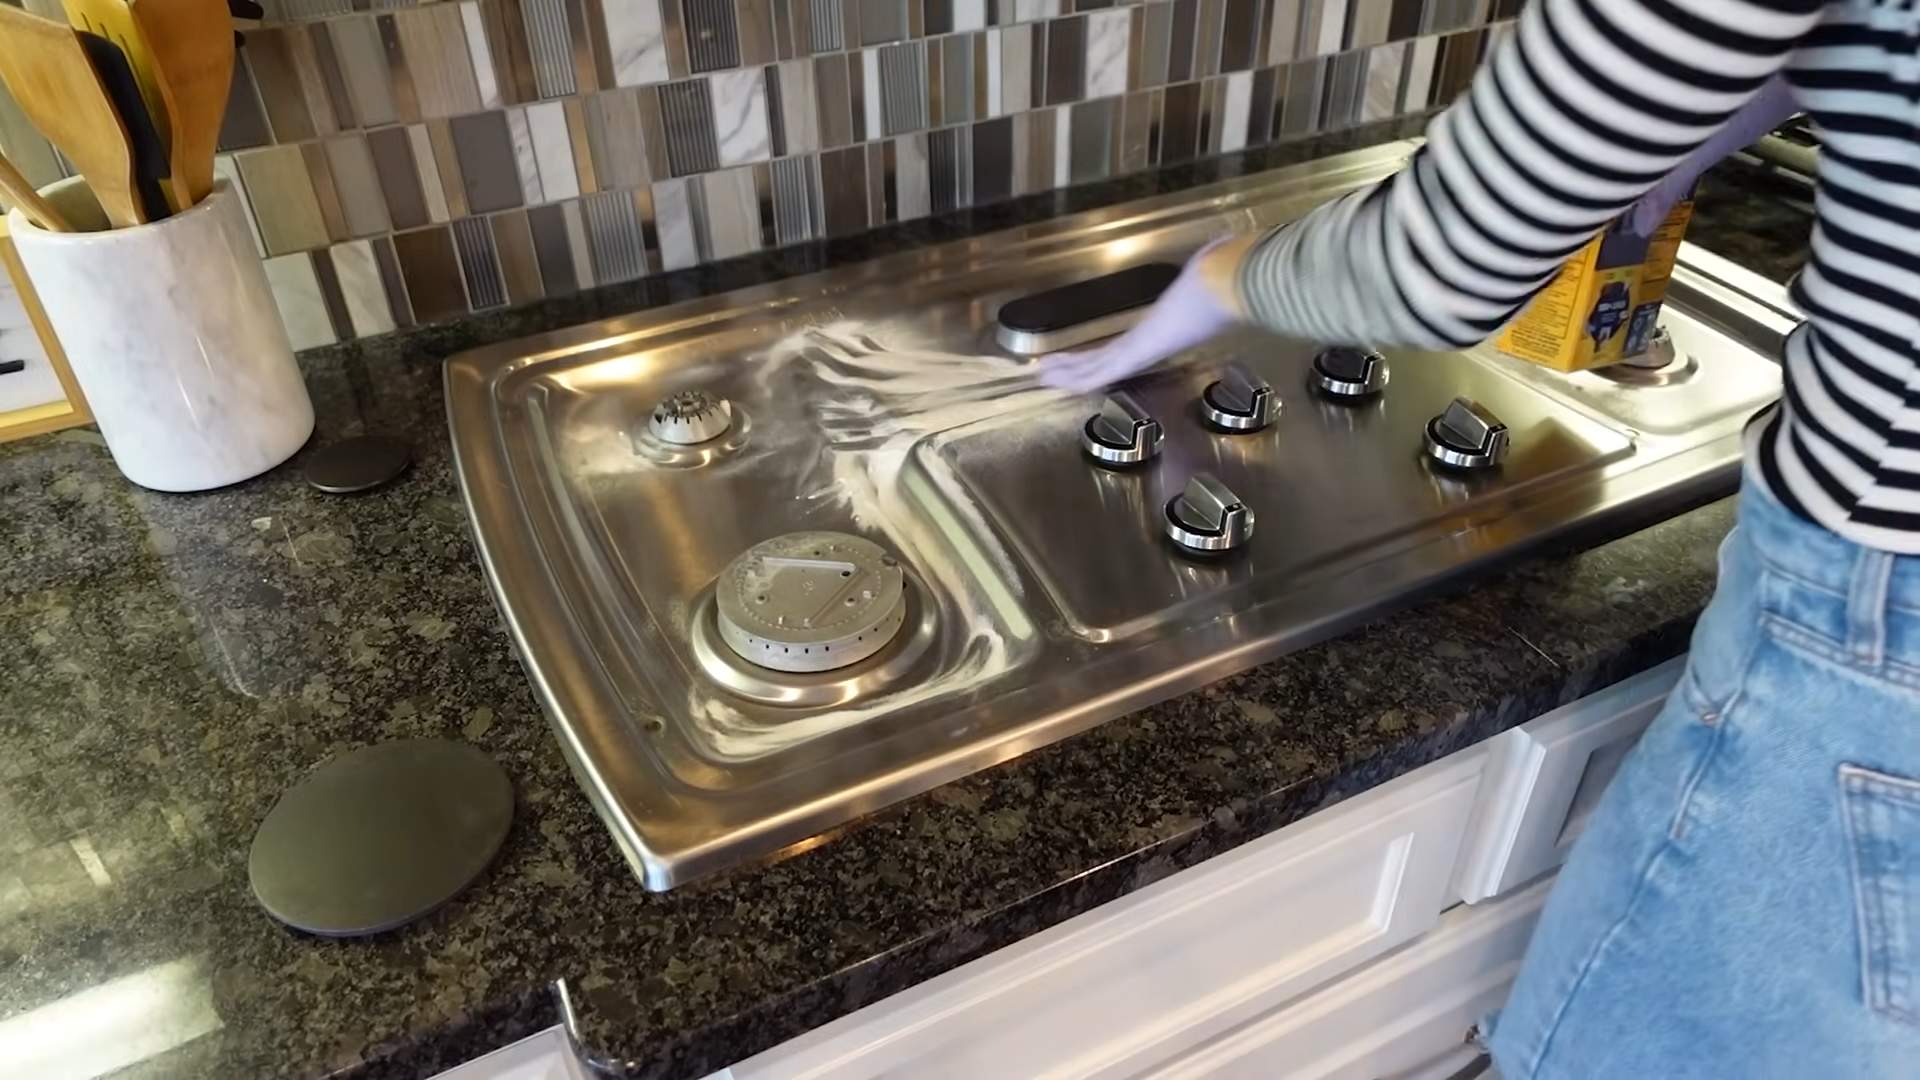
* For Countertops: Spray the cleaner onto your countertops and wipe clean with a damp cloth. For stubborn stains, let the cleaner sit for a few minutes before wiping.
* For Spot Cleaning Carpets: Spray a small amount of the cleaner onto the stain and blot with a clean cloth. Repeat as needed. Be sure to test the cleaner in an inconspicuous area first to ensure it doesn’t damage the carpet.
* General Cleaning: This cleaner can be used for a variety of cleaning tasks around the house. Just dilute it with water in a spray bottle for a lighter cleaning solution.
Tips and Tricks for the Best Results
Here are a few extra tips to help you get the most out of your DIY dish soap cleaner:
* Adjust the Recipe: Feel free to adjust the recipe to suit your needs. If you want a stronger cleaner, add more washing soda. If you want a more moisturizing cleaner, add more vegetable glycerin.
* Experiment with Essential Oils: Don’t be afraid to experiment with different essential oil combinations to find your favorite scent.
* Shake Before Use: Since this cleaner doesn’t contain any emulsifiers, the ingredients may separate over time. Simply shake the bottle well before each use.
* Storage: Store your dish soap cleaner in a cool, dark place. It should last for several months.
* Hard Water: If you have hard water, you may need to use a bit more cleaner to get the same results. You can also add a tablespoon of white vinegar to the mixture to help combat the effects of hard water.
* Cloudiness: Sometimes, the cleaner can become cloudy, especially in colder temperatures. This is perfectly normal and doesn’t affect its cleaning power. Just shake the bottle well before use.
* Safety First: While these ingredients are generally safe, it’s always a good idea to wear gloves when cleaning, especially if you have sensitive skin. Keep the cleaner out of reach of children and pets. Avoid contact with eyes.
Troubleshooting
* Cleaner is too thick: If your cleaner is too thick, add a little more distilled water until you reach your desired consistency.
* Cleaner is too thin: If your cleaner is too thin, you may have added too much water. Try adding a little more castile soap.
* Cleaner is not cleaning well enough: If your cleaner isn’t cleaning well enough, try adding more washing soda. You can also try using hotter water when washing dishes.
* Cleaner is leaving a residue: If your cleaner is leaving a residue, you may be using too much. Try using less cleaner and rinsing thoroughly with clean water.
Why I Switched to DIY Cleaning
I used to buy all sorts of commercial cleaning products, but I started to feel uneasy about the harsh chemicals and the environmental impact. That’s when I started experimenting with DIY cleaning recipes, and I haven’t looked back since! Not only are these homemade cleaners better for my health and the planet, but they’re also incredibly effective and save me a ton of money. I hope you enjoy making and using this dish soap cleaner as much as I do! Happy cleaning!
Conclusion
So, there you have it! Ditching the store-bought stuff and embracing this DIY dish soap cleaner is more than just a trendy move; it’s a practical, economical, and environmentally conscious choice. We’ve walked you through a simple process that transforms readily available ingredients into a powerful cleaning agent, capable of tackling even the greasiest dishes.
But why is this DIY trick a must-try? Beyond the cost savings, which can be significant over time, you gain complete control over the ingredients. No more deciphering confusing labels filled with unpronounceable chemicals. You know exactly what’s going into your dish soap, ensuring a safer and healthier environment for you, your family, and the planet. This is especially important for those with sensitive skin or allergies, as you can tailor the recipe to exclude any potential irritants.
Furthermore, the satisfaction of creating something useful with your own hands is incredibly rewarding. It’s a small step towards a more sustainable lifestyle, reducing your reliance on mass-produced products and minimizing plastic waste. Every time you wash a dish with your homemade soap, you’ll be reminded of your commitment to a cleaner, greener future.
Don’t be afraid to experiment and personalize your DIY dish soap cleaner. For a boost of extra cleaning power, consider adding a tablespoon of borax to the mixture. If you prefer a thicker consistency, reduce the amount of water slightly. Essential oils are another fantastic addition, not only for their delightful scents but also for their antibacterial properties. Lemon, tea tree, and lavender are all excellent choices. Just be sure to use pure essential oils and add them sparingly, starting with just a few drops.
Another variation you might enjoy is incorporating castile soap flakes instead of liquid castile soap. This can create a slightly different texture and might require a bit more stirring to fully dissolve. You can also infuse your water with citrus peels before adding it to the mixture for a naturally scented and boosted cleaning effect. Simply simmer the peels in water for about 30 minutes, let it cool, and then strain before using.
We truly believe that once you try this DIY dish soap cleaner, you’ll never go back to the store-bought variety. It’s effective, affordable, customizable, and environmentally friendly – a winning combination in our book.
So, what are you waiting for? Gather your ingredients, follow the simple steps, and experience the joy of creating your own powerful and natural dish soap. We’re confident that you’ll be amazed by the results.
We’d love to hear about your experience! Share your tips, variations, and feedback in the comments below. Let’s build a community of DIY enthusiasts who are passionate about creating a cleaner and healthier world, one dish at a time. Let us know what essential oils you used, if you made any modifications to the recipe, and how well it worked for you. Your insights will help others on their DIY journey and inspire even more people to embrace the power of homemade cleaning solutions. Let’s make this world a cleaner place, together!
Frequently Asked Questions (FAQ)
1. Is this DIY dish soap cleaner as effective as store-bought brands?
Yes, absolutely! While the ingredients are natural, they are powerful cleaning agents. Castile soap is a fantastic degreaser, and washing soda helps to cut through grease and grime. Many users find that this DIY version cleans just as effectively, if not more so, than commercial dish soaps, especially when dealing with stubborn food residue. The key is to use the correct proportions of ingredients and to allow the soap to fully dissolve and combine. If you find that your dishes aren’t getting as clean as you’d like, try increasing the amount of washing soda slightly.
2. Is this DIY dish soap cleaner safe for sensitive skin?
One of the biggest advantages of making your own dish soap is the ability to control the ingredients. Commercial dish soaps often contain harsh chemicals and fragrances that can irritate sensitive skin. This DIY recipe uses gentle, natural ingredients like castile soap, which is known for its mildness. However, it’s always a good idea to do a patch test before using it extensively, especially if you have very sensitive skin. You can also choose unscented castile soap and avoid adding any essential oils to further minimize the risk of irritation. If you experience any redness, itching, or dryness, discontinue use immediately.
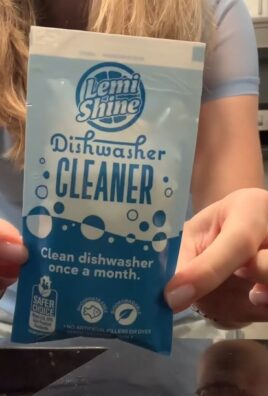
3. Can I use this DIY dish soap cleaner in my dishwasher?
No, this recipe is specifically designed for handwashing dishes. Using it in a dishwasher could lead to excessive suds and potentially damage your appliance. Dishwashers require specially formulated detergents that are low-sudsing and designed to work with the machine’s water pressure and temperature. If you’re looking for a DIY dishwasher detergent, there are other recipes available that are specifically formulated for that purpose.
4. How long does this DIY dish soap cleaner last?
This DIY dish soap cleaner typically lasts for several weeks to a few months, depending on how frequently you use it and how well you store it. To maximize its shelf life, store it in an airtight container in a cool, dark place. Avoid exposing it to direct sunlight or extreme temperatures, as this can affect its consistency and effectiveness. If you notice any changes in color, odor, or texture, it’s best to discard it and make a fresh batch.
5. Can I use different types of castile soap?
Yes, you can use different types of castile soap, such as liquid or bar soap. If you’re using bar soap, you’ll need to grate it finely and dissolve it in hot water before adding the other ingredients. Different scents of castile soap can also be used, such as lavender, peppermint, or rose. Just be sure to choose a scent that you enjoy and that won’t clash with any essential oils you might add. Unscented castile soap is also a great option if you prefer a neutral scent or have sensitive skin.
6. What is washing soda, and where can I find it?
Washing soda (sodium carbonate) is a natural cleaning agent that helps to cut through grease and grime. It’s different from baking soda (sodium bicarbonate), although they are often confused. Washing soda is more alkaline and has a stronger cleaning power. You can typically find washing soda in the laundry aisle of most grocery stores or online retailers. It’s often sold under the brand name “Arm & Hammer Super Washing Soda.” If you can’t find washing soda, you can make your own by baking baking soda at 400°F (200°C) for about an hour.
7. Can I add other ingredients to this DIY dish soap cleaner?
Yes, you can customize this recipe to suit your preferences and needs. Some popular additions include:
* **Essential oils:** Add a few drops of your favorite essential oils for fragrance and antibacterial properties. Lemon, tea tree, and lavender are all excellent choices.
* **Borax:** A tablespoon of borax can boost the cleaning power of the soap.
* **Vinegar:** A small amount of vinegar can help to cut through grease and remove hard water stains. However, be careful not to mix vinegar with castile soap in high concentrations, as it can cause the soap to curdle.
* **Glycerin:** A teaspoon of glycerin can help to moisturize your hands and prevent them from drying out.
8. My DIY dish soap cleaner is cloudy. Is that normal?
Yes, it’s perfectly normal for your DIY dish soap cleaner to be cloudy. This is due to the natural ingredients and the lack of artificial additives that are typically found in commercial dish soaps. The cloudiness doesn’t affect the cleaning power of the soap. If you prefer a clearer soap, you can try filtering it through a coffee filter or cheesecloth after it’s been mixed.
9. My DIY dish soap cleaner is too thick/thin. How can I adjust the consistency?
If your dish soap is too thick, simply add a little more water until you reach your desired consistency. If it’s too thin, you can add a bit more castile soap or washing soda. Start with small amounts and mix well until you achieve the desired thickness. Keep in mind that the soap may thicken slightly as it sits.
10. Is this DIY dish soap cleaner safe for septic systems?
Yes, this DIY dish soap cleaner is generally considered safe for septic systems, as it’s made with natural and biodegradable ingredients. However, it’s always a good idea to use it sparingly and to avoid pouring large amounts of it down the drain at once. If you have any concerns about your septic system, it’s best to consult with a professional.
Leave a Comment